
Before you can treatment-plan a case, you must set up the Treatment Planner in the Settings pane of the Navigation panel. Any changes you make in the Settings pane of the Navigation panel are reflected across the network on each computer. These settings will be used for every case.
To customize case settings
1. To open the Settings pane in the Navigation panel, click the Settings bar.
The Settings pane appears.

2. Under Default Settings for the New Case, in the Estimate Expires field, select the default expiration date for all cases:
1 year from current date
3 months from current date
1 month from current date
Beginning of next calendar year
Beginning of next fiscal year
Beginning of next month
Primary Insurance Benefit renewal month
3. Select the Default Case Note Template.
Note:By default, [NONE] is selected. No other options are available until you set up at least one template.
a. Click Template Setup.
The Case Note Template Setup dialog box appears.
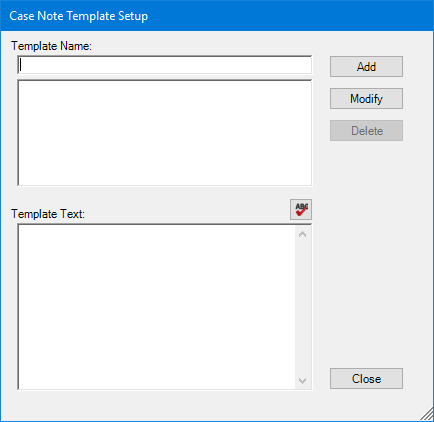
b. In the Template Name field, enter a name for the template.
c. Under Template Text, enter the text you want in the template.
Note: Click the spell check button to check the spelling of the note text.
d. Click Add to save the template and add it to the Default Case Note Template menu.
e. To modify a template, select the template, make changes to the template text or template name, and click Modify.
f. To delete a template, select the template and click Delete.
g. Click Close to close the dialog box and save all changes.
4. From the Default Case Presentation Outline list, select the case presentation outline you want to use as a default template.
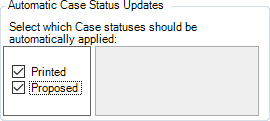
5. Under Automatic Case Status Update, select the case statuses that should be automatically applied to the case status history.
Note: You can select more than one status at a time.
Selecting Printed indicates that the selected case or cases will be updated with the printed status when the case prints.
Selecting Proposed means that a selected case will be updated with that status when you click the Presenter button from the toolbar to present/propose the case.
Note: If you select a status, the status is automatically applied to the current case.
Note: You must set up case financing statuses before you can apply them to a case.
6. To set up a case financing status, click Case Financing Setup.
The Case Financing Status Setup dialog box appears.
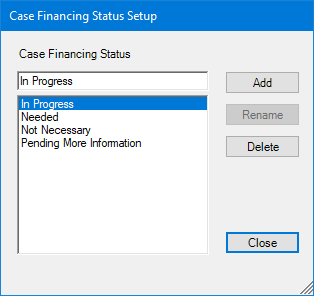
a. To add a case financing status, type a name in the Case Financing Status field and click Add.
Note: By default, the case financing statuses are listed:
In Progress
Needed
Not Necessary
Pending More Information
b. To delete a case financing status, select one from the list, and then click Delete.
7. To add or customize a description, click Patient-Friendly Description.
The Patient-Friendly Description Setup dialog box appears.
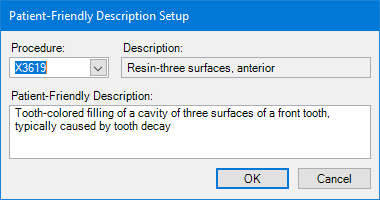
Note: You can add or customize patient-friendly descriptions for any procedure code. When you use patient-friendly procedure codes, instead of displaying the technical description for a procedure, a less-technical description appears so patients will be able to easily understand the procedures in their treatment plans. You can also use patient-friendly procedure codes when printing treatment cases, patient treatment cases, and practice treatment cases.
a. Select a procedure from the Procedure list.
The default description appears in the Description field.
b. Enter a patient-friendly description in the Patient-Friendly Description field.
Notes:
Many procedures have patient-friendly descriptions by default. You can edit these default descriptions in the Patient-Friendly Description field.
To use patient-friendly descriptions, from the View menu in the Treatment Planner, click Use Patient-Friendly Descriptions.
c. To save the changes to a procedure, click OK.
d. Repeat this process to add as many descriptions as you need.