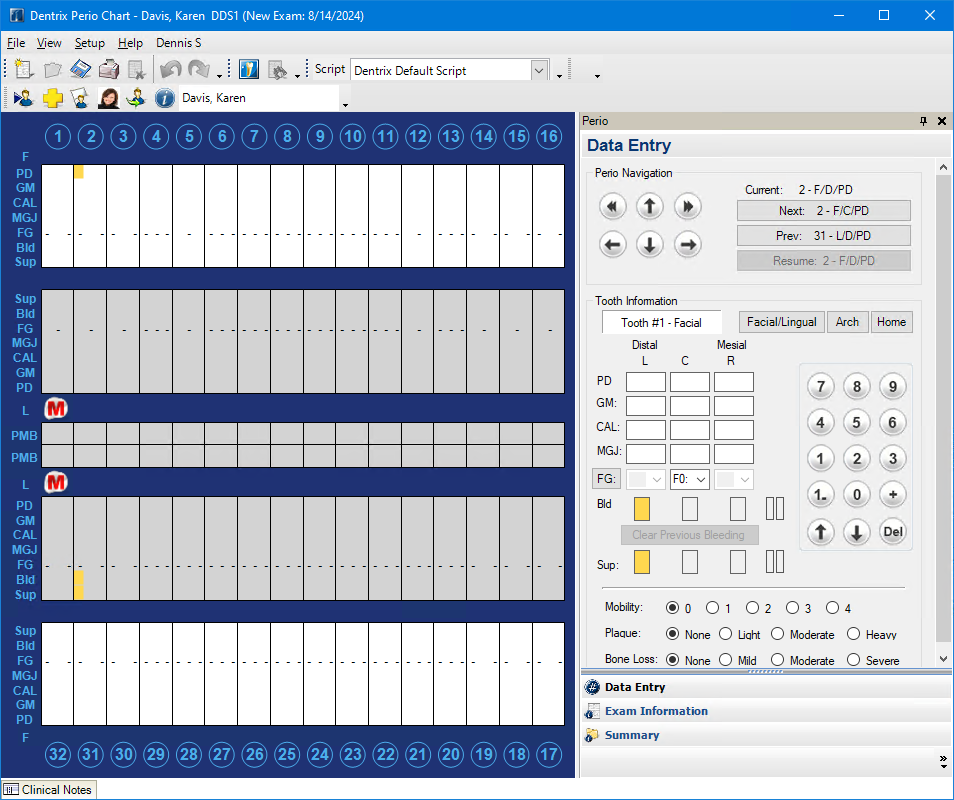
In Dentrix, you can chart bleeding and suppuration on the left and/or right side of a selected tooth either singly or simultaneously.
To enter bleeding and suppuration
Note: If this is the selected patient's first perio exam, a new perio exam opens and the Data Chart is blank. To save time, you can change only those measurements that have changed since the previous exam. When you save your changes, a new exam is created with the current date, and both the changes you made and the unchanged measurements from the previous exam are saved.
![]()
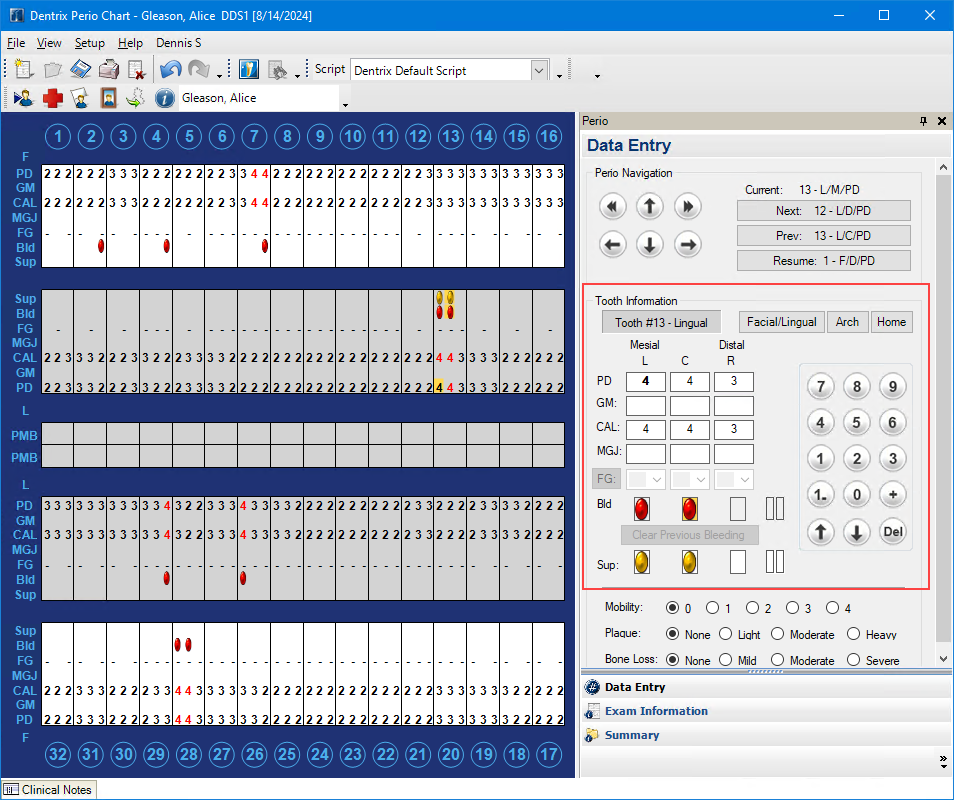
2. To clear the bleeding indicators from a prior exam, click Clear Previous Bleeding, and then do one of the following:
If you created a bleeding and suppuration navigation script, select it from the Script list, and then go to step 3.
If you haven't created a bleeding and suppuration navigation script, go to step 3.
3. Under Tooth Information, do the following:
Bld – To indicate bleeding for the selected tooth, select the L (left) and/or R (right) check boxes one at a time, or to select the left and right check boxes simultaneously, select the double check box.
Sup – To indicate suppuration for the selected tooth, select the L (left) and/or R (right) check boxes one at a time, or to select the left and right check boxes simultaneously, select the double check box.
Notes:
If bleeding or suppuration applies to the C (center), you must select the corresponding check box.
To clear an entry, select the corresponding check box. You can also select the double check box to simultaneously clear both the left and right entries.
To chart bleeding or suppuration points, press the b or B or the s or S keys, respectively.
To chart interproximal bleeding and/or suppuration using the keyboard, press and hold the i or I key, and then press b or B and/or s or S, respectively.
4. To move to the next tooth, under Perio Navigation, click Next.
5. To save the exam, click File, and then click Save Exam.