You can create an unlimited number of custom Quick Labels templates to suit your specific needs. You can create these templates entirely from scratch or make a copy of an existing Quick Labels template and customize it to meet your needs.
Note: The Quick Labels toolbar button is available in any module that you can select a patient from. You must select a patient to enable the Quick Labels button.
To create a Quick Label template
1. From any Dentrix module except the Office Manager, select a patient.
2. Click the Quick Labels button on the module's toolbar.
The Quick Labels dialog box appears.
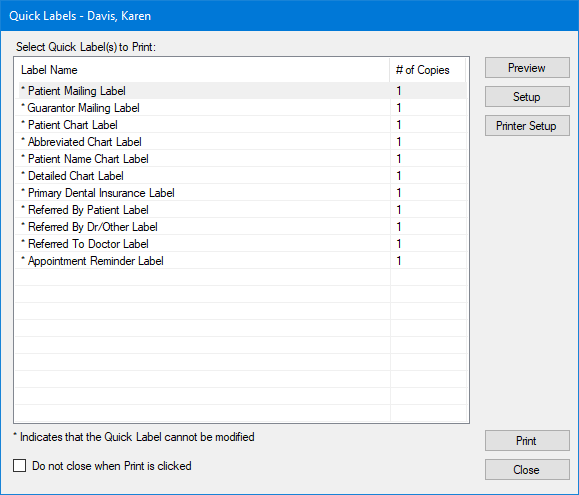
3. Click Setup.
The Quick Label Setup dialog box appears.
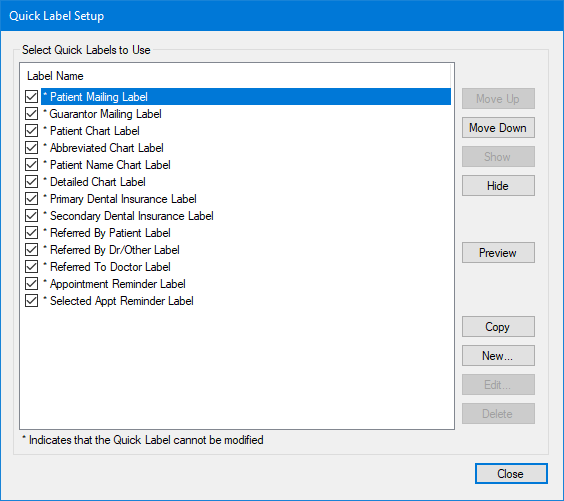
4. To create a new Quick Label, click New.
The New Quick Label dialog box appears.
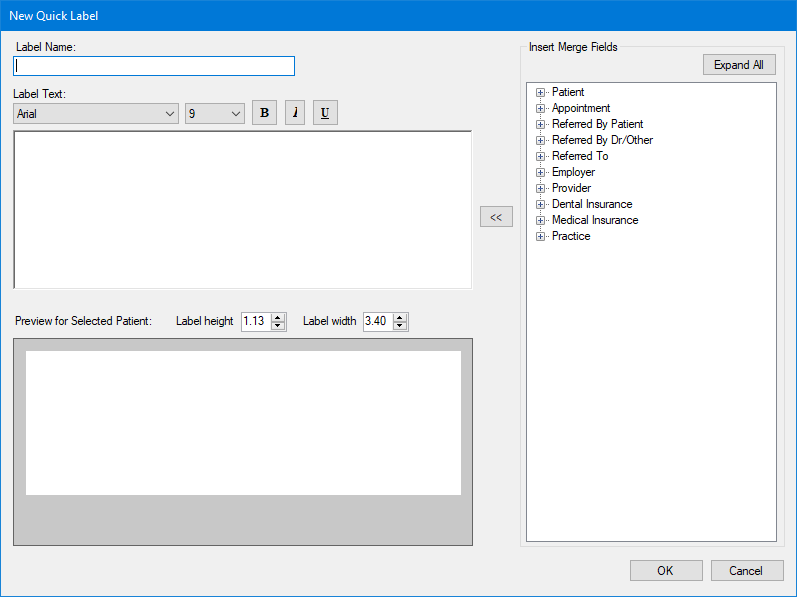
5. Under Label Name, type a name for the Quick Label that you want to create.
6. Under Insert Merge Fields, expand an item in the list.
To expand all of the items in the list, click Expand All.
To collapse all of items in the list, click Collapse All.
7. Click the merge field that you want to appear in the label you are creating, and then click the placement button  .
.
8. Press Enter to create a new line in the text box and then repeat Step 6 as necessary.
The text for the Quick Label appears in the Preview for selected patient text box.
Note: You must insert punctuation marks and spaces between the merge fields in the text box where necessary as, for example, in <<City>>, <<State>> .
9. To create the new Quick Label, click OK.