Procedure time indicates the amount of time needed to complete a procedure.
To set a procedure time
1. In the Office Manager, click Maintenance, point to Practice Setup, and then click Procedure Code Setup.
The Procedures Code Setup dialog box appears.
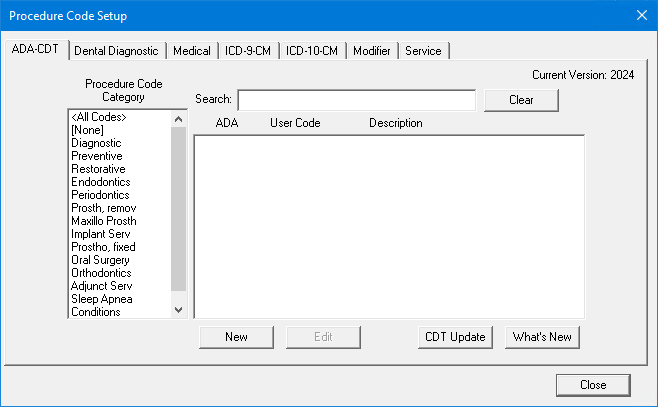
2. To select a code, do one of the following:
Type the first few characters of the ADA code, user code, or description in the Search text box.
Select a Procedure Code Category and code from the respective list.
3. Click Edit.
The Procedure Code Editor dialog box appears.
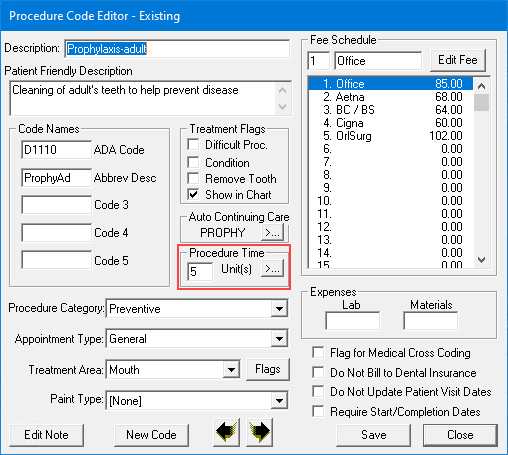
4. Click the Procedure Time search button.
The Appointment Time Pattern dialog box appears.
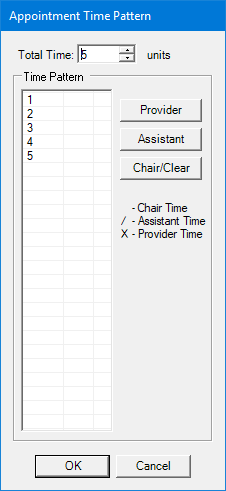
5. Do one or more of the following:
Click the up arrow to increase or the down arrow to decrease the Total Time units.
To change the procedure's time pattern, select the time pattern that you want to change, and then, as appropriate, click the Provider, Assistant, or Chair/Clear button to toggle between provider time (X), assistant time (/), or chair time (blank box). Click until the appropriate pattern is in place.
Note: One unit is equal to the time block size you chose in Setting up practice hours in the Appointment Book. By default, each unit that you add has an "X" for the time pattern. Dentrix allows you to indicate whether each appointment interval is provider time, assistant time, or chair time. When you are searching for available appointment times, Dentrix only considers provider, thus allowing you to book providers more consecutively and productively.
6. Click OK to save the procedure time pattern.
7. To complete the process for adding or editing ADA-CDT dental codes, click Adding ADA-CDT dental codes or Editing ADA-CDT dental codes, respectively.