When you attach a Continuing Care type to a procedure, Dentrix automatically updates the patient’s Continuing Care due date by the assigned interval when you complete the procedure. If you have not yet assigned the Continuing Care type to the patient, Dentrix adds it.
To attach a Continuing Care type
1. In the Office Manager, click Maintenance, point to Practice Setup, and then click Procedure Code Setup.
The Procedure Code Setup dialog box appears.
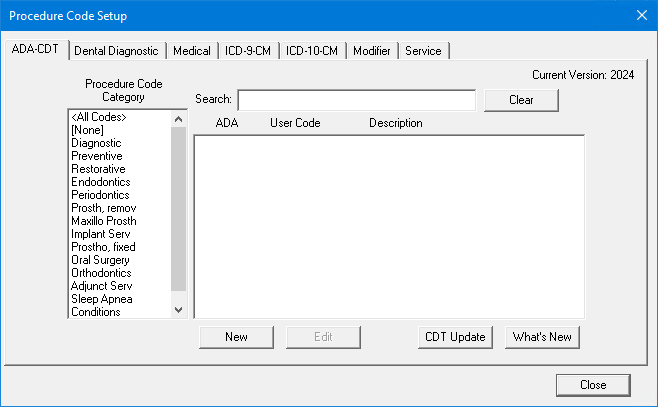
2. To select a code, do one of the following:
Type the first few characters of the ADA code, user code, or description in the Search text box.
Select a Procedure Code Category and code from the respective list.
3. Click New or Edit.
The Procedure Code Editor appears.
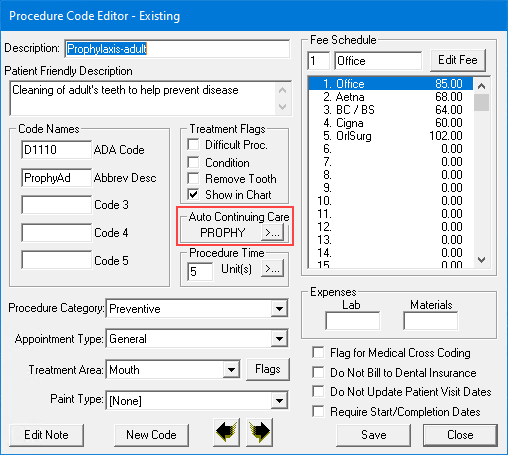
4. To attach a Continuing Care type to the procedure, click the search button under Auto Continuing Care.
The Select Continuing Care Type dialog box appears.
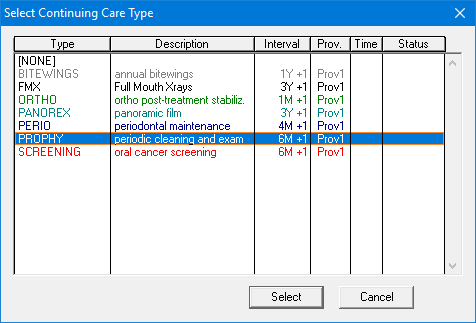
5. Select the appropriate Continuing Care type from the list.
Note: You can assign only one Continuing Care type to a procedure.
6. Click Select to attach the selected Continuing Care type.
7. To complete the process for adding or editing ADA-CDT dental codes, click Adding ADA-CDT dental codes or Editing ADA-CDT dental codes, respectively.