In Dentrix, patient files are organized by family. When you add new patients, you must first enter the head of household or guarantor, even if that person is not a patient. After entering the head of household, you can add other family members.
To add a new family account
1. In the Family File, click File, and then click New Family.
The Select Patient dialog box appears.
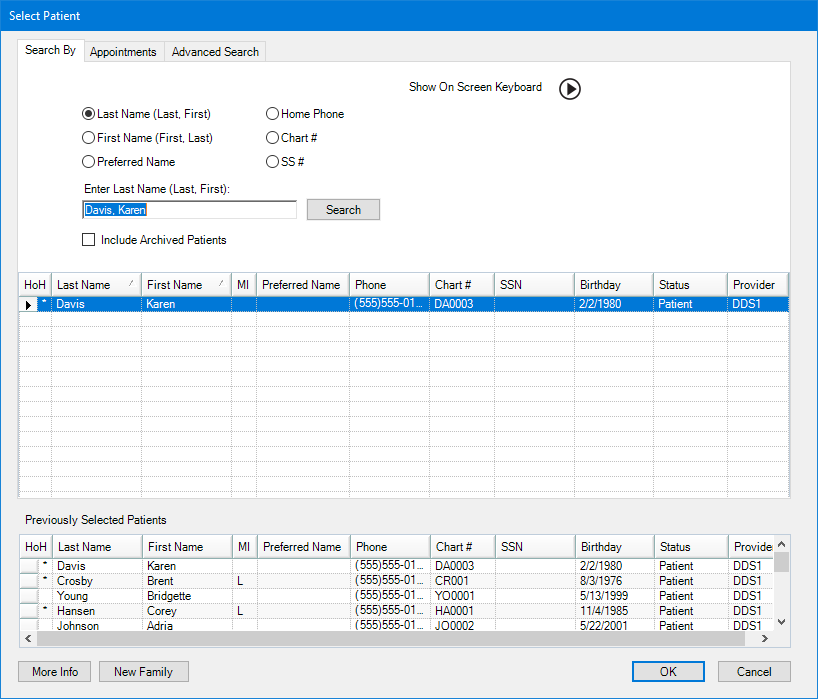
2. Enter the family's last name to verify that the family is not already entered in the system.
3. Click New Family.
The Add a New Patient dialog box appears.
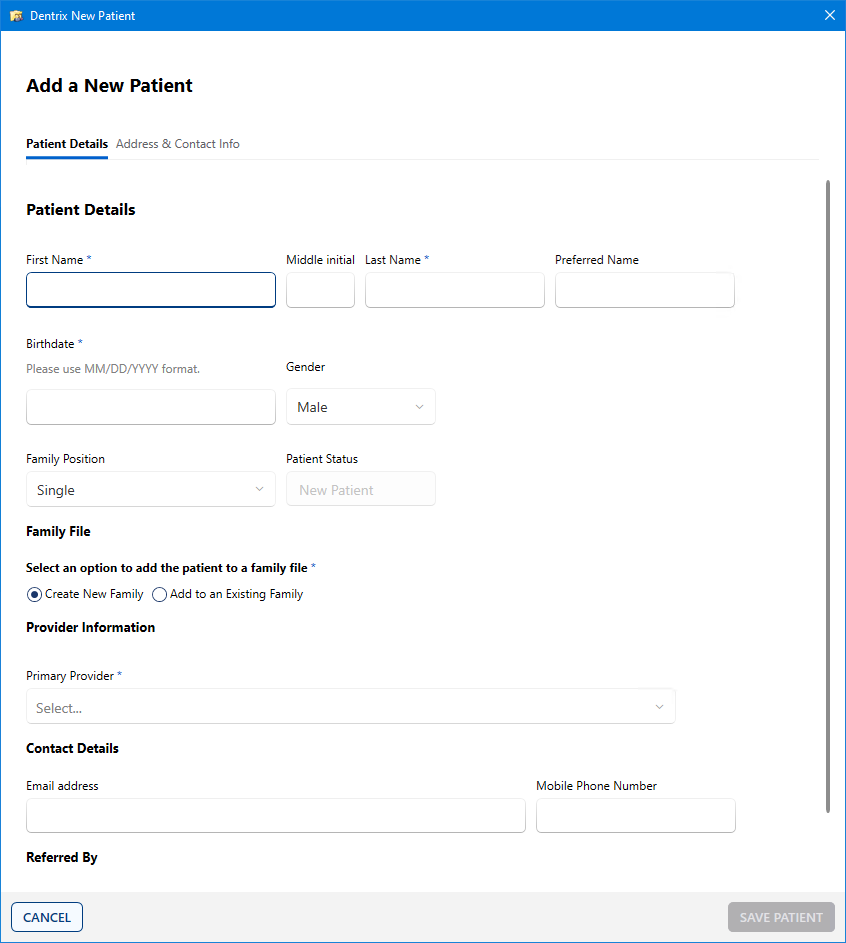
4. Provide the following mandatory information:
Type the patient's first and last names in the corresponding fields.
Type the patient's Birthdate.
Select one of the following options:
Create New Family – Creates a new family.
Add to an Existing Family – Adds the new patient as a member of an existing family.
Select the new patient's Primary Provider from the provider list.
5. Provide the following information:
Select the patient's Gender.
Select the patient's Family Position (Single, Married, Child, Other).
Type the patient's Email address.
Type the patient's Mobile Phone Number.
Select the patient's Referral Source.
6. To complete the new patient's contact information, click Address & Contact Info.
The Address & Contact Info page appears.
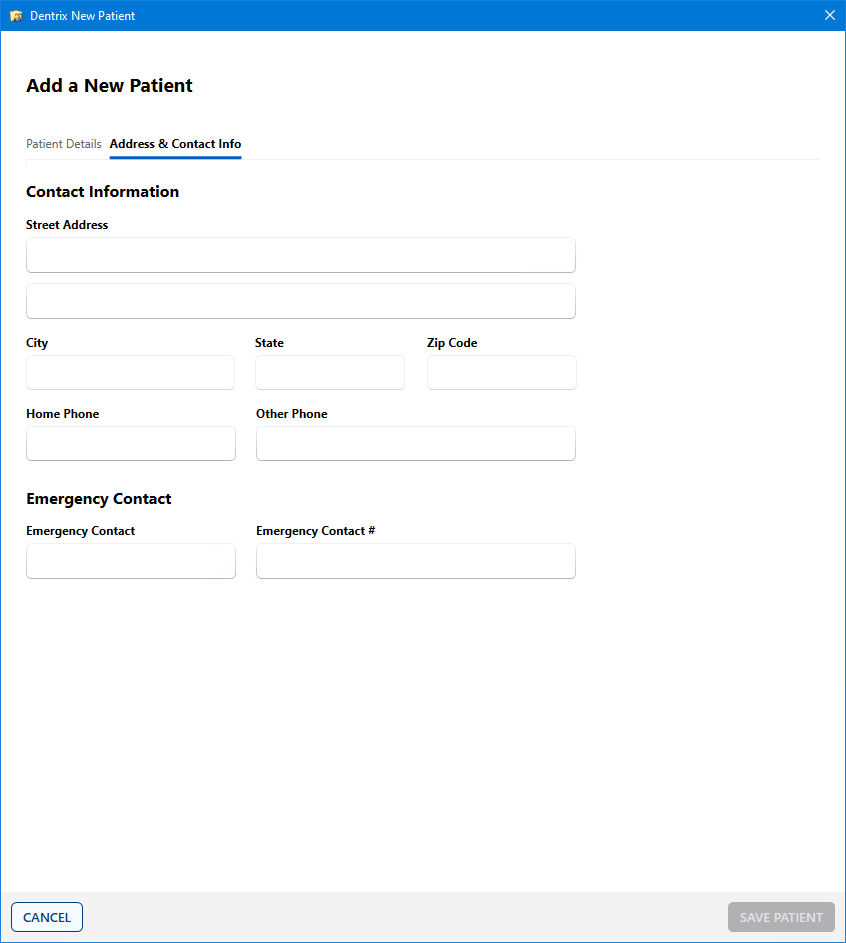
7. Enter following patient information:
Street Address – The patient's street address.
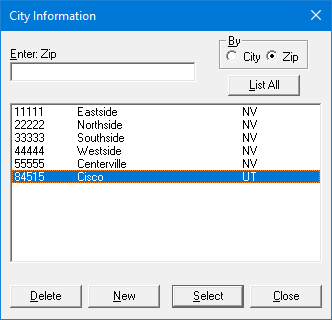
City – The patient's city.
The City Information dialog box appears.
State – The patient's state.
ZIP Code – The patient's ZIP Code.
Note: To avoid the possibility of a claim being rejected, type the patient's ZIP + 4 ZIP Code. You do not need to type the hyphen. Dentrix inserts it automatically.
Home Phone –
Other Phone –
Emergency Contact – (Entering the patient's address makes this field mandatory.)
Emergency Contact # – Emergency contact's phone number. (Entering the patient's address or an emergency contact makes this field mandatory.)
8. Click SAVE PATIENT.