
You can rearrange images within an exam that uses a set of images.
Important: If you are in the modality view, you must close it to rearrange the images in an exam.
To rearrange images in an exam
1. In
the Imaging toolbar, click the Launch Dentrix Imaging icon ![]() .
.
The Dentrix Imaging window appears with the History tab selected.
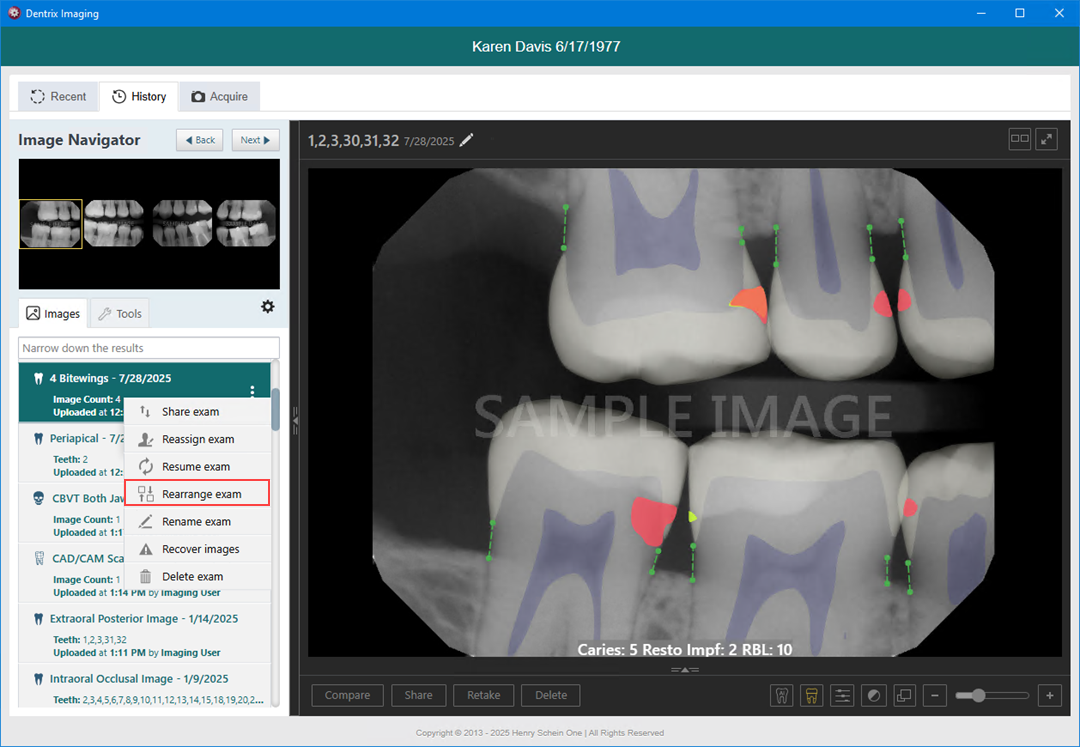
2. Select a series (such as a full mouth series or bitewings), and then on the corresponding options menu, click Rearrange exam.
The Rearrange Exam dialog box appears.
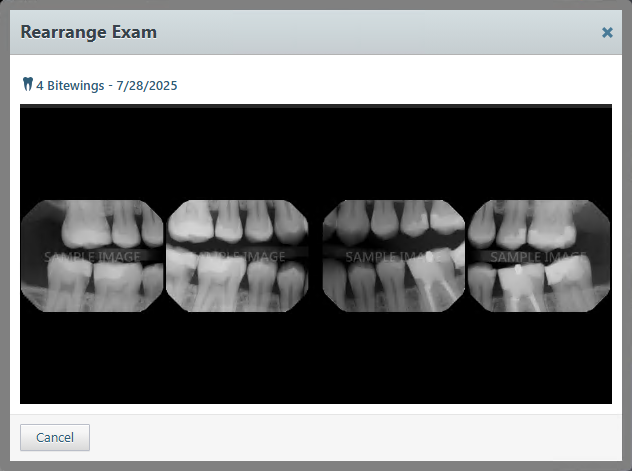
3. Do any of the following as needed:
· To swap two images in the template, drag one of the images to the box with another image.

· To move an image to an empty box in the template, drag the image to the desired box.
· To change the orientation of an image in the template, select it to view the toolbar, and then click any of the available buttons as needed: Flip Horizontal, Flip Vertical, Rotate Counterclockwise (- 90 degrees), and/or Rotate Clockwise (90 degrees).
Note: If an image is flipped, the Rotate Clockwise and Rotate Counterclockwise buttons rotate the image in the same direction as if the image was not flipped.

When you have moved or changed the orientation of at least one image, the Confirm button becomes available.
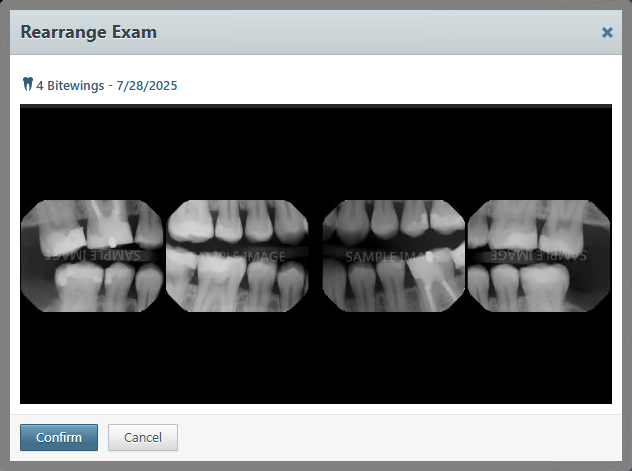
4. When you have finished rearranging the images, click Confirm.