
The Modality or SuperFMX View introduces flexibility and efficiency to imaging workflows. You can choose between the traditional template or exam-based workflow (Exam View) and a developed modality or anatomical workflow (Modality or SuperFMX). This view accommodates diverse operational preferences and clinical needs, allowing you to select the workflow that best supports your diagnostic processes.
To switch to the modality view
1. To
open Dentrix Imaging, click the Launch Dentrix Imaging icon ![]() .
.
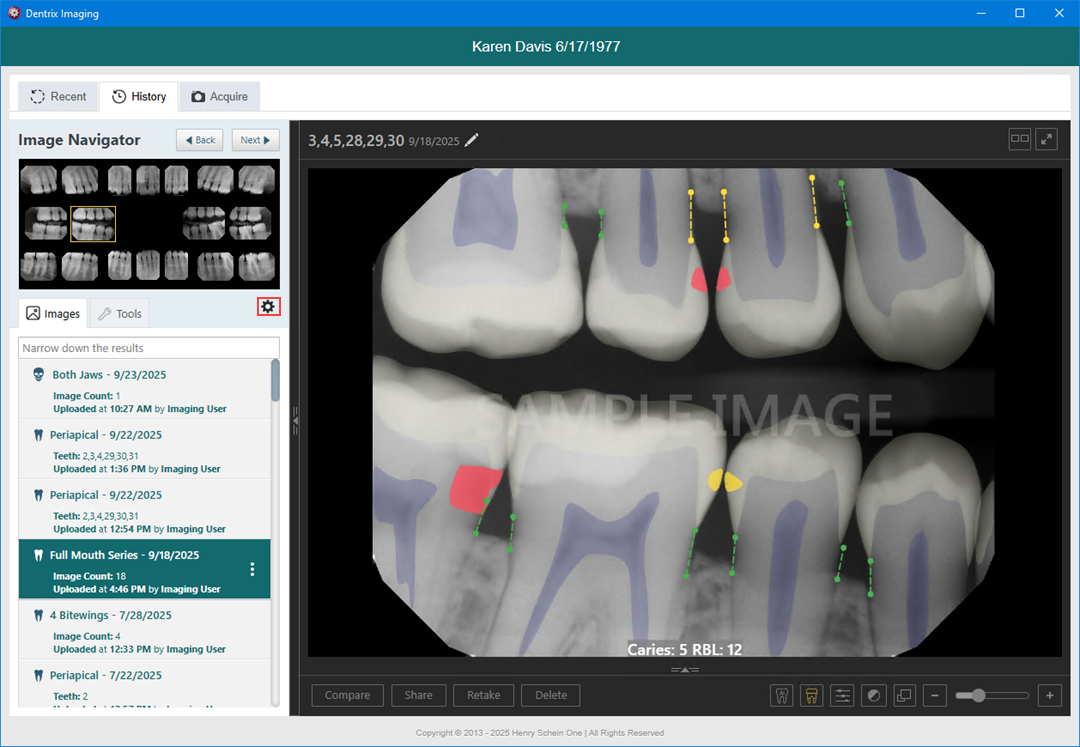
The Dentrix Imaging window appears.
2. Click the Settings icon.
The Settings dialog box appears.
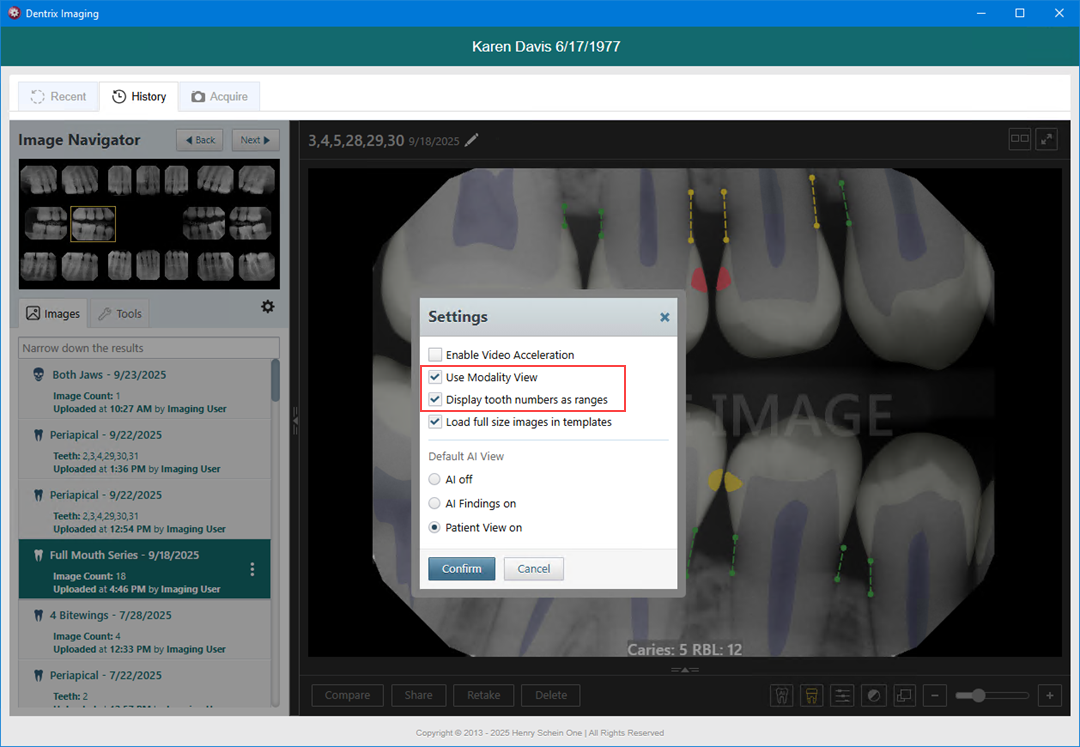
3. Select Use Modality View, and then click Confirm.
The Display tooth numbers as ranges option is selected automatically.
Notes:
· Images appear by order of date with the most recent image appearing on the top of the stack.
· The number of images contained in the stack appears in the lower-left or lower-right corner of the stack.
· To navigate the stack, click the arrow in the upper-right corner.
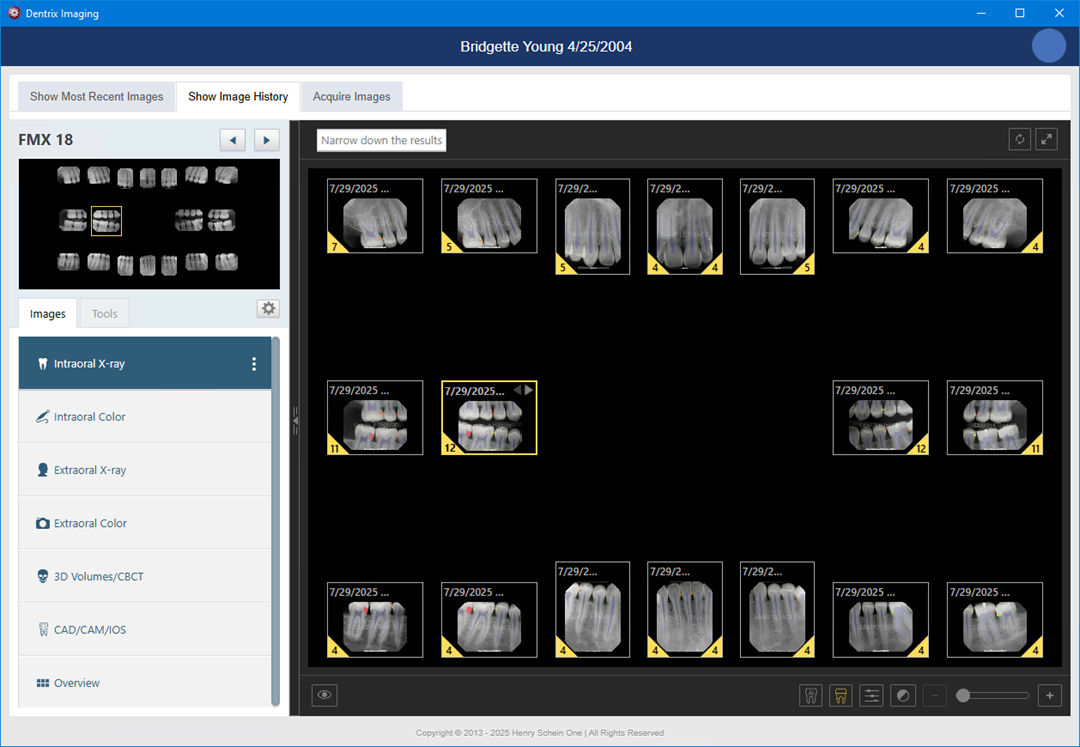
4. To narrow the results, click Narrow down the results.
The Narrowing Down the Results dialog box appears.

5. Set up any of the following filters:
· Date – To view the images according to a different date, select the desired date in the list under Show images taken on. To view all images that have been acquired on and after the selected date, select the All since that day checkbox. To view the images that were acquired only on the selected date, clear the All since that day checkbox.
· Show Deleted – Select to view deleted images so you can review or recover them.
· Tooth chart – To view images for specific teeth, select the desired teeth.
· Show everything – To set the filter options to their default states and display all the patient's images, including deleted images, click Show everything.
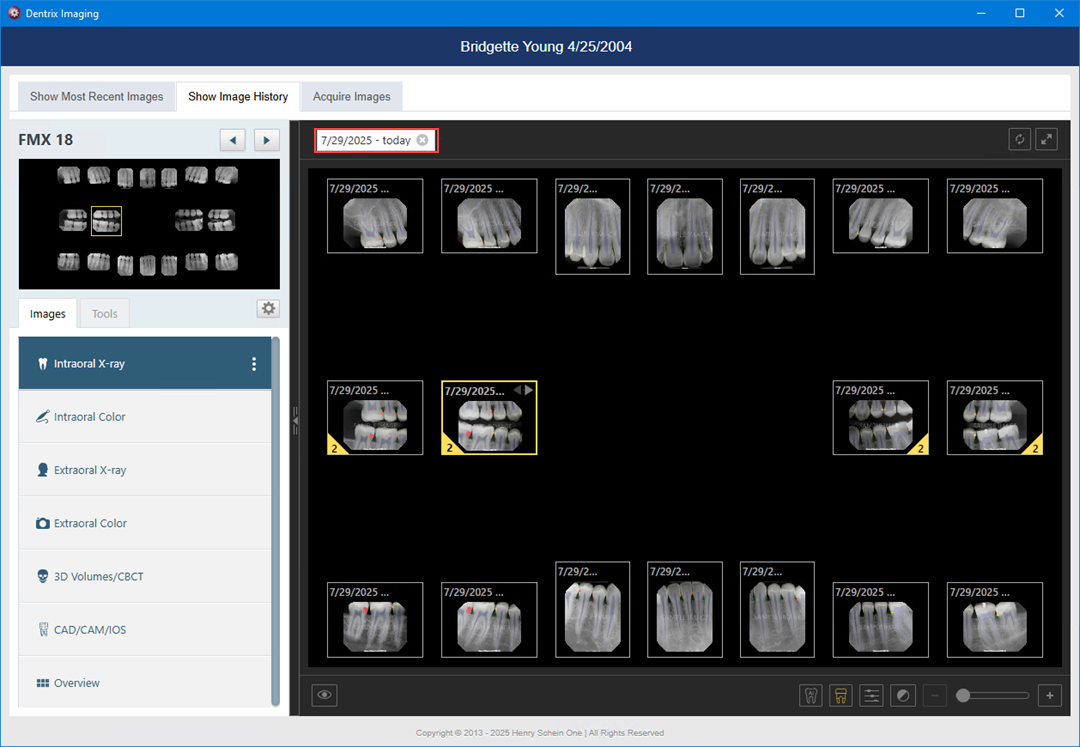
6. Close the Narrowing Down the Results dialog box.
The narrowed down results appear.
7. To return to the complete results, close the current view.