

|
Adding and editing markers
Markers are internal office codes that you can attach to patients. You can filter your reports and track information by the unique markers that you create. You can add and edit marker codes as needed.
To add or edit a marker
1. From the File menu, point to Codes and Lists > Patient Documentation, and then click Markers.
The Markers Table window appears.
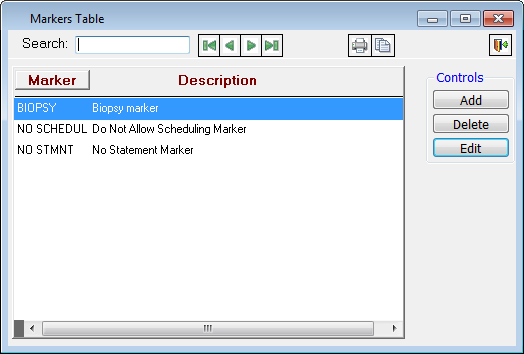
2. Do one of the following:
· To add a marker, click Add.
· To edit an existing marker, select a marker, and then click Edit. This option is available only if your user account has an access level high enough to edit markers.
The Edit Marker dialog box appears.

3. Set up the following options:
· Marker - Type the name for the marker. This field has a limit of 10 characters.
· Description - Type a description for the marker. This field is limited to 50 characters.
· Security Level - Enter the minimum level that is required for a user to be able to attach the marker to a patient or to delete the marker. If a user who does not have a high enough access level to add the marker tries to attach the marker to a patient, a dialog box will appear so that a manager can give overriding approval by entering his or her user name and password.
· Pop-up - Select when a message should appear:
· Patient Information Center - When you first open a patient’s Patient Information Center.
· Billing - When you click the Charge linkon the Control Panel in the Patient Information Center, when you schedule an appointment in the Appointment Book, and when you post a Virtual ScanRapidPost Form.
· Payments - When you click the Payment link on the Control Panel in the Patient Information Center.
· Create, Edit, Confirm Appts - When you make, edit, or confirm an appointment.
· Treatment Plans - When you add a treatment plan.
· Auto-Termination Properties - Specify when you want the marker to expire and stop making messages for it appear:
a. Type the number (of days, weeks, months, or years) in the Terminate after field, and then select Days, Weeks, Months, or Years from the list to have the marker automatically terminate (remove itself from a patient) after the designated period of time. A value of 0 in the Terminate after field prevents the marker from auto-terminating.
b. From the Marker to add following auto-termination list, select a marker if you want to replace the current marker once it auto-terminates with the selected marker. The Marker to add following auto-termination list available only if the Terminate after field has a value greater than zero.
4. Click OK.
Need more help?
You can visit our website, contact OMSVision Customer Support, or suggest a new feature or improvement on User Voice.