

|
Adding patient photos
You can attach a digital photograph of a patient to that patient's Patient Information Center.
To add a patient photo
1. On the Medical History/Allergies/Alerts
panel of a patient's Patient Information Center, in the Patient
Photo section, click Acquire
![]() .
.
The Acquire Image dialog box appears.
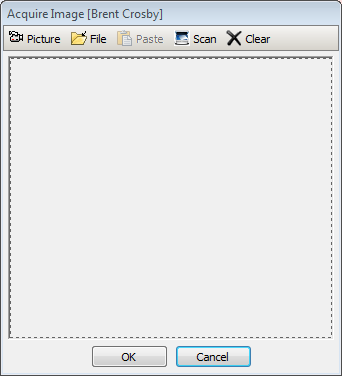
2. Do any of the following:
· Click the Picture button to acquire a photo.
· Click the File button to open the Find image on disk dialog box, and then browse for and select a graphic (the supported file formats are .jpg, .bmp, and.png). On the message that appears, click Copy to place a copy of the original image in the patient_photos folder on the server (the original file is not moved), or click Move to move the selected image from the original location to the patient_photos folder on the server (the original file will no longer exist in the original location).
· Click the Paste button to insert an image from the Windows Clipboard.
· Click the Scan button to open the Select Source dialog box, and then select the TWAIN 32-compliant device (for example, a camera or scanner) you want to use to acquire the photograph. Click Select, and then, acquire the image using the selected device (the window and available features will vary based on the device).
· Click the Clear button to clear any previous acquisition.
3. Click OK.
The picture is attached to the patient's record, and the label of the Acquire button changes to "Open."
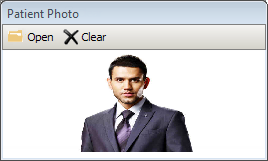
Note: You
can click Open ![]() to acquire a new picture.
to acquire a new picture.
Need more help?
You can visit our website, contact OMSVision Customer Support, or suggest a new feature or improvement on User Voice.