Creating structured visit notes
A provider with a narrative review password set up can enter structured visit notes for a patient from the hard tissue or periodontal chart. By default, a new note is added for the current date or for the date of the most recent appointment in the past for the patient.
To enter a structured note
1. In the hard tissue chart or periodontal chart, from the menu of the Notes: List section, point to New > SV Note, and then click the name of the desired template.
The Enter your Password dialog box appears.
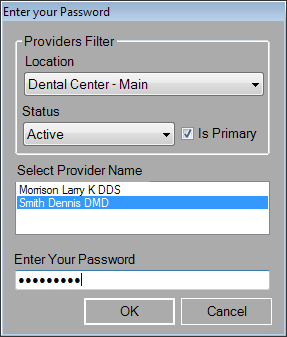
2. Select your provider name, type your password, and then click OK.
The Create New Structured Visit Note dialog box appears.
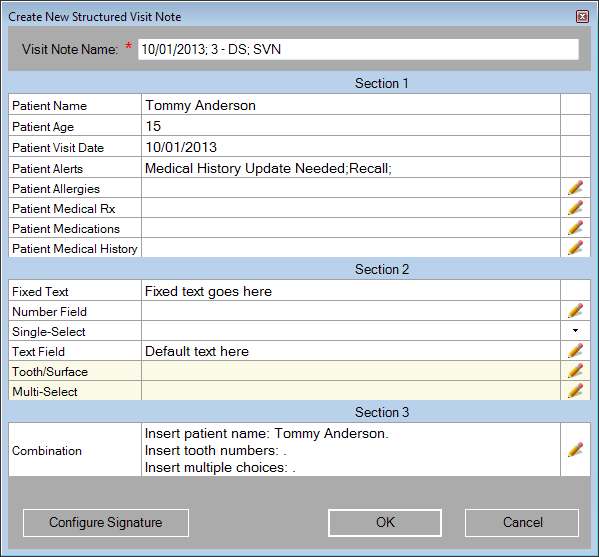
3. If necessary, change the Visit Note Name. The default name is a date, a user's initials, and "SVN."
4. The form may contain information that has been merged from the patient's record in your 's database. The information for those merged items, if present on the form, cannot be changed or added to: Patient Name, Patient Age, Patient Visit Date, and Patient Alerts. Other merged items allow you to add more information for those items: Patient Allergies, Patient Medical Rx, Patient Medications, and Patient Medical History.
Fill out the form for the following options as applicable:
· Patient Allergies
- Click the Edit
button  . Existing
patient allergies appear in the Edit
Patient Allergies dialog box. To add an allergy, under Added Patient Allergies, click Add New, select an
allergy, and then click Add.
To remove an allergy you have added here, select it, and then click Remove. Then, to save
your changes, click OK.
(Any changes made in ClinicalVision will affect the patient's record in
your .)


· Patient Medical
Rx - Click the Edit
button  . Existing
patient prescriptions appear in the Edit Prescriptions
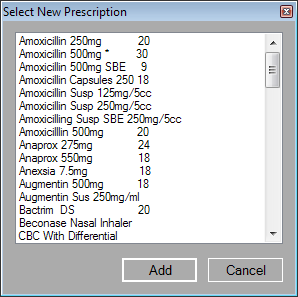
dialog box. To add a prescription, under Added
Patient Prescriptions, click Add New,
select a prescription, and then click Add.
To remove a prescription you have added here, select it, and then click
Remove. Then, to
save your changes, click OK.
(Any changes made in ClinicalVision will affect the patient's record in
your .)

· Patient Medications
- Click the Edit
button  . Existing
patient medications appear in the Edit
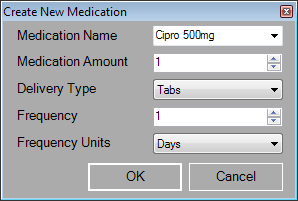
Medications dialog box. To add a medication, under Added Patient Medications, click
Add New, specify
the medication details, and then click OK.
To remove a prescription you have added here, select it, and then click
Remove. Then, to
save your changes, click OK.
(Any changes made in ClinicalVision will affect the patient's record in
your .)

· Patient Medical
History - Click the Edit
button  . Existing
patient medical history appears in the Edit
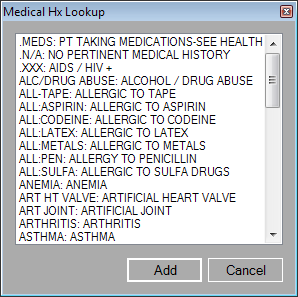
Medical History dialog box. To add medical history items, under
Add new medical history,
click Lookup, select
an item, and then click Add.
You can also type in the field to add medical history. Then, to save your
changes, click OK.
(Any changes made in ClinicalVision will affect the patient's record in
your .)

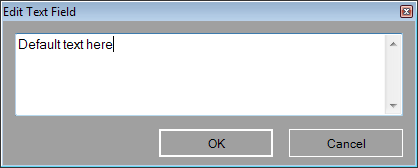
· Free Text Entry - For this type of option, leave or change the default text (if any), or type new text as needed.
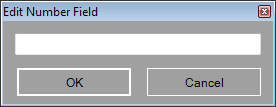
- Numeric
Click the Edit
button
 , type a number, and then click OK.
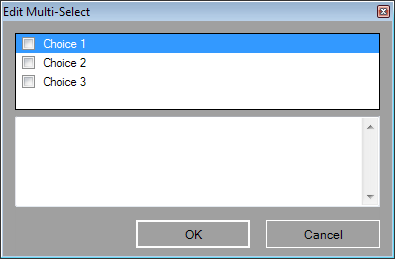
· Multiple Item Select
- Click the Edit
button  , select
any or all of the available choices, and then click OK.
· Single Item Select - From the list, select one of the available choices.

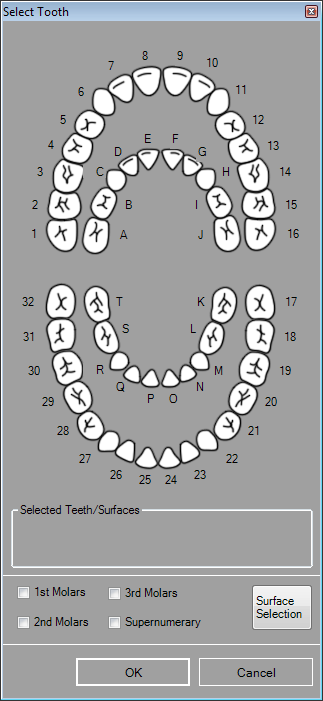
· Tooth/Surface Select
- Click the Edit
button  , select
tooth numbers and/or surfaces, and then click OK.
· Combination
- Click the Edit
button  , add, edit,
or remove text as needed, and then click OK.

Important: Be sure to enter or select information for all the fields that are used in combination items.
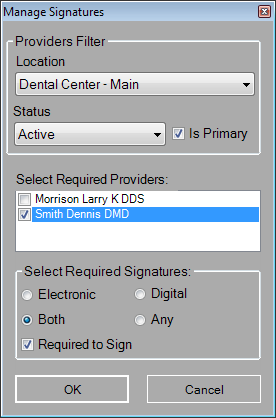
5. To add provider signatures, click Configure Signature. This button is available only if the note requires a signature. In the Manage Signatures dialog box that appears, select the check boxes of the providers that must sign the note. Under Select Required Signatures, for each selected provider, specify whether an electronic and/or digital signature is required and if this provider is Required to sign (this check box must be selected for at least one provider). Then, click OK.
6. Click OK.
Need more help?
You can visit our website, contact OMSVision Customer Support, or suggest a new feature or improvement on User Voice.


