Adding and editing employee accounts
To use the time clock, you must first set up employee accounts. You can add and edit employee accounts as needed.
To add or edit an employee account
From the File menu, click Time Clock.
The Time Clock window appears.
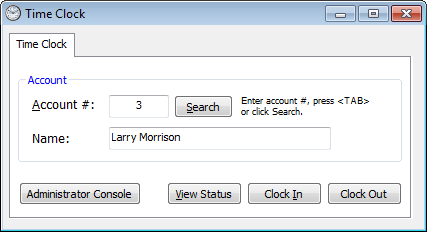
Click Administrator Console.
The Time Clock Administrator Console window appears.
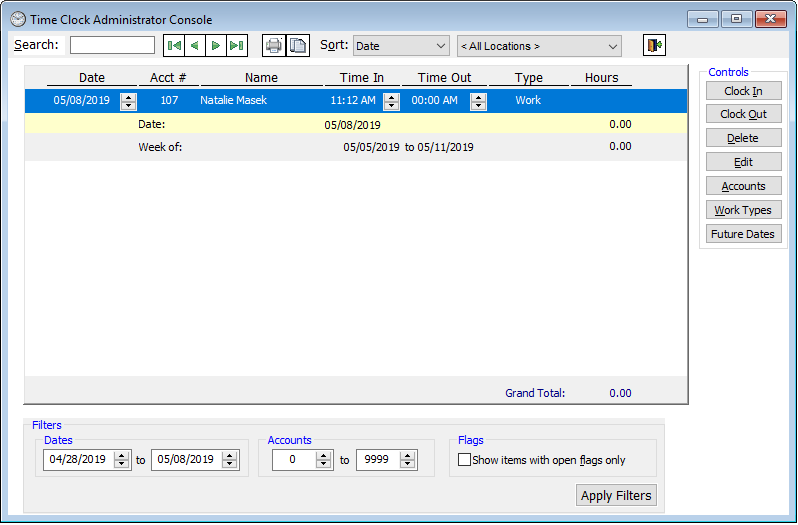
Click Accounts. This option is available only if there is at least one time clock entry displayed (change the Filters; or go back to the Time Clock window, and then click Search).
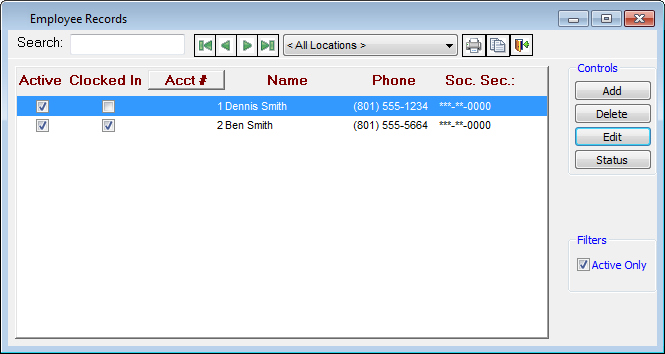
The Employee Records window appears.
Notes:
The Social Security number appears with only the last four digits visible. The rest of the digits appear as asterisks (*).
To view active and inactive employees, under Filters, clear the Active Only check box. To view only active employees, leave the check box selected.
Do one of the following:
To add an employee account, click Add.
To edit an existing employee account, select an employee account, and then click Edit.
The Edit Employee Payroll Account dialog box appears.

Set up the following options:
Acct # - Enter a unique account number between 1 and 9999 for the employee account. The number cannot be changed once the account information has been saved.
Active Account - Select this option if the employee will use the time clock. This option is available only if the Time Entry Open check box is clear.
Tip: The Time Entry Open check box is selected automatically if the employee has clocked in but not clocked out. You cannot inactivate an employee account if the Time Entry Open check box is selected.
Start Date - Enter the employee's start date.
Allowances - Set the number of tax allowances for the employee. This is only for record keeping purposes and is not factored into the calculated pay.
Password - Type the password the employee will use to clock in and out. This field has a limit of 10 characters.
Name - Type the name of the employee.
Soc. Sec. # - Type the Social Security number of the employee. Only the last four digits of the Social Security number are visible. The rest of the digits appear as asterisks (*) until you click in the field.
Address - Type the employee's street address, city, state, and ZIP Code. You can also double-click the ZIP Code field to search for and paste in the city, state, and ZIP Code.
Phone - Type the employee's personal phone number.
Location - Select the location where the employee works.
Married - Select this check box if the employee is married. This is only for record keeping purposes.
Provider # - If this employee account is for a provider, select a provider number to link this employee account to that provider. If the provider is not available in the list, you can click New Provider to add the provider.
Time Entry Open - This check box is selected automatically if the employee has clocked in but has not clocked out. However, you can select or clear the check box as needed.
Pay:
Hourly or Salaried - Select whether the employee is paid hourly or a salaried employee.
Rate - Type the rate of pay for the employee.
Overtime - Type the number of hours over which to begin calculating overtime and the overtime rate in the After [number of] hrs./week, After [number of] hrs./day, and Rate fields.
Fingerprint - If you have purchased the Biometrics add-on for fingerprint recognition, select Scan to allow the employee to log on with a fingerprint scanner or Don't Scan not to allow the employee to log on with a fingerprint scanner.
Daily Schedule:
In/Out - Type the employee's schedule in the In and Out fields for each day of the week.
Minimum Time Out - Enter the number of minutes before the employee can clock in after clocking out. 0 means there is no restriction.
Administrator Flags:
Set for clock in too early or out too late - Select this check box to have a flag be created when the employee clocks in or out too late.
Require flags to be cleared before reporting - Select this check box to require that flags be removed before running time clock reports.
Click Ok.
Need more help?
You can visit our website or contact OMSVision Customer Support.