Workstation installation
Once OMSVision has been installed or upgraded on the server, install OMSVision on each workstation.
To install OMSVision on a workstation
Insert the OMSVision installation disc into the DVD drive.
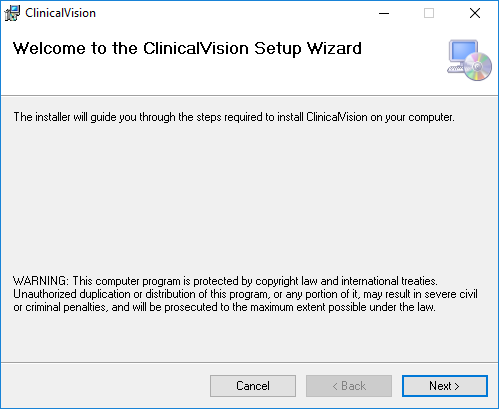
The Welcome screen appears.
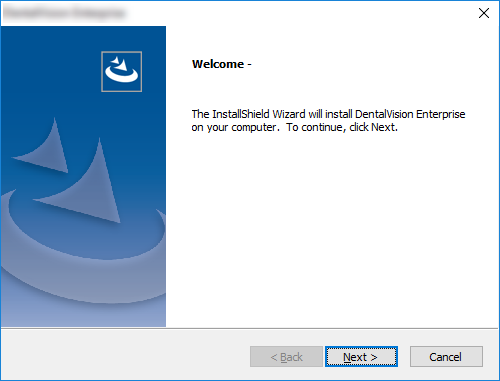
Click Next.
The End User License Agreement screen appears.
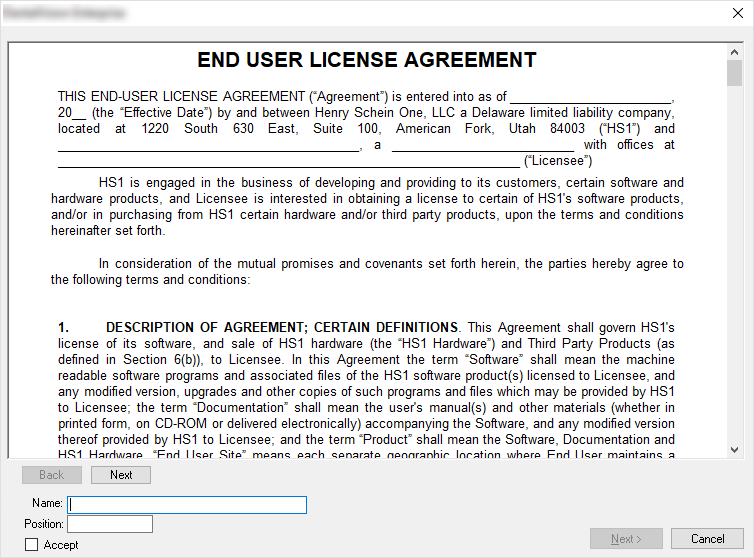
Read the EULA (End User License Agreement). Use the Back and Next buttons to navigate between the pages of the EULA.
Type your Name and Position.
Select the Accept check box.
Click Next.
The Business Associates Agreement screen appears.
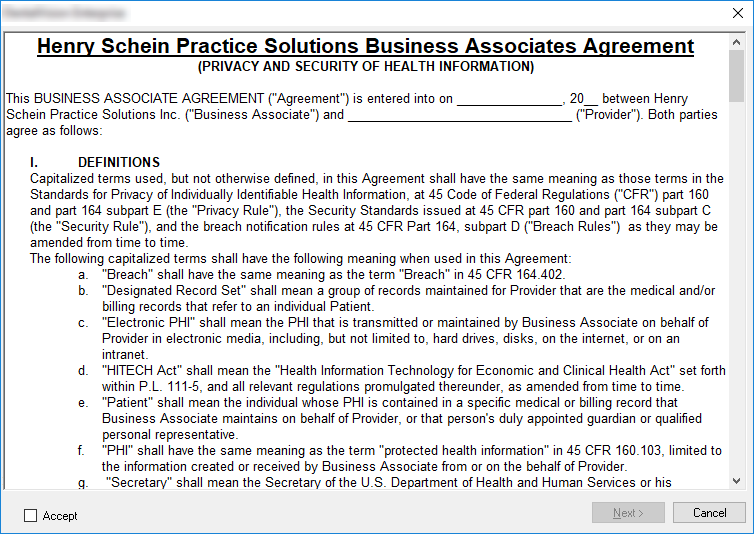
After reading the agreement, select Accept, and then click Next.
The Type of Installation screen appears.
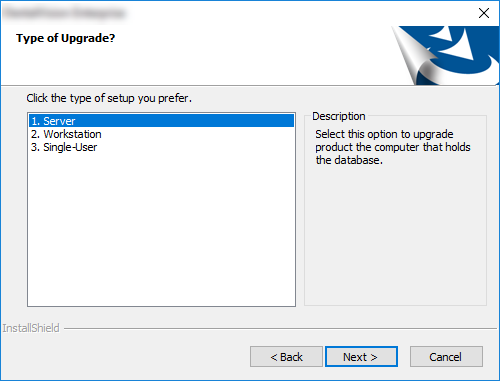
Click Workstation to install the program files.
The Choose Destination Location screen appears.
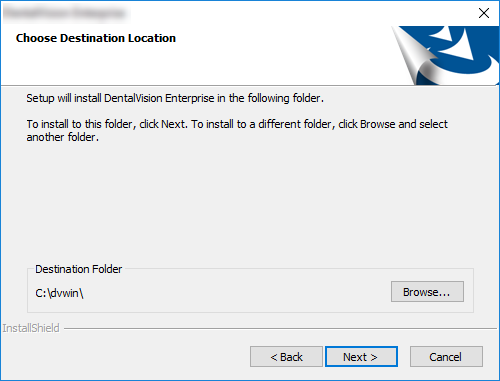
Leave the current location selected, or specify a different location.
Click Next.
A message appears asking you if it’s OK to close OMSVision on all workstations.

Click Yes.
The Select User Number and Network Drive screen appears.
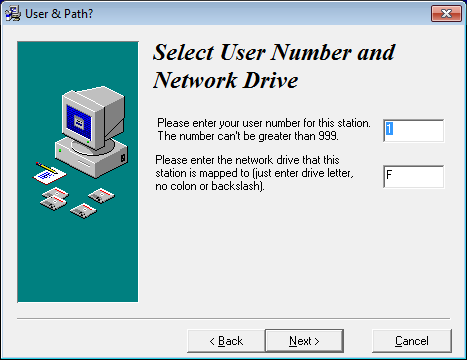
Type the workstation number. The station number must be unique but does not have to be consecutive with the station numbers of the other workstations. You must, however, make sure that one of the stations or the server is number one (preferably, station one should the computer from which you will back up, assuming that the backup will not be run on a dedicated file server).
Type the letter of the mapped network drive that contains the dvwin folder.
Click Next.
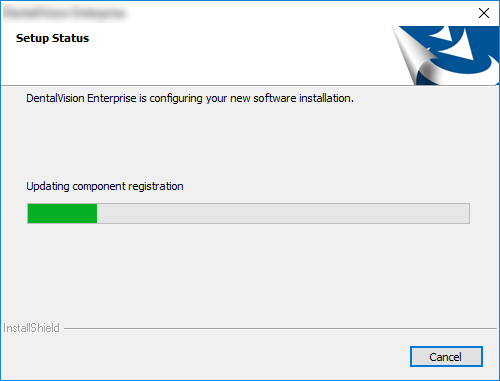
A progress indicator appears.
Follow the prompts to complete the installation of any necessary third-party and other software.
The Complete screen appears.

Click Finish.