Using the Vision Update Utility
Using the Vision Update Utility, you can perform the following tasks:
Configure updater settings
Check for updates
Download updates
Install updates
View updates that have been installed
To open the Vision Update Utility
Double-click the Vision Update Utility icon that you added to your Windows desktop (in the previous section).
![]()
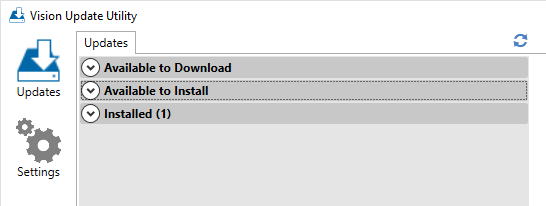
The Vision Update Utility main window appears.
To configure updater settings
After opening the Vision Update Utility, click the Settings icon.
The Update Settings tab appears.
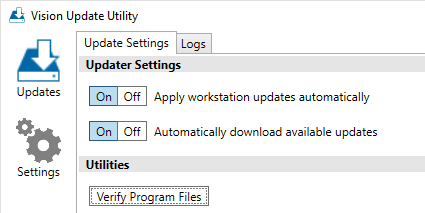
You can set/use the following options:
Apply workstation updates automatically - When this option is set to On, workstations are automatically updated when new software is available (as long as they remain online).
Automatically download available updates - When this option is set to On, software updates are automatically downloaded and made available for workstations (as long as they remain online), but they are not automatically installed.
Verify Program Files - When you click this option, the Vision Update Utility verifies that the necessary OMSVision program files are properly installed. (Verifying this can be helpful before upgrading to a new software version.)
To check for updates
After opening the Vision Update Utility, click the Updates icon.
Click the Check for updates icon ![]() .
.
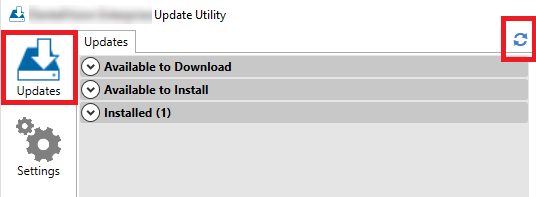
Any new software updates appear under Available to Download.
To download updates
After opening the Vision Update Utility, click Available to Download.
Click the software update you want to download.
To install updates
After opening the Vision Update Utility, click Available to Install.
Click the software update you want to install.
To view updates that have been installed
After opening the Vision Update Utility, click Installed.
Click the software update you want to download.
The list expands to show the updates that have been installed.