

|
Customizing Document Center categories
In addition to the general Document Center preferences, you can customize the categories that will be used by default for all patients (existing and new) when you add documents in the Document Center.
To customize the categories
1. In
the Document Center, click
Preferences  .
.
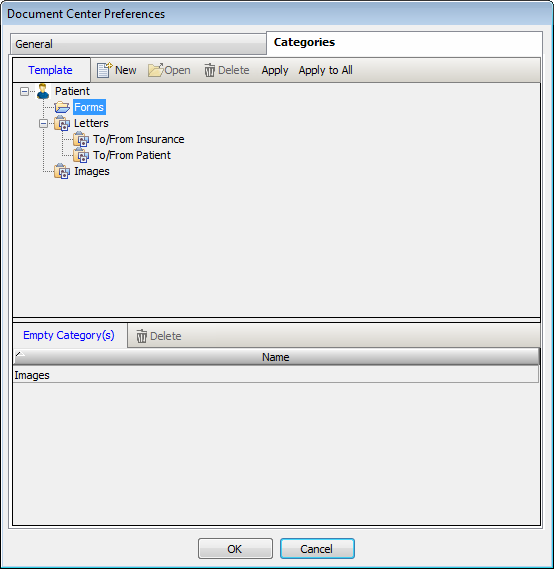
The Document Center Preferences dialog box appears with the Categories tab selected by default.
2. Perform any of the following tasks as needed:
· Add a category:
a. Select the Patient category or any other category. If you do not have any categories created yet, the first category you create will be at the second level. Also, all categories are sub-categories of Patient, as it is the root (first) level; you cannot create another root level category.
b. Click New.
A category or sub-category appears with the default text “Add Category [a number]”.

c. Type a category name to replace the highlighted text, and then press the Enter key.
· Change a category name:
a. Select the category that you want to rename.
b. Click the name of the category.
The text of the category name becomes available for editing.
c. Change the name, and then press the Enter key.
· Delete a category:
a. Select the category that you want to delete. You cannot delete a category that has sub-categories. You must first delete all sub-categories, and then you can delete the category.
b. Click Delete.
· Delete an empty category:
a. The categories that do not have any documents or images in them for any patient appear in the Empty Category(s) list. Select the category that you want to delete.
b. Click Delete.
3. Click Apply to apply the changes to the current patient without closing the dialog box, click Apply to All to apply the changes to all patients without closing the dialog box, or click OK to apply the changes to the current patient and close the dialog box.
Need more help?
You can visit our website, contact EndoVision Customer Support, or suggest a new feature or improvement on User Voice.