

|
Adding EHR image templates
You can create EHR image templates for types of images taken during different stages of treatment.
To create an EHR image template
1. From the File menu, point to Codes and Lists > EHR Templates, and then click Image.
The Image Templates window appears.
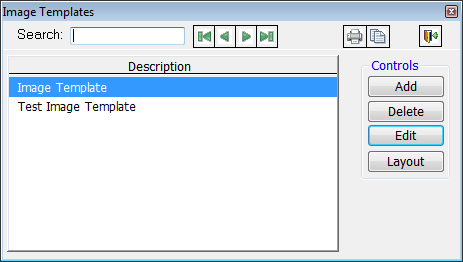
2. Click Add.
The Edit Image Template Header dialog box appears.
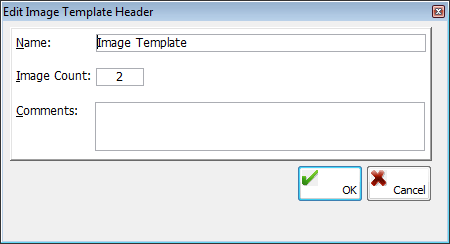
3. Set up the following options:
· Name - Type the name for the image template. This field has a limit of 50 characters.
· Image Count - Type the number of images for the image template.
· Comments - Type any comments regarding the image template.
4. Click OK.
The Editing Image Template dialog box appears.
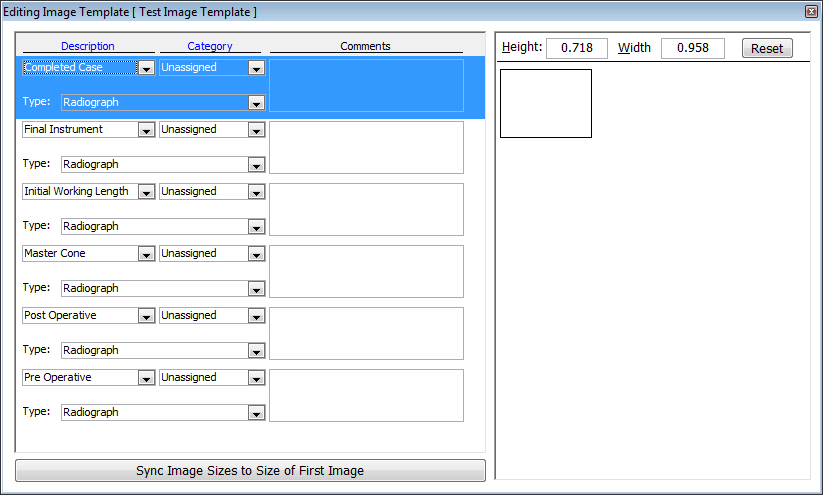
5. For each image item, set up the following options:
· Description - Select a description.
· Category - Select a category.
· Type - Select a type.
· Comments - Enter any comments.
Tip: Click the Description and Category links to customize the description and category options that appear in the respective lists for each image item. Select the items to display, or click Add Item to add a new item. Click Close. You can only delete unused items. If you try to delete an item that is in use, a message appears and asks if you want to inactivate the item instead.
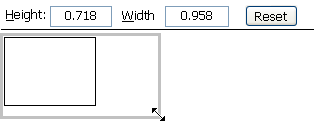
6. Select each image item, in turn, and do one of the following: type the desired Height and Width of the image in inches, or drag any corner of the box to resize the image placeholder. Click Reset if you need to reset the image to the original size (0.718"H x 0.958"W).
7. Click Sync Image Sizes to Size of First Image to make all the image placeholders the dimensions as the first image.
8. When you are finished, close the Editing Image Template dialog box.
Need more help?
You can visit our website, contact EndoVision Customer Support, or suggest a new feature or improvement on User Voice.