You can print a particular document or multiple documents.
|
Why: |
To print documents that have been attached to entities |
When: |
As needed |
To print documents
In Document Center, do one of the following:
Select
one or more documents in the document
tree, and then click the Print Document(s)
button ![]() on the Document
toolbar.
on the Document
toolbar.
Note: To select multiple documents, click a document, and then, while pressing the Ctrl key, click the other desired documents. To select a range of adjacent documents, click the first document of the desired range of documents, and then, while pressing the Shift key, click the last document of the desired range of documents.
Select one or more documents in the document tree, expand the File menu, point to Print, and then click Print Document(s).
Note: To select multiple documents, click a document, and then, while pressing the Ctrl key, click the other desired documents. To select a range of adjacent documents, click the first document of the desired range of documents, and then, while pressing the Shift key, click the last document of the desired range of documents.
Right-click a document in the document tree, and then click Print Document.
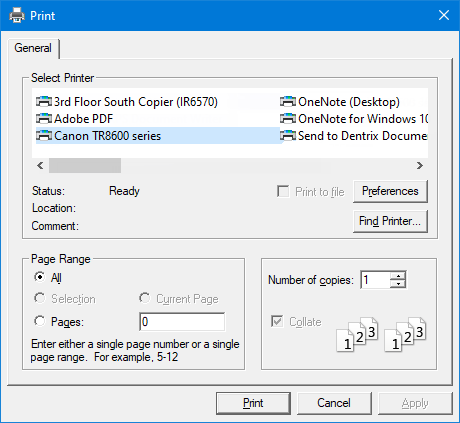
The Print dialog box appears.

By default, the Document Center printer is selected in the Select Printer list. If necessary, select a different printer.
Click Print.

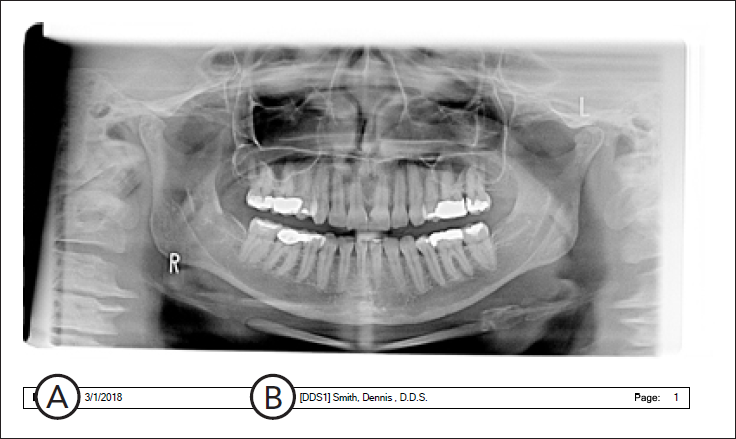
Important information this report provides
Date Attached - The date that the document was attached to the patient, provider, referral, employer, or insurance plan.
Name - The name of the patient, provider, referral, employer, or insurance plan.