The automatic receiving of ERA files requires the data services automation service to be installed and running. You can install this service when you are installing or upgrading Dentrix Enterprise on the database server.
Notes:
To install or upgrade this service, during the Dentrix Enterprise server installation, make sure the Dentrix Data Service (eligibilities) checkbox is selected.

This service should only be installed on one computer.
To install the automation service
During the Dentrix Enterprise server installation, do one of the following:
If the service is not already installed, the Welcome to the InstallShield Wizard for Dtx.DataService screen appears.

Do the following:
Click Next.
The Choose Destination Location screen appears.

Note: The default location where the program files are installed is C:\Program Files (x86)\DXONE\Dtx.DataService.
To change the installation location, do the following:
Click Change.
Do one of the following:
Select a folder in the directory tree.
Enter the path to a folder.
Click OK.
Click Next.
The SQL Server connection screen appears.

Enter the following connection details:
Server Name - The name or IP address of the database server. Also, if the SQL instance that houses your Dentrix Enterprise database has a name, after the IP address or name of the server, include a backslash (\) and then the instance name.
Database Name - Dentrix is the default name of the database, but it may be different if it has been customized for your installation.
Login - The user name of an SQL user with "Sysadmin" rights (such as Enterprise or SA).
Password - The password of the Sysadmin user.
Path To Log - The directory where you want Dentrix Enterprise to store log files regarding eligibility verifications and ERA retrievals. This path can reference a local folder (for example, E:\DTXData\DataSvcLogs) or a network location (for example, \\Server_Name\DTXData\DataSvcLogs).
Click Check Database Credentials.
If a message appears, stating that the connection was successful, click OK.

Click Next.
The Ready to Install the Program screen appears.

Click Install.
When the process is finished, the InstallShield Wizard Completed screen appears.

Click Finish.
If the service is already installed, the Welcome screen appears.

Do the following:
Select the Modify option.
Click Next.
The SQL Server connection screen appears.

Enter the following connection details:
Server Name - The name or IP address of the database server. Also, if the SQL instance that houses your Dentrix Enterprise database has a name, after the IP address or name of the server, include a backslash (\) and then the instance name.
Database Name - Dentrix is the default name of the database, but it may be different if it has been customized for your installation.
Login - The user name of an SQL user with "Sysadmin" rights (such as Enterprise or SA).
Password - The password of the Sysadmin user.
Path To Log - The directory where you want Dentrix Enterprise to store log files regarding eligibility verifications and ERA retrievals. This path can reference a local folder (for example, E:\DTXData\DataSvcLogs) or a network location (for example, \\Server_Name\DTXData\DataSvcLogs).
Click Check Database Credentials.
If a message appears, stating that the connection was successful, click OK.

Click Next.
The Ready to Modify the Program screen appears.
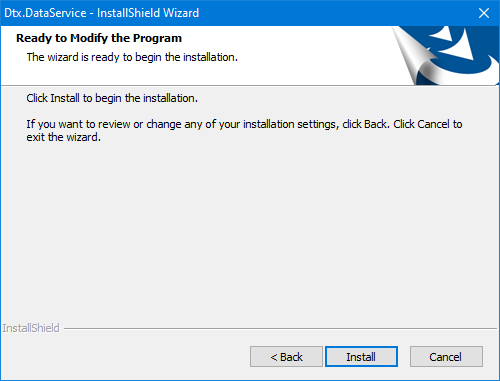
Click Install.
When the process is finished, the InstallShield Wizard Completed screen appears.

Click Finish.