Do one of the following:
Double-click the setup file (EnterpriseServer-11.0.44.xxx.exe; where "xxx" represents the revision number).
In Apps & features of Windows Settings, select Dentrix Enterprise Server, and then click Modify.
The Welcome screen appears.
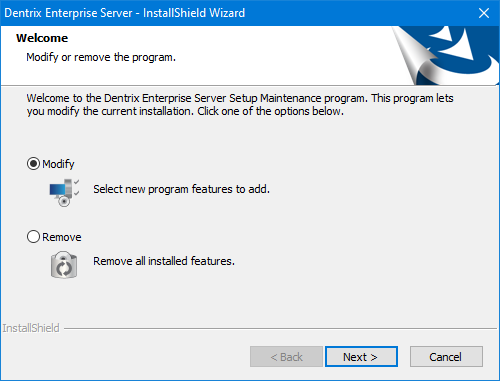
Leave the Modify option selected.
Click Next.
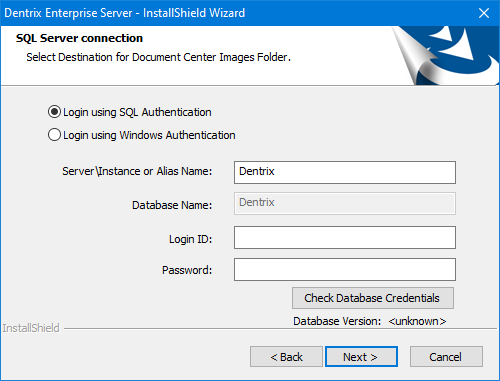
The SQL Server connection screen appears.
Select one of the following options:
Login using SQL Authentication - To connect to the database using the credentials of an SQL user with "Sysadmin" rights (such as Enterprise or SA).
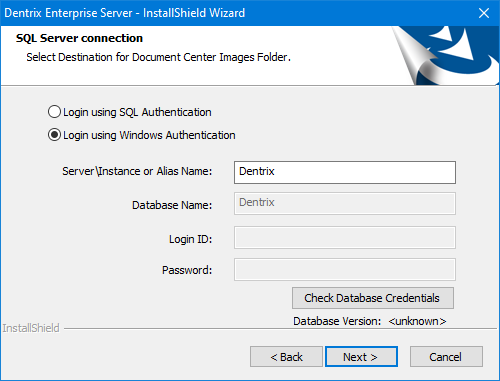
Login using Windows Authentication - To connect to the database using the credentials of the current Windows user (if the user has "Sysadmin" rights to the SQL database).
Set up the following options as applicable:
Server\Instance or Alias Name - The name or IP address of the database server. Also, if the SQL instance that houses your Dentrix Enterprise database has a name, after the IP address or name of the server, include a backslash (\) and then the instance name.
Login ID - (Available only for SQL authentication) The user name of the SQL user with "Sysadmin" rights.
Password - (Available only for SQL authentication) The password of the Sysadmin user.
Click Check Database Credentials.
If a message appears, stating that the connection was successful, click OK.
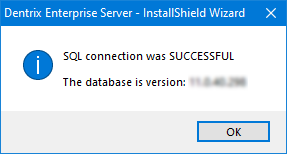
Click Next.
The Choose Install Options screen appears.

Set up the following options:
Run SQL Update Scripts - To update the database, select this checkbox.
Note: This checkbox is available only if the Active Directory Authentication checkbox is clear.
Active Directory Authentication - To update the database for Active Directory authentication, select this checkbox.
Note: Selecting this checkbox also selects the Run SQL Update Scripts checkbox if it is not already selected.
Call Installer for Selected Windows Services - Click the plus sign (+) to view the available services. The checkboxes of the services that were previously installed are selected by default. Do any of the following as needed:
To reinstall/modify or uninstall a service, leave the corresponding checkbox selected.
To uninstall a service, clear the corresponding checkbox.
To install a service, select the corresponding checkbox.

Notes:
At least one checkbox must be selected to continue.
To uninstall all services, exit the InstallShield Wizard, and then do one of the following:
Double-click the setup file (EnterpriseServer-11.0.44.xxx.exe; where "xxx" represents the revision number), select the Uninstall option, click Next, click Yes to confirm, and then click Finish when the process is complete.
In Apps & features of Windows Settings, select Dentrix Enterprise Server, and then click Uninstall, click Uninstall on the pop-up message, click Next, click Yes to confirm, and then click Finish when the process is complete
Click Next.
If the Document Unfiled Utility Service checkbox was selected, a confirmation message regarding a client installation being required appears. Click Yes.

Note: Clicking No returns you to the Choose Install Options screen.
The Ready to Modify the Program screen appears.
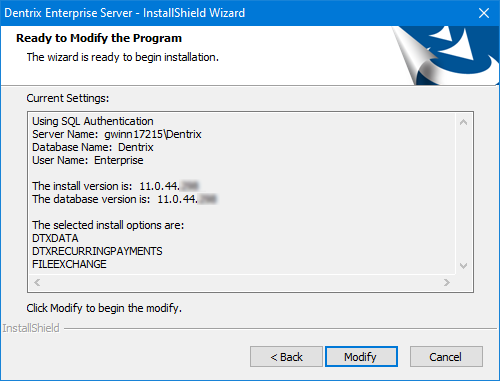
Review the specified options, and then click Modify.
If the Run SQL Update Scripts checkbox was selected, a command prompt window appears and displays the progress of the scripts to update the database.
Upon completion, if a message about the scripts appears, click OK.
The log file opens in Notepad.
Check the log for any errors. If the log indicates that the database was updated successfully, close the document. If there are any errors, contact Dentrix Enterprise Customer Support at 800-372-4346 to resolve the errors before continuing with the installation.
If a message about re-running the scripts appears, click Cancel to continue.
Note: Clicking Retry returns you to the SQL Server connection screen (see step 4).
The Welcome screen for the HermeS1 service installer appears.
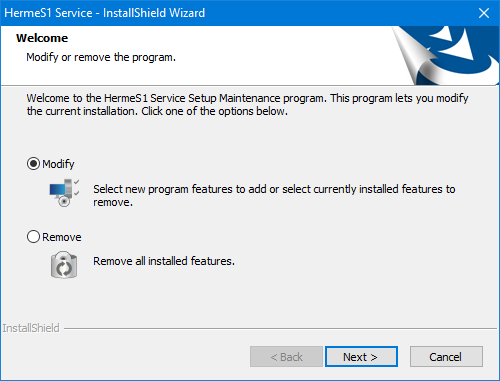
Do the following to reinstall/modify the HermeS1 service
Leave the Modify option selected.
Click Next.
The SQL Server connection screen appears.

Enter the following connection details:
Server\Instance or Alias Name - The name or IP address of the database server. Also, if the SQL instance that houses your Dentrix Enterprise database has a name, after the IP address or name of the server, include a backslash (\) and then the instance name.
Database Name - Dentrix is the default name of the database, but it may be different if it has been customized for your installation.
Login ID - The user name of an SQL user with "Sysadmin" rights (such as Enterprise or SA).
Password - The password of the Sysadmin user.
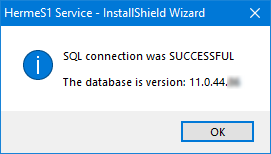
Click Check Database Credentials.
If a message appears, stating that the connection was successful, click OK.
Click Next.
The Start Copying Files screen appears.
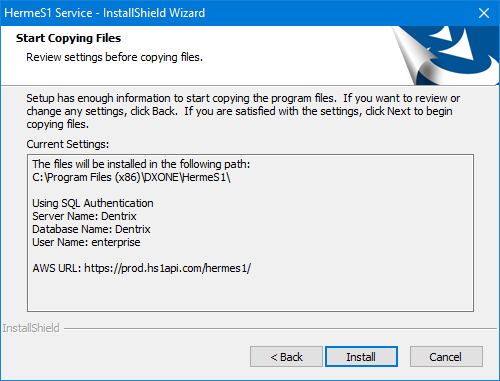
Click Install.
When the process is finished, the InstallShield Wizard Completed screen appears.

Click Finish.
Follow the instructions for reinstalling/modifying each applicable service in turn:
Dental encounter.
Document unfiled utility.
The InstallShield Wizard Completed screen appears.
Click Finish.