You can add a consent form to a case, enter or modify the text of the form as needed, and then have all parties digitally sign it.
Important: When you add a consent form to a case, before you can save the form, the patient (or his or her representative), someone from the practice (such as the dentist), and a witness (or interpreter) must sign it.
To add an enhanced consent form to a case
In Treatment Planner, do one of the following:
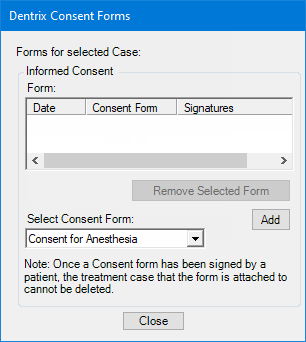
In the Treatment Plan Case Setup section on the Navigation panel, right-click the case that you want to add a consent form to, and then click Consent Forms. The Dentrix Consent Forms dialog box appears.
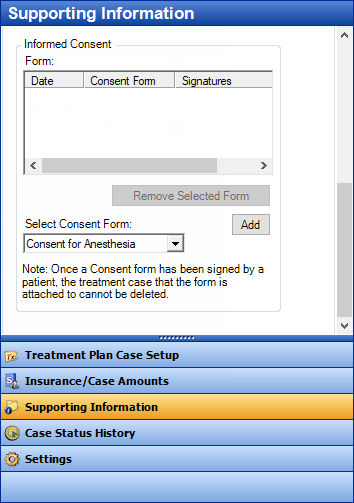
With a case selected in the Treatment Plan Case Setup section on the Navigation panel, expand the Supporting Information section on the Navigation panel, and then scroll down to Informed Consent.
Note: The consent form icon next to the selected case varies, depending on the status of the consent forms for the case:
|
|
There are no consent forms attached to the case |
|
|
All the consent forms for the case have been signed |
From the Select Consent Form list, select the form you want to add to the selected case.
Note: You can manage the default consent forms in the Settings section of the Navigation panel.
Click Add.
The Consent Form dialog box appears.
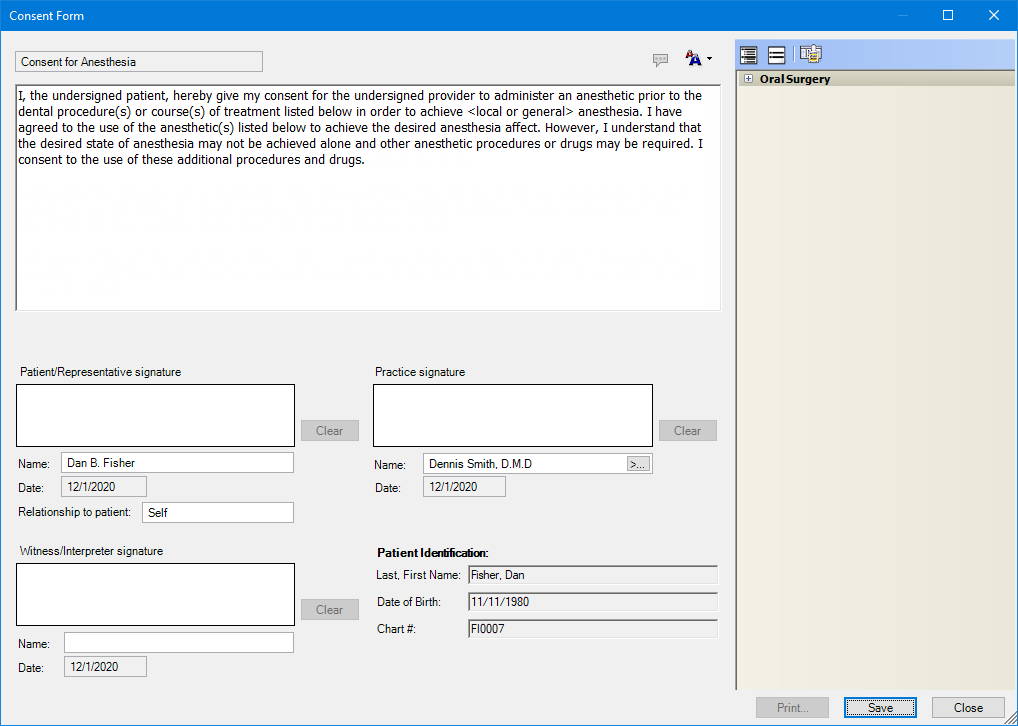
Note: The patient’s name, birth date, and chart number appear in the lower-right corner for your reference.
By default, the consent form text is displayed in the "Small" font size. To select a different font size for the text, click the Change Font Size button  in the upper-right corner of the dialog box, and then select Medium, Large, or X-Large from the menu.
Do any of the following as needed:
Enter the text of the consent form, or modify any existing text.
Use a template to enter text for the consent form:
In the template pane (on the right), expand a category to view the list of available templates for that category by clicking the plus sign (+) next to the category name, and then locate the template that you want to use.
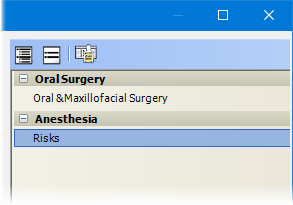
Double-click the desired template.
Any prompts that are associated with the template and that require responses appear. The prompts may appear one at a time in individual dialog boxes, or they may appear grouped together in one dialog box.
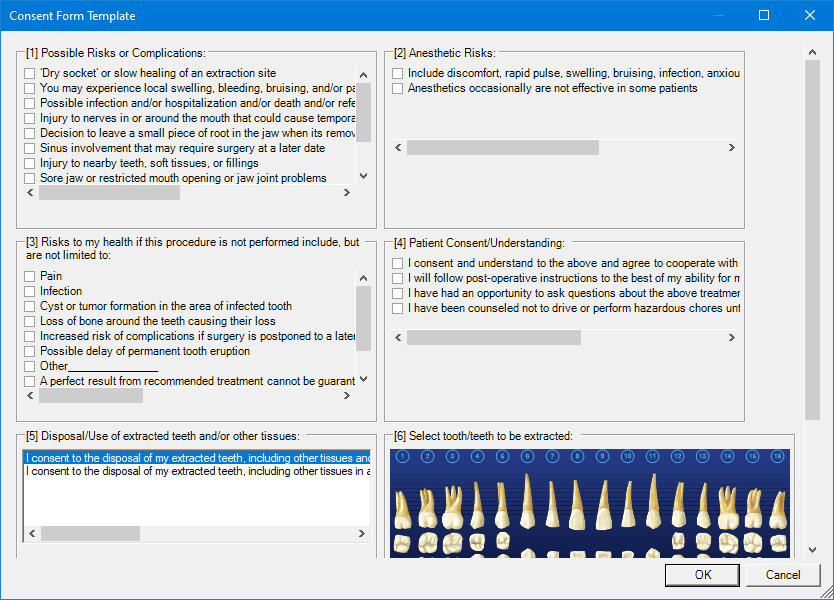
Note: A consent form template can have multiple prompts with an odontogram to select teeth, quadrants, or sextants, but the text of a consent form can have only one odontogram. If you use a template with multiple odontograms, one consolidated odontogram will be inserted into the form text with all the applicable selections. If an odontogram has already been inserted into the form text, you cannot use another template with an odontogram for the same form.
Respond to the prompts that are associated with the template. If no prompts appear, skip this step.
The template text is automatically appended to any existing text for the consent form.
After entering a clinical note using a template, edit the text, or enter additional text as needed.
Note: To save the consent form, it must have text. The text, including procedure information, can be up to 10,000 characters in length.
Set up the following signature options:
Patient/Representative signature - The patient selected in Treatment Planner is entered in the Name box. Also, "Self" is entered in the Relationship to patient box by default. If necessary, edit the patient information (for example, if the person signing is not the patient, enter the name of the patient’s spouse or parent, and enter "Spouse" or "Parent").
Note: The signature, name, and relationship to patient are required to save the form. Once you save the form with a patient or patient representative signature (even the slightest mark registers as a signature), you cannot change the signature, name, and relationship.
Practice signature - By default, Dentrix Enterprise populates the Name box automatically with the name of the user who is currently logged in, but you can change it. To specify the name of the provider (primary or secondary) who will sign the form, do one of the following:
In the Name box, enter the provider's name.
To select a provider, do the following:
Click the Name search button ![]() .
.
The Select Provider dialog box appears.

Either leave the ID and Last Name boxes empty to get a list of all providers, or enter all or part of a provider's ID or last name in the ID or Last Name box, respectively, to search for a provider.
Under Search By, select one of the following options: This Clinic, to search for the provider in the clinic that you are currently logged in to; All Clinics, to search for the provider in all clinics; or My Clinics, to search for the provider in the clinics to which you have been granted the "My Clinics, Select Provider " security right.
Notes:
The All Clinics option is available only if your user account has been granted the "View All Providers" security right for the Central clinic and if your user account has not been granted the "My Clinics, Select Provider" security right for the clinic that you are currently logged in to.
The My Clinics option is available only if your user account has been granted the "My Clinics, Select Provider" security right for at least one clinic and if your user account has not been granted the "View All Providers" security right for the Central clinic.
Either select the All Providers option to include providers who are associated with clinics (and who have a Log On User ID), or select the In ApptBook option to include providers who have been set up in Appointment Book.
Click the search button  .
.
The matching primary and secondary providers appear in the list.
Select the correct provider.
Click OK.
Note: The signature and name are required to save the form. Once you save the form with a practice signature (even the slightest mark registers as a signature), you cannot change the signature and name.
Witness/Interpreter signature - In the Name box, enter the name of the witness or interpreter who will sign the form.
Note: The signature and name are required to save the form. Once you save the form with a witness or interpreter signature (even the slightest mark registers as a signature), you cannot change the signature and name.
Have the patient or patient’s representative, the provider or staff member, and the witness or interpreter sign the consent form. All parties must sign before you can save the consent form.
Notes:
If someone needs to re-sign, you can click the corresponding Clear button to clear the signature.
If there is at least one signature, you cannot change the text of the consent form.
Click Save.
Note: You can save the consent form only if it has text, all three names, the relationship to the patient, and all three signatures.
Click Print.
Note: You can print the consent form only if it is signed.
Click Close.
The signed consent form appears in the list of forms for the selected case, and a copy is saved to the patient’s record as a Document Center document.