If you have a primary database (the main Dentrix Enterprise database) and a secondary database (a database for working in Dentrix Enterprise offline), and want to use services to watch for exported files so that they can be imported automatically into the primary database through HL7 when the secondary database is back online, you must configure the File Exchange integration settings. The primary database will be updated automatically with patient demographics, problems, allergies, and medications (PAM), charges, payments, treatment plans, Document Center files, and provider/staff exports.
Notes:
You must have your HL7 interface configured properly and know how you want to configure the integration settings.
A Dentrix Enterprise Customer Support technician can help you do the following:
Enable a particular global setting.
Install the file exchange services to export and import CCDA and Document Center documents.
Configure File Exchange integration settings.
To configure File Exchange integration settings
While logged in to the Central clinic, in Office Manager, expand the Maintenance menu, point to Practice Setup, and then click Integration Settings.
Note: You can edit File Exchange settings only if you are logged in to the Central clinic; otherwise, you can only view them.
The Integration Settings dialog box appears.
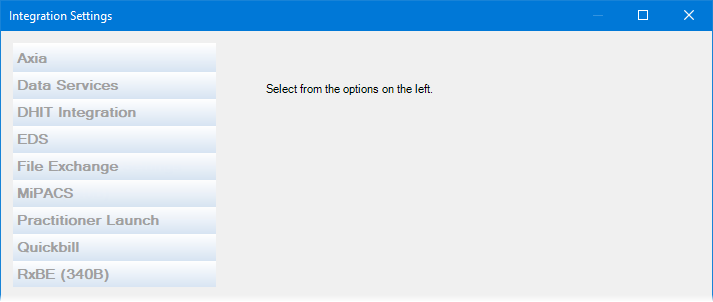
Select the File Exchange tab.
If applicable, do one of the following:
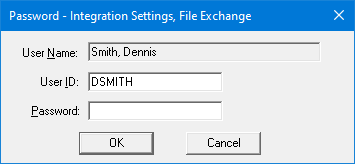
If the Password - Integration Settings, File Exchange dialog box appears, user verification has been assigned to the "Integration Settings, File Exchange" task. Do one of the following:
If your user account has been granted the "Integration Settings, File Exchange" security right, enter your credentials in the User ID and Password boxes, and then click OK.
If your user account has not been granted the "Integration Settings, File Exchange" security right, have a user with permission temporarily override this restriction so you can access the File Exchange settings this one time. The overriding user enters his or her credentials in the User ID and Password boxes and then clicks OK.
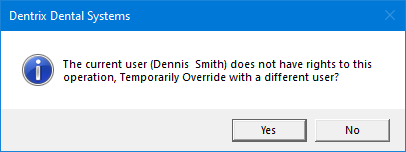
If a message appears, informing you that you do not have rights to this operation, your user account has not been granted the "Integration Settings, File Exchange" security right. To have a user with permission temporarily override this restriction so you can access the File Exchange settings this one time, do the following:
On the message, click Yes.
In the Password - Integration Settings, File Exchange dialog box, the overriding user enters his or her credentials in the User ID and Password boxes and then clicks OK.

The File Exchange settings appear on the right.
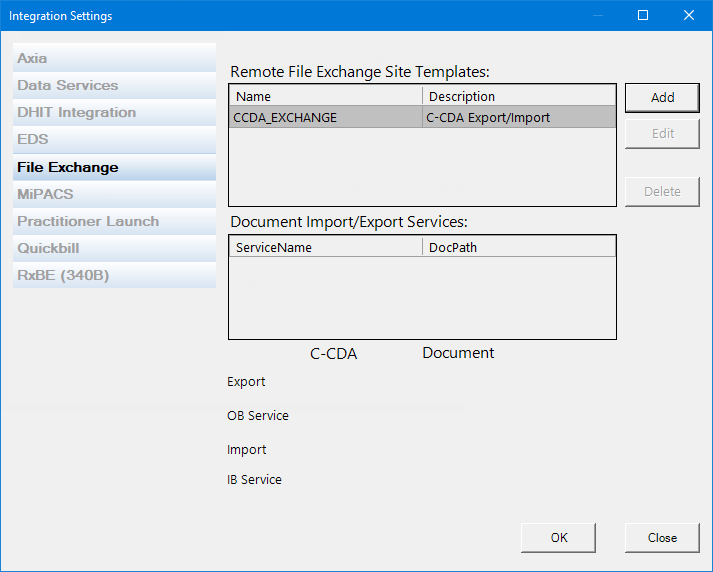
To manage Remote File Exchange Site Templates, do any of the following:
To add a site, do the following:
Click Add.
The Add New Site dialog box appears.
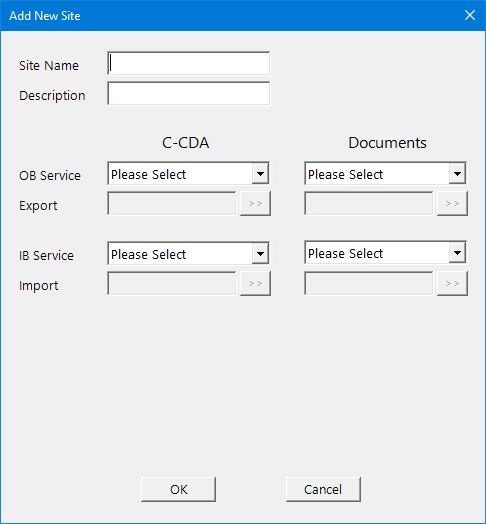
Set up the following options as applicable:
Site Name - Enter a name for the site.
Description - Enter a description for the site.
C-CDA:
Select
the outbound service from the OB Service
list, and then click the Export
search button  to select the
folder to watch.
Select
the inbound service from the IB Service
list, and then click the Import
search button  to select the
folder to watch.
If you use HL7 for exporting and importing data, under HL7, select a Site.
Documents:
Select
the outbound service from the OB Service
list, and then click the Export
search button  to select the
folder to watch.
Select
the inbound service from the IB Service
list, and then click the Import
search button  to select the
folder to watch.
If you use HL7 for exporting and importing data, under HL7, select a Site.
Click OK.
To edit a site, do the following: Select a site, and then click Edit. The Edit Site dialog box appears. Change the Site Name, Description, C-CDA, Documents, and/or HL7 options as needed. Click OK.
To delete a site, do the following: Select a site, and then click Delete. On the confirmation message that appears, click Yes.
Edit the default paths of the services in the Document Import/Export Service list as needed. Select a service, and then click Edit Path to select a different location.
Click OK.