After you have purchased QuickBill and installed the QuickBill software, you can set up Dentrix Enterprise to send billing statements to a clearinghouse to have the statements mailed for you.
To set up electronic billing
While logged in to the Central clinic, in Office Manager, expand the Maintenance menu, point to Practice Setup, and then click Electronic Billing Setup.
Note: This option is available only if you are logged in to the Central clinic and QuickBill is installed.
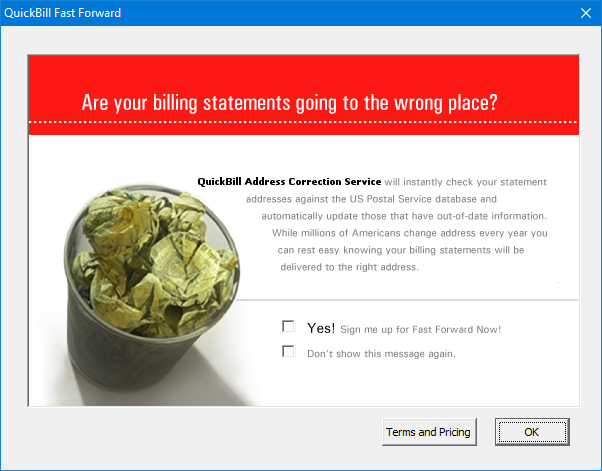
If the QuickBill Fast Forward dialog box appears, proceed to the next step; otherwise skip to step 4.
Do any of the following:
To sign up for Fast Forward, select the Yes! Sign me up for Fast Forward Now! checkbox.
To not have this dialog box appear anymore when you access the Electronic Billing Setup, select the Don't show this message again checkbox.
To view the terms and pricing, click Terms and Pricing.
Click OK.
The QuickBill Setup dialog box appears.
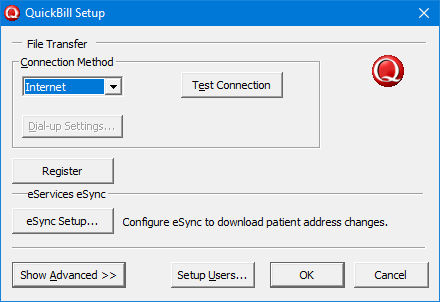
Set up the following options:
Setup Users - To manage user accounts, do the following:
Click Setup Users.
The QuickBill User Setup dialog box appears.
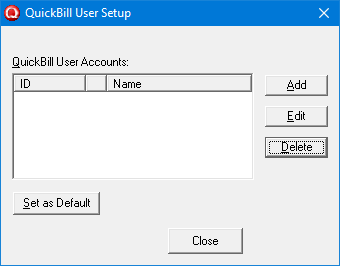
Do any of the following as needed:
To add an account, do the following:
Click Add.
The QuickBill User - New dialog box appears.
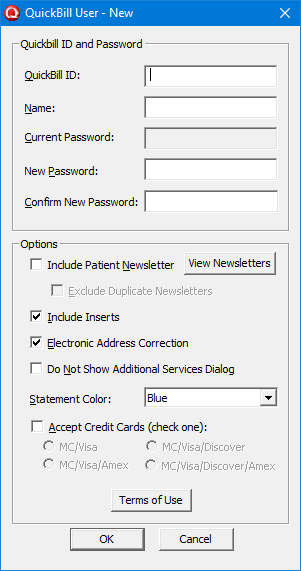
In the QuickBill ID box, enter the correct QuickBill ID.
In the Name box, enter the clinic or office name.
To allow payment by credit card, select the Accept Credit Cards checkbox, and then select the option that corresponds to the types of credit cards that you will accept.
Click OK.
You are returned to the QuickBill User Setup dialog box.
With the newly-added account selected in the list, click Edit.
The QuickBill User - [Name] dialog box appears.
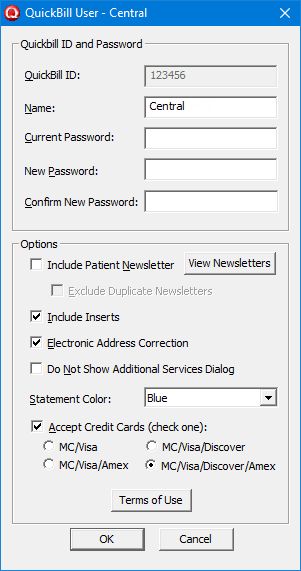
Under Quickbill ID and Password, enter the correct password in the Current Password, New Password, and Confirm New Password boxes.
Under Options, set up the following options:
Include Inserts - Either select this checkbox to include inserts in the envelope, or clear this check box to only include the statement in the envelope.
Electronic Address Correction - Either select this checkbox to make sure that statements are being sent to the correct addresses, or clear this checkbox to not use electronic address correction services.
Statement Color - From the list, select which color of ink you the statements printed with.
Accept Credit Cards - Either select this checkbox to allow payment by credit card, or clear this checkbox to not allow credit card payments. With this checkbox selected, select the option that corresponds to the types of credit cards that you will accept.
Note: To view the terms of use and pricing, click Terms of Use.
Click OK.
To edit an account, do the following:
Select an account.
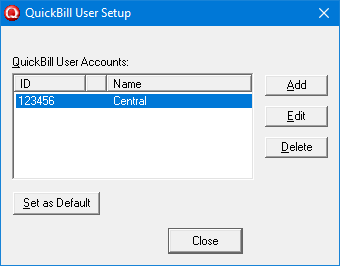
Click Edit.
The QuickBill User - [Name] dialog box appears.

To change the password, under Quickbill ID and Password, enter the current password in the Current Password box, and then enter the new password in the New Password and Confirm New Password boxes.
Under Options, change any of the following options:
Include Inserts - Either select this checkbox to include inserts in the envelope, or clear this check box to only include the statement in the envelope.
Electronic Address Correction - Either select this checkbox to make sure that statements are being sent to the correct addresses, or clear this checkbox to not use electronic address correction services.
Statement Color - From the list, select which color of ink you the statements printed with.
Accept Credit Cards - Either select this checkbox to allow payment by credit card, or clear this checkbox to not allow credit card payments. With this checkbox selected, select the option that corresponds to the types of credit cards that you will accept.
Note: To view the terms of use and pricing, click Terms of Use.
Click OK.
To delete an account do the following:
Select an account.

Click Delete.
A confirmation message appears.
Click Yes.
To set the default account, do the following:
Select an account.

Click Set as Default.
An asterisk (*) now appears between the ID and name of that account in the list.
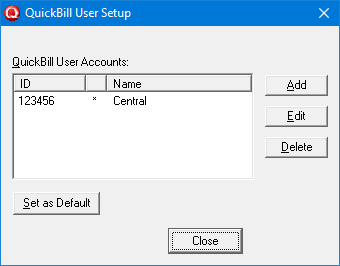
Click Close.
Connection Method - Make sure that Internet is selected from the list.
Note: It is important for you to test your QuickBill connection to ensure that you are connecting to the QuickBill server properly so that you can send your statements electronically.
To test your QuickBill server connection, do the following:
Click Test Connection.
The Test QuickBill Connection dialog box appears with the status of the connection test.
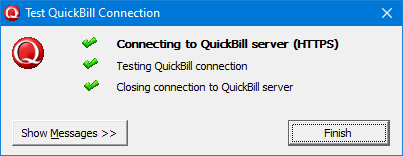
One of the following occurs:
If the connection tested succeeded, a message appears and states that your reports have been retrieved successfully.
If the connection test failed, an error message appears.
Click OK.
You are returned to the Test QuickBill Connection dialog box.
If you want to view a detailed log of the transmission, click Show Messages >>.
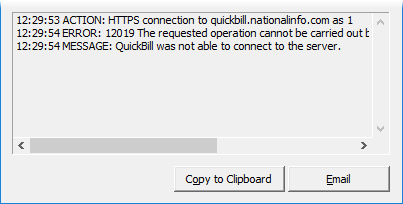
The expanded dialog box provides the following options for the log:
Copy to Clipboard - If you want to copy the output log to the Windows clipboard so that you can paste it into another program, click this button.
Email - If you want to send a message containing the output log, click this button.
Click Finish.
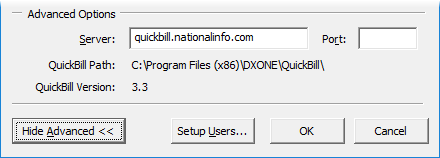
Show Advanced - Click this button to display and change any of the following advanced QuickBill transmission options:
Server - The name of the QuickBill server to which you are connecting to send your statements.
Port - The port number through which you are connecting to the QuickBill server to send your statements.
Notes:
The path where the QuickBill program files are installed, and the QuickBill version that is installed, appear for your reference.
Click Hide Advanced to hide the advanced options.
Click OK.