The HL7 administrative console program and service are required for managing the HL7 interface and exchanging healthcare information with external systems through documents, C-CDA files, and HL7 messages. You can install this program and services on the server.
Note: This program can be installed on this computer and these services on the same or a different computer.
To install the HL7 application and services
During the Dentrix Enterprise server upgrade or installation process, under Not installed on the left, select HL7 Application and Services.
The Setup options appear on the right.
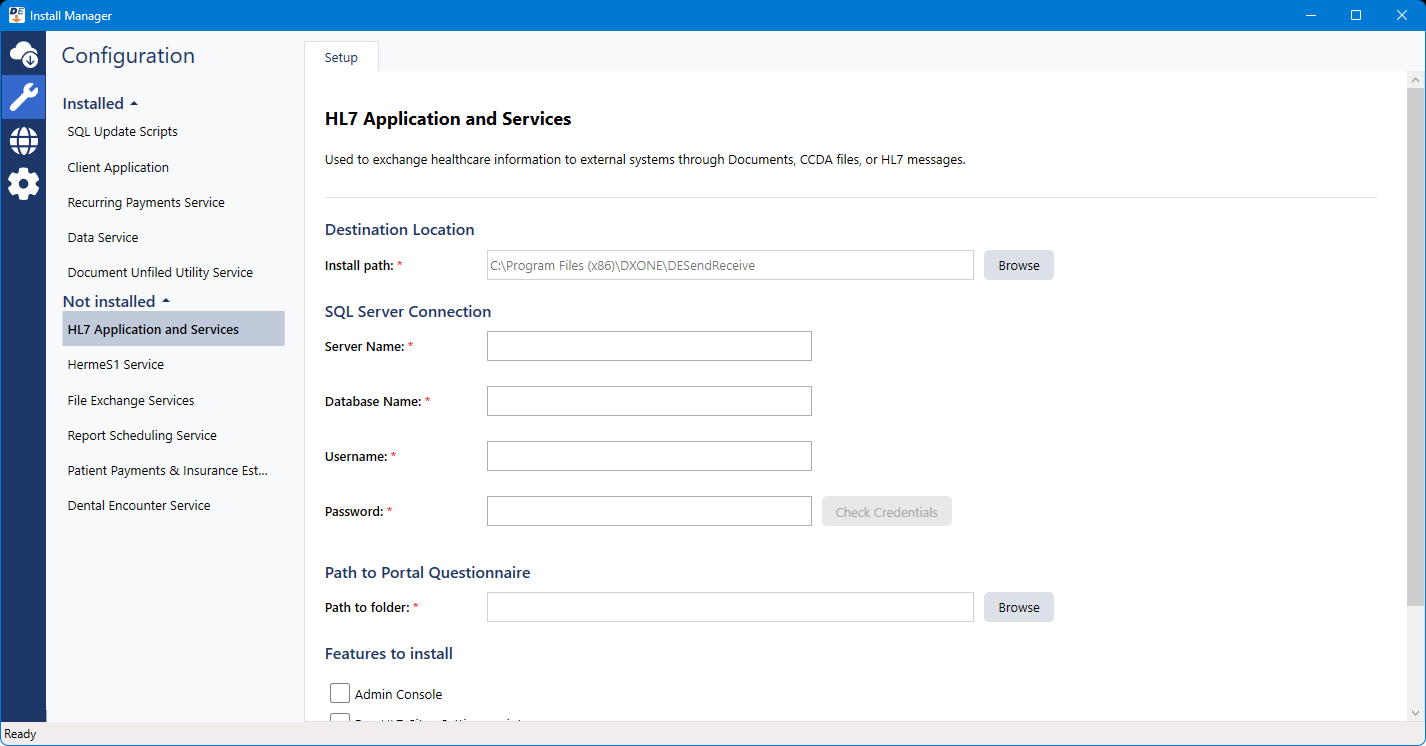
For Destination Location, verify that the Install path is correct.

If you want to change where the program and service are installed, click Browse, select the correct location on the computer, and then click OK.
Configure the SQL Server Connection options:
Server Name - The name or IP address of the database server. Also, if the SQL instance that houses your Dentrix Enterprise database has a name, after the IP address or name of the server, include a backslash (\) and then the instance name.
Database Name - Dentrix is the default name of the database, but it may be different if it has been customized for your installation.
Username - The user name of the SQL user with "Sysadmin" rights.
Password - The password of the Sysadmin user.
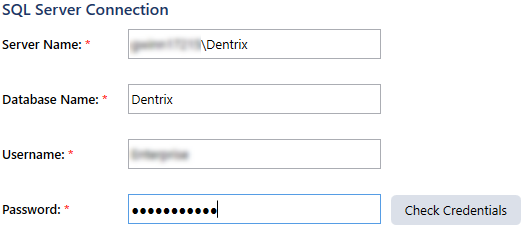
Click Check Database Credentials.
A message regarding the results of the connection test appears. Click Ok. If the connection was successful, proceed to the next step; otherwise, change your connection parameters, and attempt to connect again.
For Path to Portal Questionnaire, do the following:
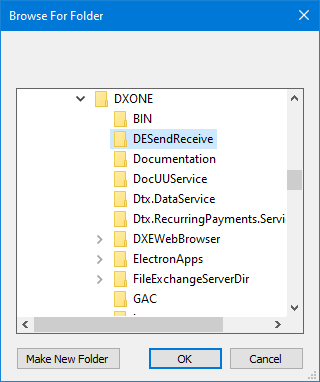
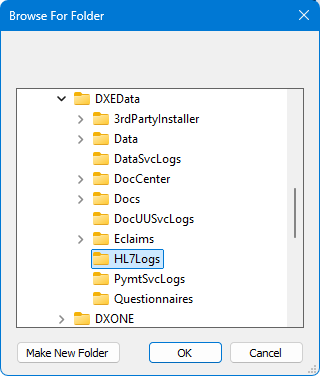
Next to the Path to folder box, click Browse.
![]()
Select the location on the computer where you want Dentrix Enterprise to store portal questionnaire data.
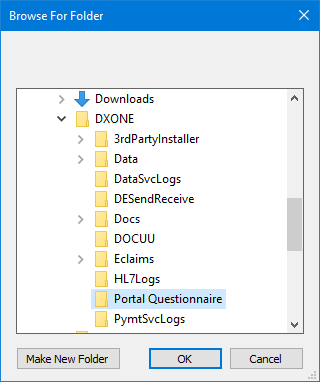
Click OK.

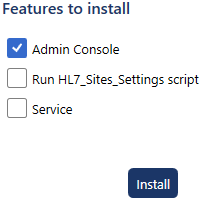
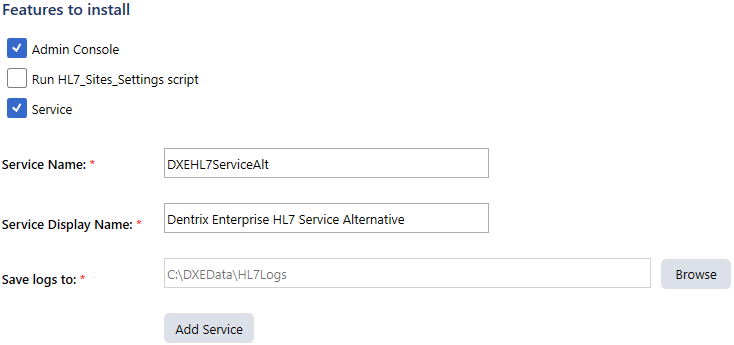
Configure the Features to install options as needed:
To install the HL7 interface's administrative console program, select the Admin Console checkbox.
Note: If you want to install an HL7 service on this computer along with the administrative console program, you should also select the Service checkbox and set up the service options now because you cannot add a service later unless you (1) uninstall all the HL7 features on this computer and then reinstall the administrative console program and a service or (2) run the HL7 Installer separately (use HL7Installer.exe in the installation package) to modify the installation and install a service.
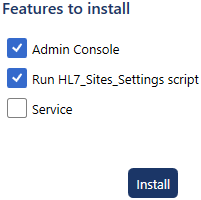
To update the database with the default HL7 settings, select the Run HL7_Sites_Settings script checkbox.
To install an HL7 service, do the following:
Select the Service checkbox.

Enter a name and display name for the service in the Service Name and Service Display Name boxes that appear.
Notes:
The service name must be unique (up to 100 characters; no spaces, \, or /).
A new service folder with the provided service name is created in the InstallDir path.
A new registry value is created for the service in HKEY_LOCAL_MACHINE\SOFTWARE\Wow6432Node\DXONE\Services.
To specify where you want Dentrix Enterprise to store log files for the service, do the following:
Next to the Save logs to box, click Browse.
Select the location on the computer.
Click OK.
Note: The path to log is updated in the log4ne.config file.
Note: If you install a service, the administrative console program is installed automatically (even if you did not select the Admin Console checkbox).
Click Install.
On the message that appears when the installation of the program and/or service is complete, click Ok.
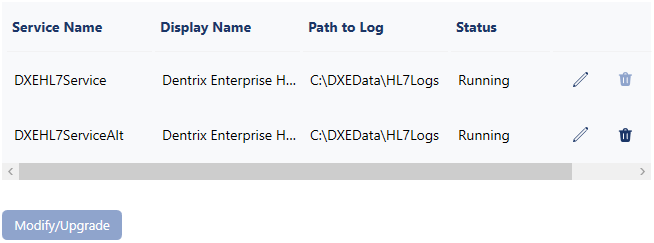
For each additional HL7 service that you want to install, with HL7 Application and Services (which now appears under Installed) still selected, do the following:
Enter a name and display name for the service in the Service Name and Service Display Name boxes.
Notes:
The service name must be unique (up to 100 characters; no spaces, \, or /).
A new service folder with the provided service name is created in the InstallDir path.
A new registry value is created for the service in HKEY_LOCAL_MACHINE\SOFTWARE\Wow6432Node\DXONE\Services.
To specify where you want Dentrix Enterprise to store log files for the service, do the following:
Next to the Save logs to box, click Browse.
Select the location on the computer.
Click OK.
Note: The path to log is updated in the log4ne.config file.
Click Add Service.
On the message that appears when the installation of the service is complete, click Ok.
The service now appears at the bottom of the list of installed services.