After you purchase the ERA add-on and complete the ERA service registration process, you can start enrolling for ERAs with the participating payers (insurance carriers) that you submit claims to. As part of the process, you will get access to the DentalXChange portal, where you can see the progress and completion of enrollments and receive ERAs. The received ERAs will also appear in Dentrix Enterprise so you can post insurance payments based on those ERAs.
Notes:
You should enroll all the Tax ID Numbers (TINs) that your organization uses for claims.
Payers deliver ERAs by TIN, so an ERA may contain data for claims from multiple locations if those locations use the same TIN for claim submissions.
A payer may take up to 30 business days to approve your request. When the enrollment process with a given payer is complete, you will start receiving ERAs from that payer.
To enroll for ERAs with payers
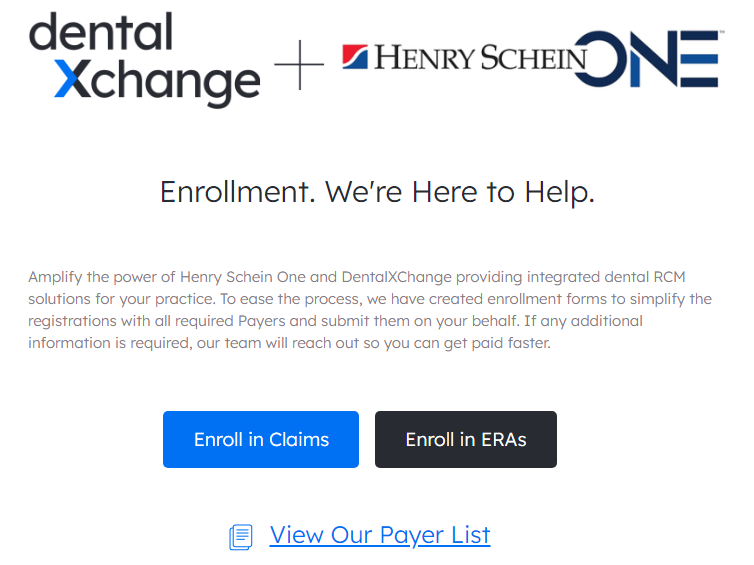
In your Web browser, navigate to the DentalXChange website for Henry Schein One products (https://www.dentalxchange.com/channel-partner/lp/henry-schein-one).

Click Enroll in ERAs.
The page that explains the enrollment process opens.
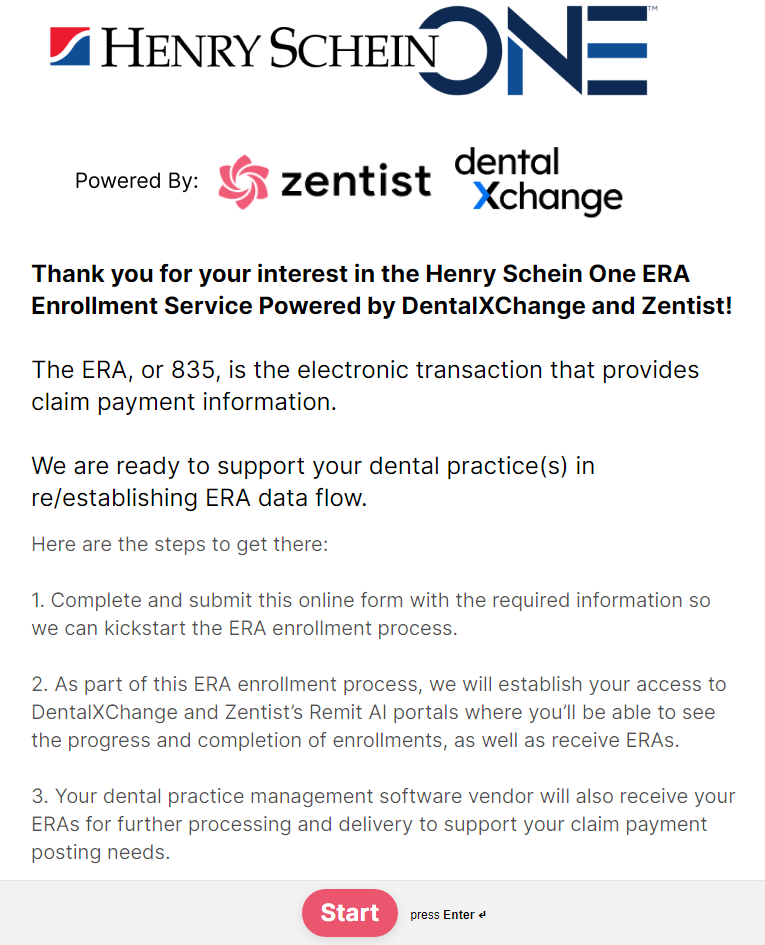
Click Start.
The question Are you affiliated with a DSO or dental group? If so, what is the name of the organization? appears.
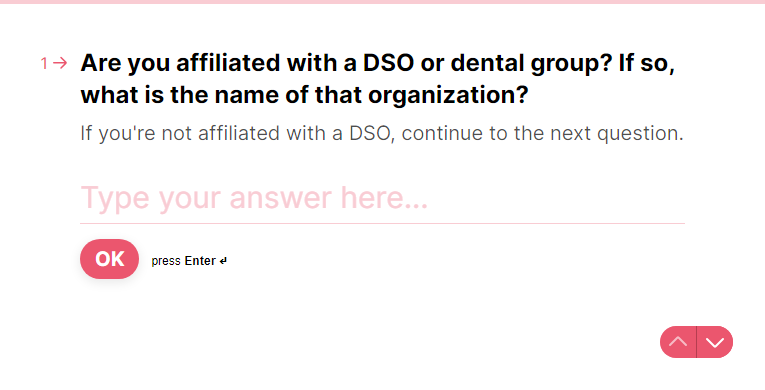
If applicable, type the name of your organization; otherwise, leave the answer blank. Then, click OK.
The question What is the name of your dental practice or DSO? appears.
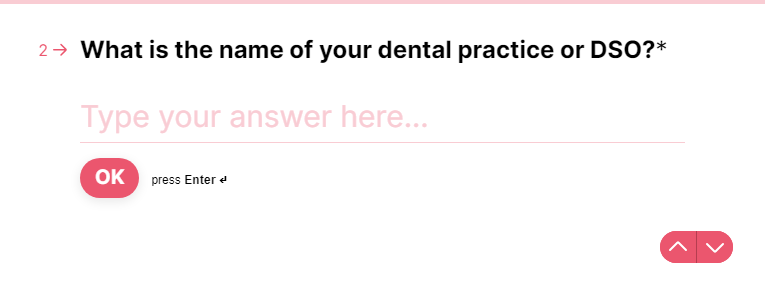
Type the name of your dental practice or DSO, and then click OK.
The question What's your first and last name? appears.
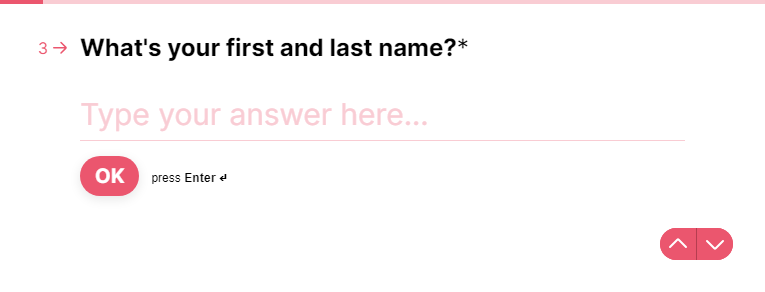
Type your first and last name, and then click OK.
The question What is your title? appears.
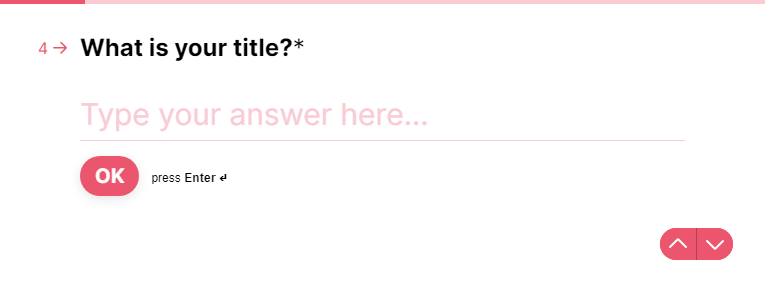
Type your job title, and then click OK.
The question What's your email address? appears.
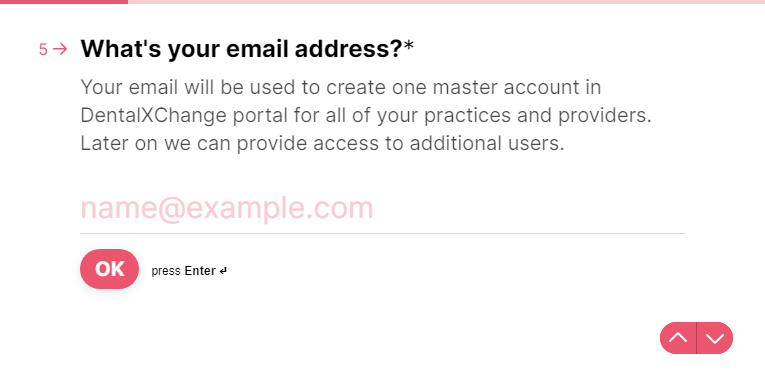
Type your email address, and then click OK.
Note: This address will be used to create the master account for your DentalXChange portal. You can provide access to additional users later.
The question What is the best phone number to reach you at? appears.
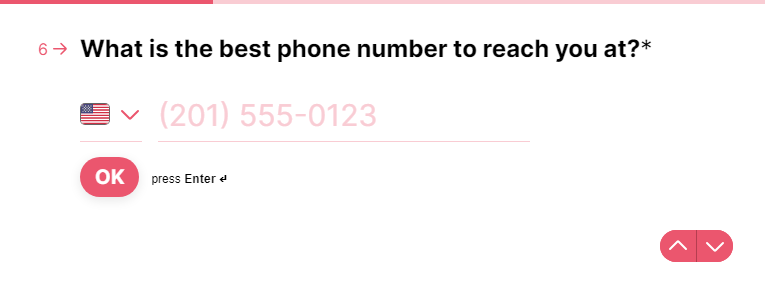
Type your phone number, and then click OK.
The question How many dental practice are currently under your operation? appears.
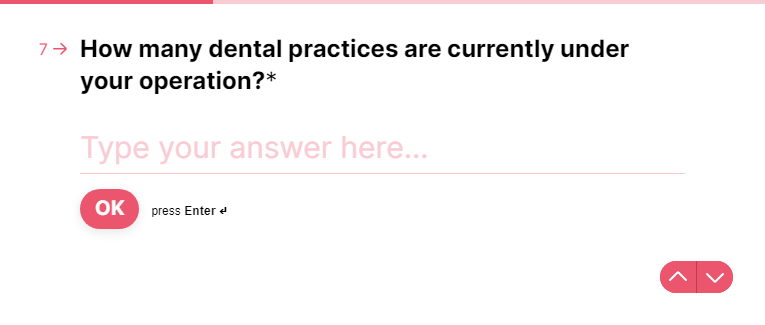
Type the number of clinics, and then click OK.
The question How many TINs do you have? appears.

Type the number of TINs, and then click OK.
The question What is easier for you? appears.
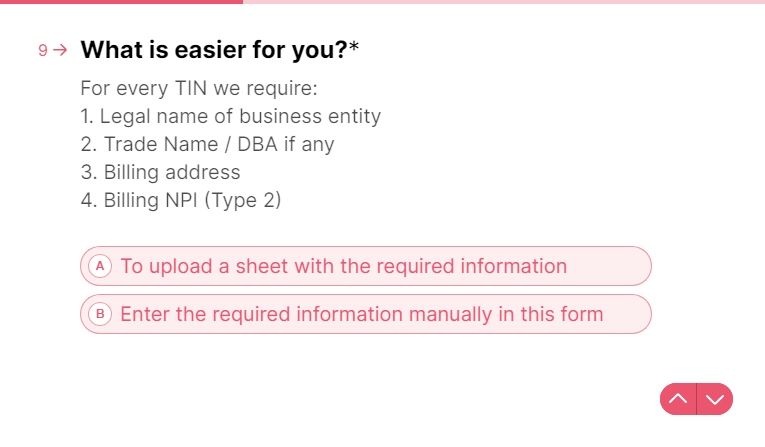
Do one of the following:
Option A - Upload the required information for all the TINs in one document or spreadsheet:
Click the To upload a sheet with the required information option.
The Please fill out essential business information on a sheet per template linked and upload here page opens.
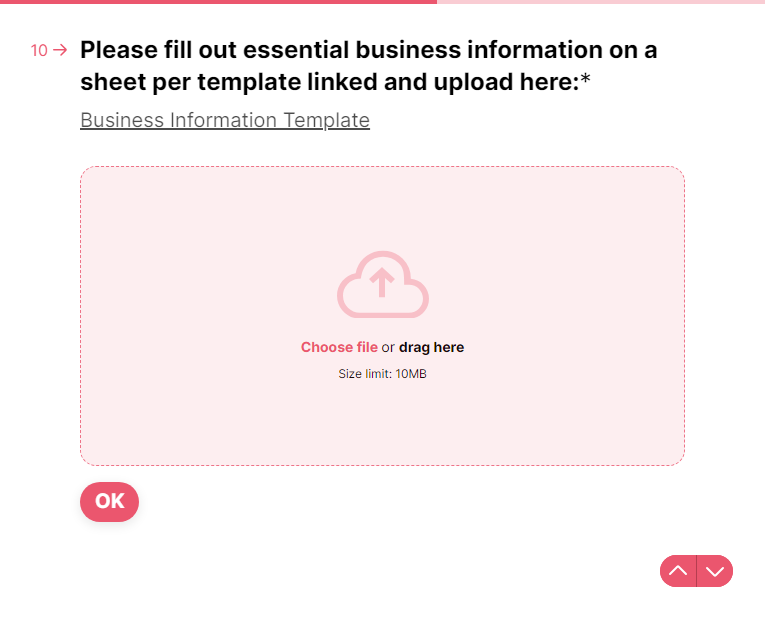
To view a Google Sheet with a sample of the information to include, click the Business Information Template link.
The spreadsheet appears on a new browser tab.
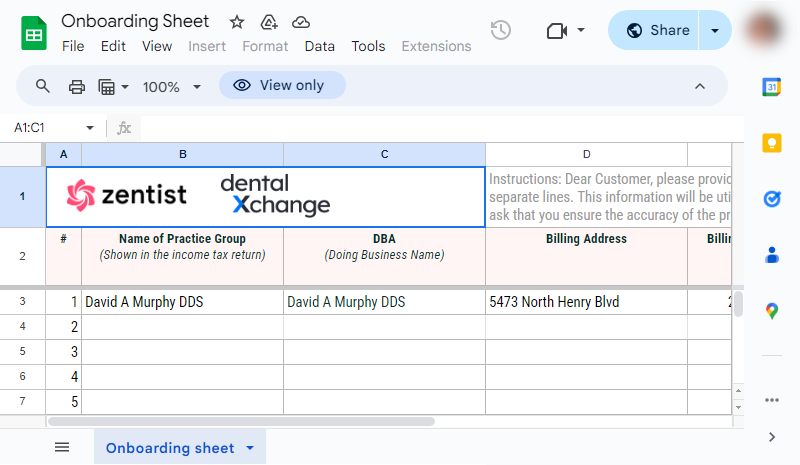
To download a copy that you can edit, on the File menu, point to Download, and then select Microsoft Excel (.xlsx), Open Document (.ods), Comma Separated Values (.csv), or Tab Separated Values (.tsv).
Open the file in a spreadsheet, document, or text editing program (depending on the type of file you downloaded), enter the required information, and then save the changes.
Return to the previous browser tab (the ERA enrollment form), and do one of the following:
Click the Choose file or drag here, select the file in the Open dialog box that appears, and then click Open.
Drag the file from an open File Explorer window to the Choose file or drag here box.
The file begins uploading.
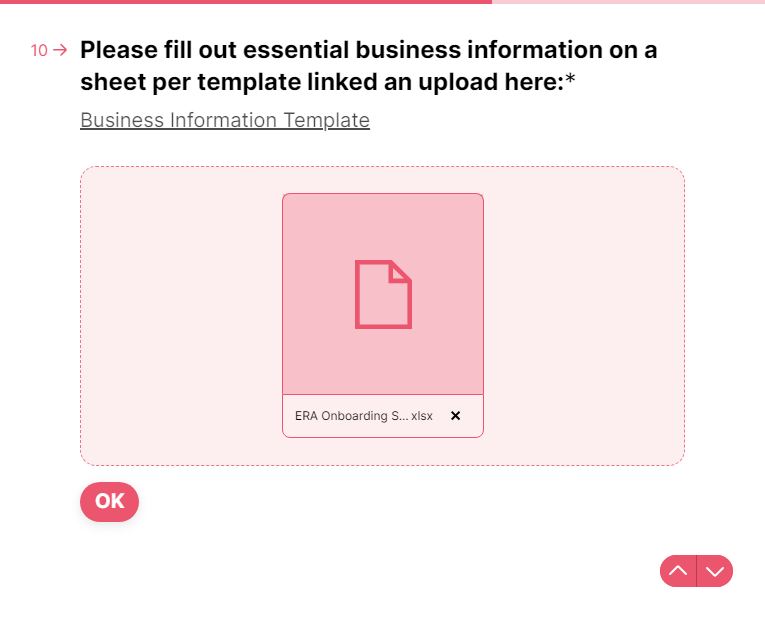
When the upload is complete, click OK.
Option B - Enter the required information for the TINs in this online form:
Click the Enter the required information manually in this form option.
The Please enter the following information for TIN 1 page opens.
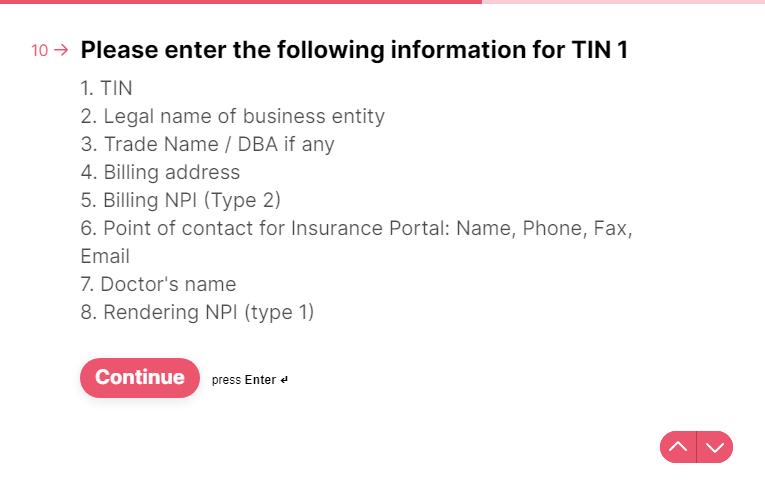
Click Continue.
The Legal name of business entity option appears.
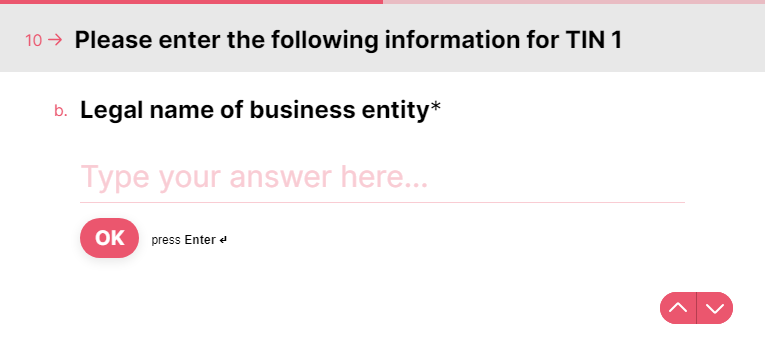
Type the legal name (as shown on tax returns), and then click OK.
The Trade Name / DBA if any option appears.
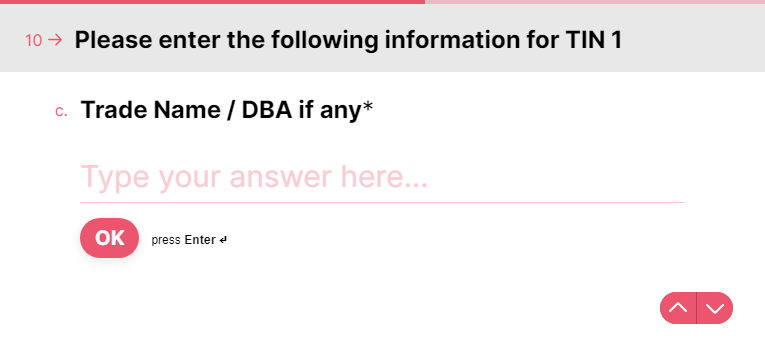
Type the trade name or DBA (doing business as) name, and then click OK.
The Billing Address options appear.
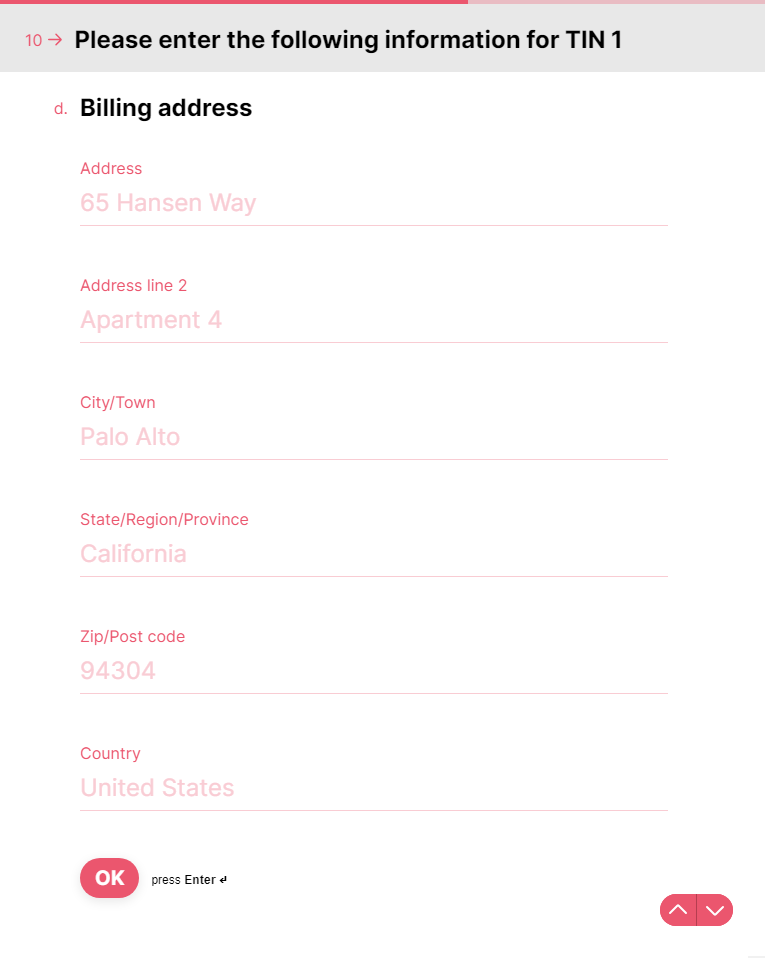
Type the street address, city, state, ZIP Code, and country. Then, click OK.
The Billing NPI (Type 2) option appears.
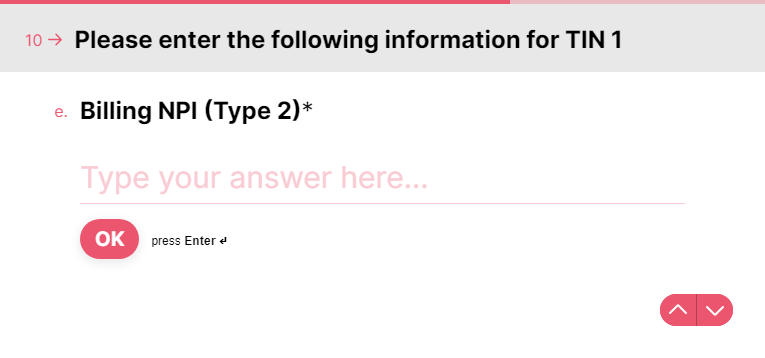
Type the type 2 NPI, and then click OK.
The Please add the point of contact for Insurance Portal: Name, Phone, Fax, Email needed option appears.
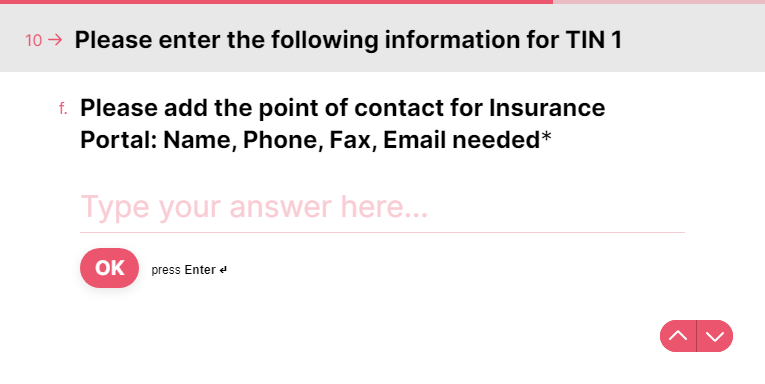
The name, phone number, fax number, and email address of the contact person, and then click OK.
The Doctor's name option appears.
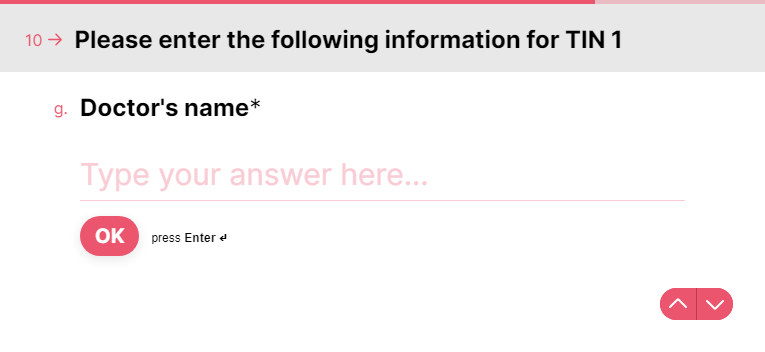
Type the doctor's name, and then click OK.
The Rendering NPI (type 1) option appears.
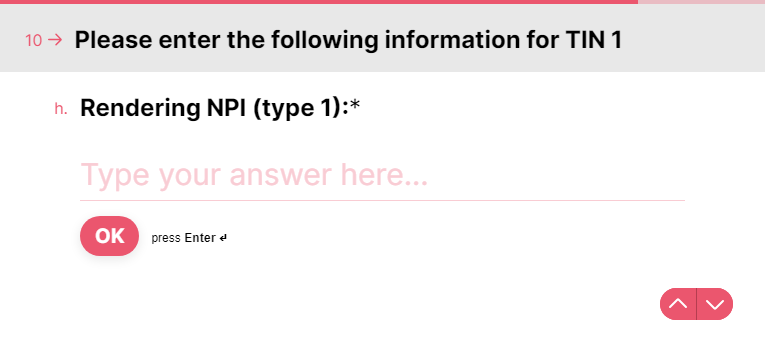
Type the type 1 NPI, and then click OK.
The question How many practice locations are associated with this TIN? appears.
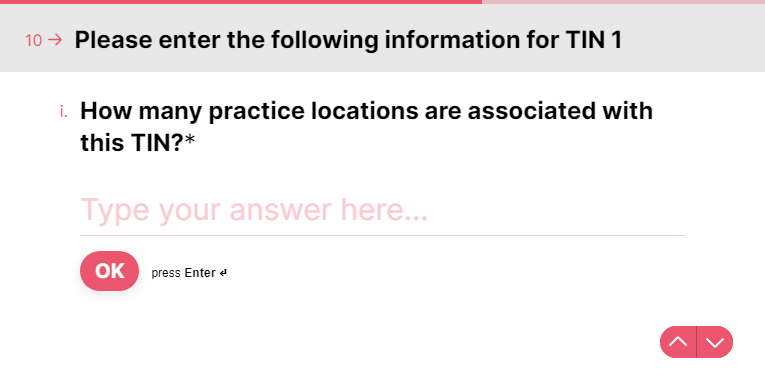
Type the number of clinics, and then click OK.
If there is another TIN to enter information for, the Please enter the following information for TIN [#] page appears (where [#] represents a number from two up to the specified number of TINs).
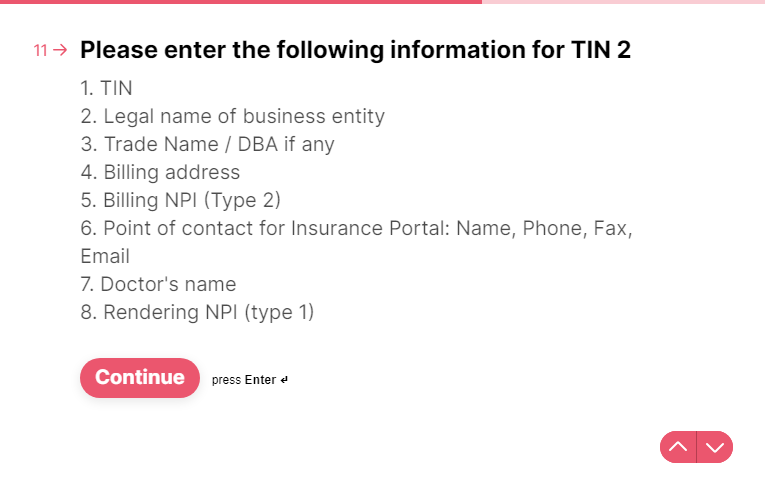
For the remaining TINs, repeat steps b-j.
The Please select payers from below that you'd like us to enroll for ERAs page opens.
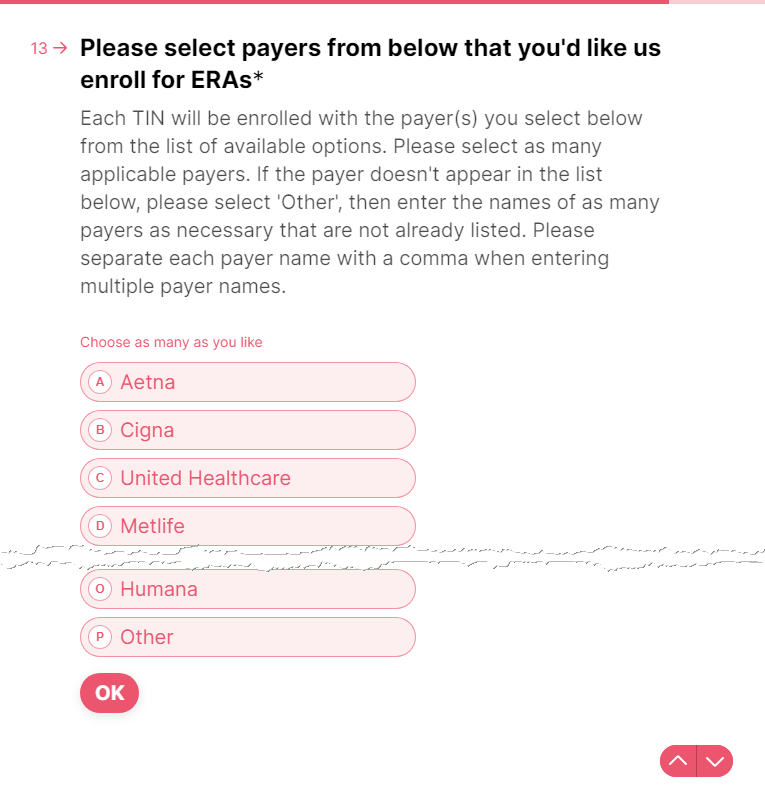
Select the names of the payers you submit claims to so you can enroll for ERAs with those payers.
If any payers are not listed, click in the Other box, and type the names of those payers. Separate each one with a comma.

Click OK.
The Additionally, you can upload your list of payers below page opens.
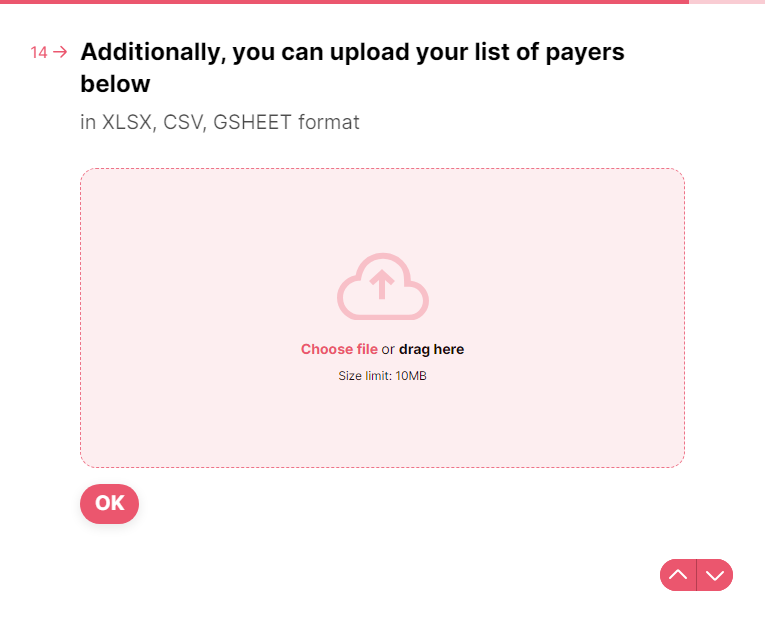
Optionally, you can upload a file (.xlsx, .csv, or .gsheet) with a list of payor names. Drag the file to the Choose file or drag here box, or click the box to select the file.
Click OK.
The I have read and agreed to the Terms of Service and Privacy Policy, as linked below page appears.
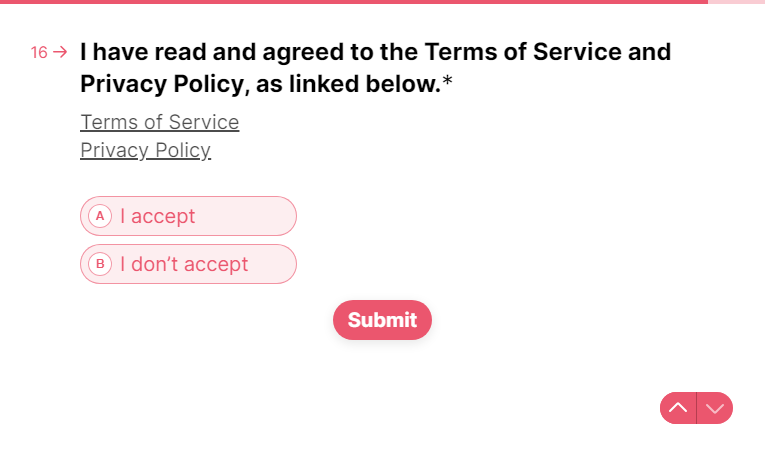
Select the I accept option.
Note: You can submit the form only if I accept is selected. You cannot submit the form if I don't accept is selected.
Click Submit.
The page with the next steps and estimated timelines appears.
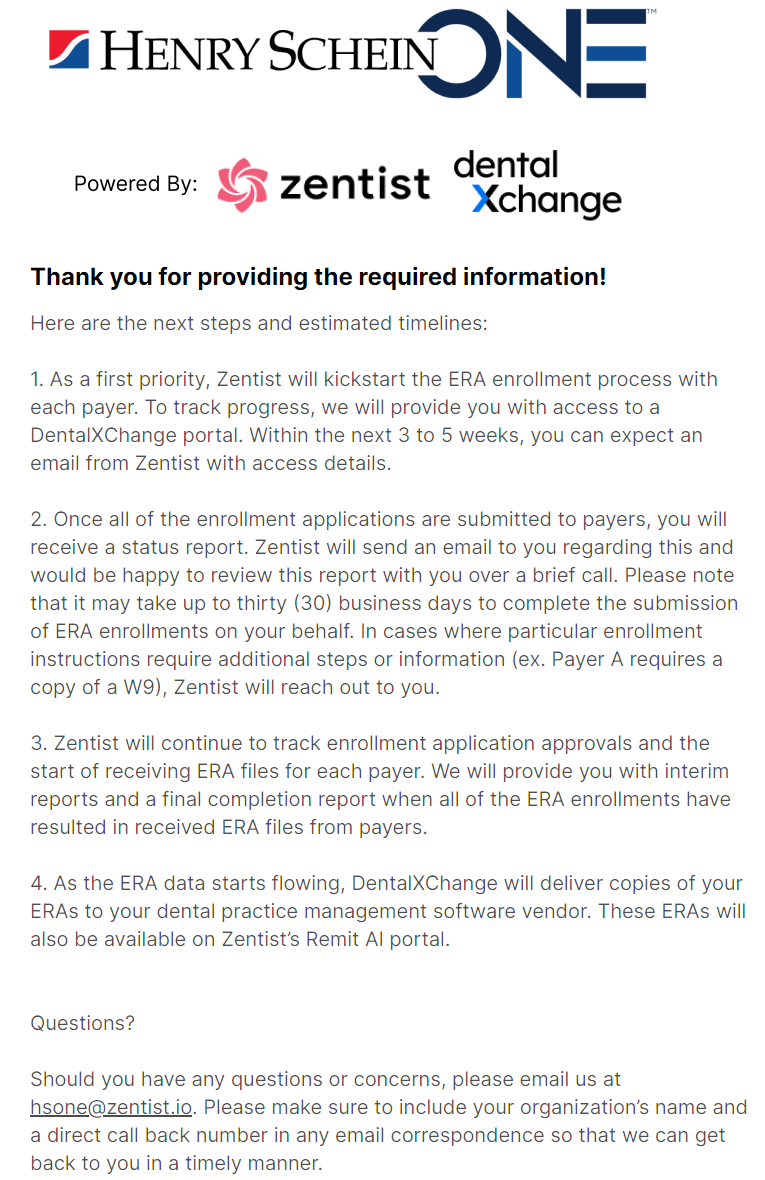
Zentist will contact you as needed to guide you through the enrollment process.