If you have purchased the Axia credit card processing add-on, before you can begin processing credit card payments in Dentrix Enterprise through Axia, you must set up the integration.
Note: Editing the Axia settings requires the "Integration Settings, Axia" security right.
To set up Axia in Dentrix Enterprise
While logged in to the Central clinic, in Office Manager, expand the Maintenance menu, point to Practice Setup, and then click Integration Settings.
Note: You can edit Axia settings only if you are logged in to the Central clinic; otherwise, you can only view them.
The Integration Settings dialog box appears.
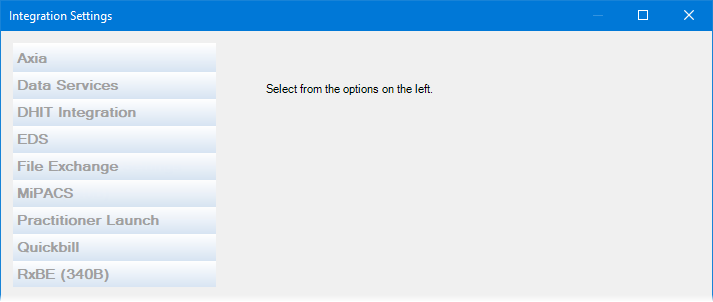
Select the Axia tab.
If applicable, do one of the following:
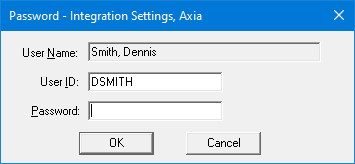
If the Password - Integration Settings, Axia dialog box appears, user verification has been assigned to the "Integration Settings, Axia" task. Do one of the following:
If your user account has been granted the "Integration Settings, Axia" security right, enter your credentials in the User ID and Password boxes, and then click OK.
If your user account has not been granted the "Integration Settings, Axia" security right, have a user with permission temporarily override this restriction so you can access the Axia settings this one time. The overriding user enters his or her credentials in the User ID and Password boxes and then clicks OK.
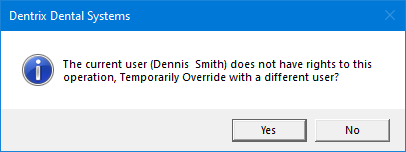
If a message appears, informing you that you do not have rights to this operation, your user account has not been granted the "Integration Settings, Axia" security right. To have a user with permission temporarily override this restriction so you can access the Axia settings this one time, do the following:
On the message, click Yes.
In the Password - Integration Settings, Axia dialog box, the overriding user enters his or her credentials in the User ID and Password boxes and then clicks OK.

The Axia settings appear on the right.
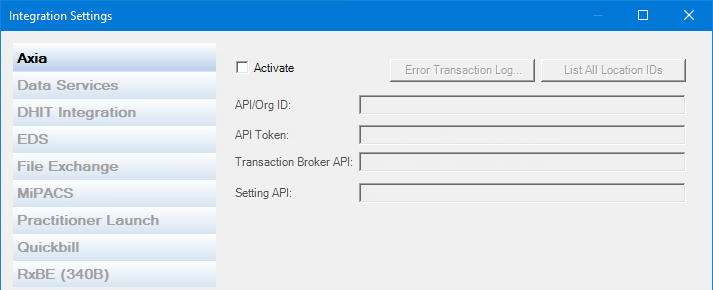
Select the Activate checkbox.
The options for setting up Axia become available.
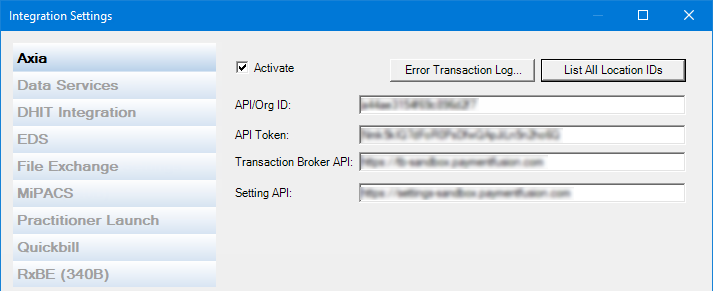
Click List All Location IDs.
A Notepad window that contains a list of each clinic and its location ID appears.
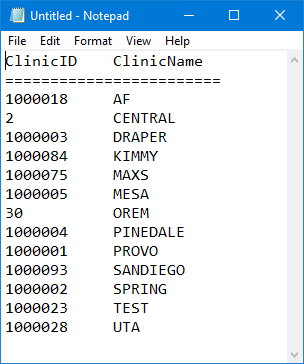
Select the IDs and names, and then, while holding down the Ctrl key, press C to copy the list to the Windows Clipboard. Then, click OK to close the window.
Paste the contents of the Clipboard into a word processing program, which you can reference during the enrollment process.
Enroll in credit card processing through Axia.
Return to the Axia tab of the Integration Settings dialog box.
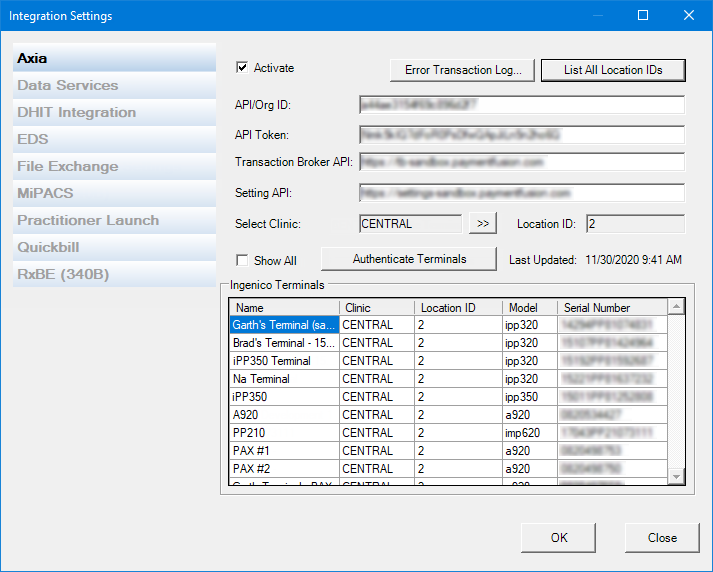
Set up the following options:
API/Org ID - Enter the API/organization ID that was provided to you by Axia.
API Token - To insert the API token that was provided to you by Axia, do the following:
Copy the API token from the email message that you received from Axia to the Windows Clipboard (select the entire API token in the email message, and then, while holding down the Ctrl key, press C).
Paste the API token from the Windows Clipboard into the API Token box of the Integration Settings dialog box (click in the box, and then, while holding down the Ctrl key, press V).
Transaction Broker API - Enter the API endpoint for transactions.
Setting API - Enter the API endpoint for settings.
Click Authenticate Terminals.
On the message box that appears, stating that the terminals were successfully authenticated, click OK.
All the terminals that have been authenticated for use at the Central clinic appear in the Ingenico Terminals list.
Notes:
To show the terminals for all clinics, select the Show All checkbox.
To show the terminals for a specific clinic, do the following:
Click the Select Clinic search button  .
.
The Select Clinic dialog box appears.
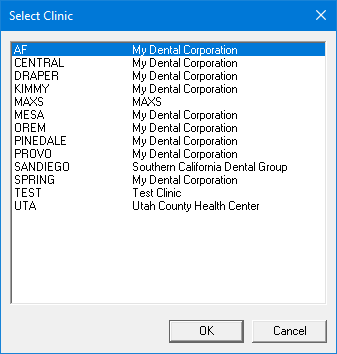
Note: If your user account has been granted the "View All Patients" security right for the Central clinic, the ID and name of all clinics appear in the list; otherwise, the ID and name of each clinic for which your user account has been granted the "My Clinics, View" security right (in the "Practice/Clinic Setup" category) appear in the list; however, if your user account has not been granted that right to any clinic, only the ID and name of the clinic that you are currently logged in to appear in the list.
In the list, select the correct clinic.
Click OK.
Click OK.