For a scheduled report to be generated, the database server must be on, and the report scheduling service must be installed and running on the report server (may be the database server or another computer).
To configure the report server
On
a computer from which you want to schedule report jobs, in DXOne Reporting,
click the Report Server button
 on the toolbar.
The Report Server Setup dialog box appears.
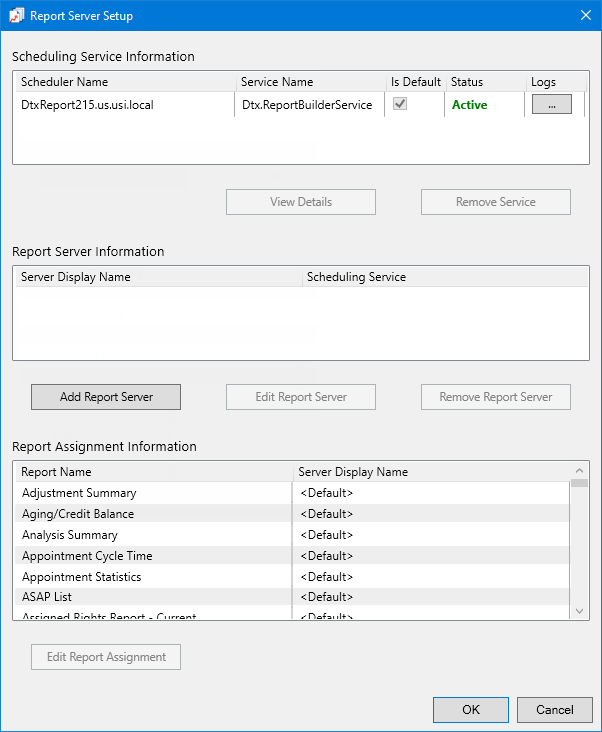
Note: The Scheduling Service Information list displays each computer that has a report scheduling service installed. One of the computers must be marked as the default, and the service on the computer that you want to use as a report server must have an Active status.
To add a report server, click Add Report Server.
The Server Data dialog box appears.
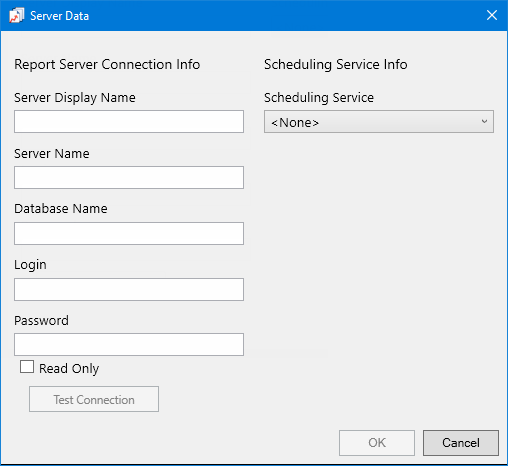
Under Report Server Connection Info, set up and test the connection details:
Enter the following details:
Server Display Name - The name of the server as you want it to appear on the list of report servers.
Server Name - The name of the database server, a backslash (\), and then the name of the Microsoft SQL Server instance that houses your Dentrix database.
Database Name - Dentrix is the default name of the database, but it may be different if it has been customized for your installation.
Login - The user name of a super admin user, such as Enterprise or SA.
Password - The user’s password.
If the report server has a read-only database, select the Read Only checkbox.
Click Test Connection.
On the message that appears and states that the connection was successful, click OK.
Under Scheduling Service Info, from the Scheduling Service list, select the service that is installed on the computer that will handle scheduled report jobs.
Click OK.
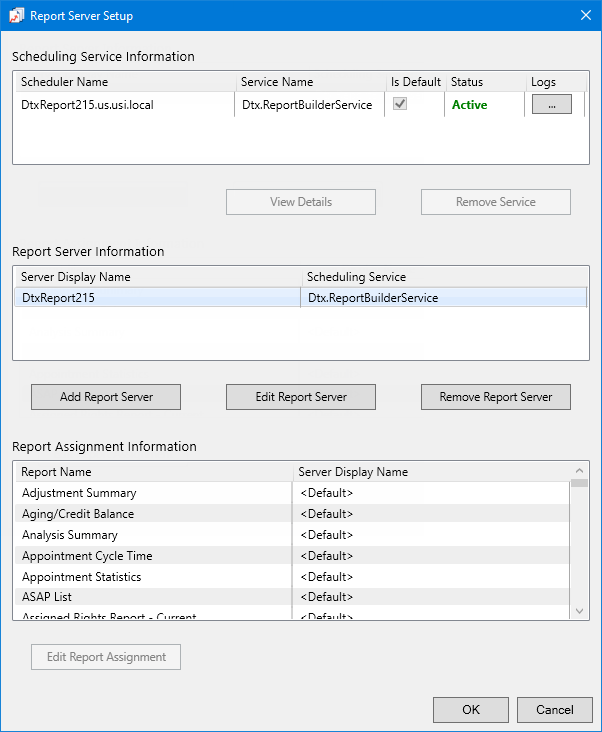
Repeat steps 2-5 as needed to add other report servers.
If you do not want to use the default report server for particular reports, assign a different report server to those reports. To assign a report server to a report, do the following:
In the Report Assignment Information list, select a report.
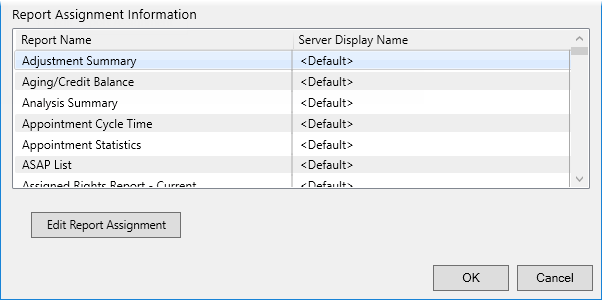
Click Edit Report Assignment.
Note: This button is available only if a report is selected.
The Server Assignment dialog box appears.
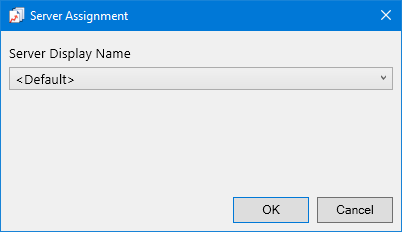
From the Server Display Name list, select <Default> or the display name of a report server.
Click OK.
Click OK.
You can now schedule reports from this computer as needed.