Each user can create a custom procedure button set from an existing template or the Dentrix Default template, unless a specific template has been set as the default for all users.
Note: If you edit an existing procedure button template from Chart, when you save the changes, that button set becomes your "Custom" template, overwriting any customizations you might have made previously to the "Custom" template. The original source template, which was set up from Office Manager, is not affected.
Note: Accessing the procedure button templates requires the "Procedure Button Template, Select" security right. Customizing a procedure button requires the "Procedure Button Template, Edit Custom" security right.
To create your custom procedure button set
In Chart, on the File menu, click Setup Procedure Buttons.
If applicable, do one of the following:
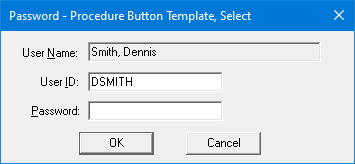
If the Password - Procedure Button Template, Select dialog box appears, user verification has been assigned to the "Procedure Button Template, Select" task. Do one of the following:
If your user account has been granted the "Procedure Button Template, Select" security right, enter your credentials in the User ID and Password boxes, and then click OK.
If your user account has not been granted the "Procedure Button Template, Select" security right, have a user with permission temporarily override this restriction so you can access the procedure button templates this one time. The overriding user enters his or her credentials in the User ID and Password boxes and then clicks OK.
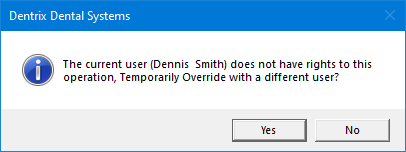
If a message appears, informing you that you do not have rights to this operation, your user account has not been granted the "Procedure Button Template, Select" security right. To have a user with permission temporarily override this restriction so you can access the procedure button templates this one time, do the following:
On the message, click Yes.
In the Password - Procedure Button Template, Select dialog box, the overriding user enters his or her credentials in the User ID and Password boxes and then clicks OK.

The Chart Button Template dialog box appears.
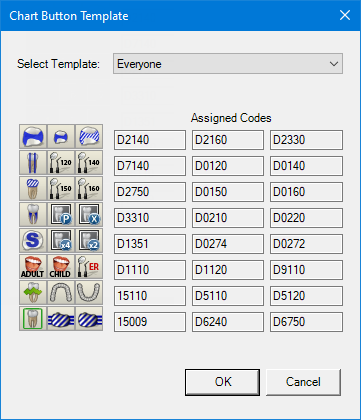
From the Select Template list, select a template or Custom.

Note: For each button in the table on the left, the corresponding code appears in the table on the right.
For each button that you want to customize, do the following:
Click
the button, such as  .
.
If applicable, do one of the following:
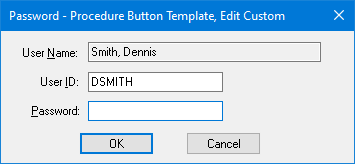
If the Password - Procedure Button Template, Edit Custom dialog box appears, user verification has been assigned to the "Procedure Button Template, Edit Custom" task. Do one of the following:
If your user account has been granted the "Procedure Button Template, Edit Custom" security right, enter your credentials in the User ID and Password boxes, and then click OK.
If your user account has not been granted the "Procedure Button Template, Edit Custom" security right, have a user with permission temporarily override this restriction so you can edit a procedure button this one time. The overriding user enters his or her credentials in the User ID and Password boxes and then clicks OK.
If a message appears, informing you that you do not have rights to this operation, your user account has not been granted the "Procedure Button Template, Edit Custom" security right. To have a user with permission temporarily override this restriction so you can edit a procedure button this one time, do the following:
On the message, click Yes.

In the Password - Procedure Button Template, Edit Custom dialog box, the overriding user enters his or her credentials in the User ID and Password boxes and then clicks OK.

The Edit Procedure Button Setup dialog box appears.
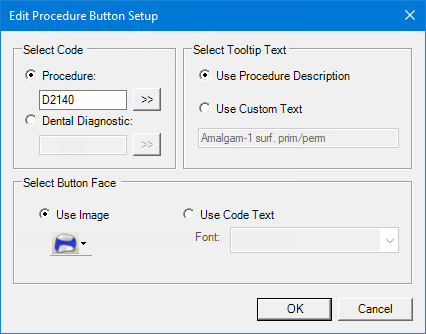
Under Select Code, select one of the following options:
Procedure - To assign a procedure
code to the button. Then, either enter the desired procedure code (ADA,
administrative, condition, or product code) or multi-code, or click the
search button  to select the desired code.
Dental Diagnostic - To assign a
dental diagnostic code to the button. Then, either enter the desired dental
diagnostic code, or click the search button  to select
the desired code.
Notes:
Dentrix Enterprise uses a smart-code feature. When you are charting a procedure code, depending on the surfaces or roots selected, the procedure will be updated when it is posted. For example, if you chart a one-surface amalgam (D2140) but select three surfaces, Dentrix Enterprise will automatically post the three-surface amalgam (D2160).
With the smart-code feature, Dentrix Enterprise not only updates procedure codes based on surfaces and roots when posting resins and amalgams but also updates them by tooth number. For example, if you use a one-surface anterior resin procedure button when posting a three-surface resin to tooth 28, Dentrix Enterprise will update and post the procedure to reflect three surfaces and the posterior tooth.
Because of the smart-code feature, you do not need to assign multiple variations of the same code, such as for amalgams or root canals, to your procedure buttons.
If you position your pointer over a procedure button, a tooltip will appear with identifying text for that button. Under Select Tooltip Text, select one of the following options:
Use Procedure Description - To use the procedure or diagnostic code's description in the tooltip.

Use Custom Text - To use custom text in the tooltip. Then, enter the desired description in the box provided.
Under Select Button Face, select one of the following options:
Use Image - To use a pre-defined graphic to identify the button. Then, from the button menu, click one of the 65 charting symbols that represent procedure codes.
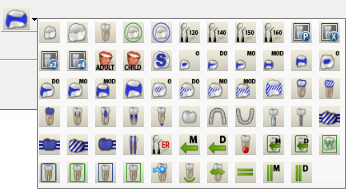
Use Code Text - To use the procedure or diagnostic code to identify the button. Then, select the desired Font.
Tip: For best results, use a 6-point Arial font.
Click OK.
In the Chart Button Template dialog box, click OK.