
You can schedule a new patient from the Appointment Book and create a new family account in the Family File at the same time.
To schedule an appointment for a new patient
1. Find a new appointment time, locate an open schedule space, and then double-click the appropriate operatory at the desired time.
The Select Patient dialog box appears.
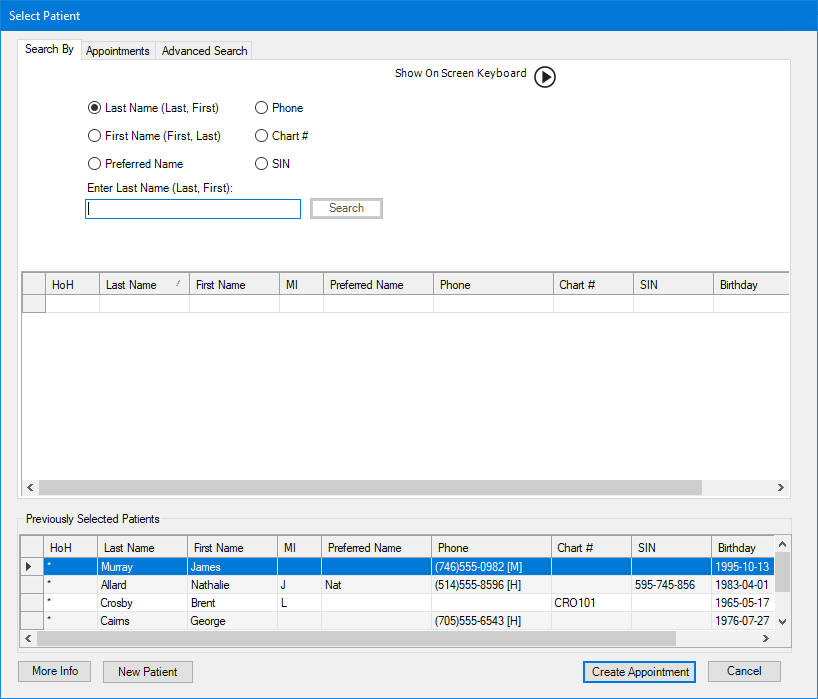
2. Type the first few letters of the patient's last name to ensure that the patient's name is not in the Dentrix database already, and then click New Patient.
The Add a New Patient dialog box appears.

3. Provide the following mandatory information:
Type the patient's first and last names in the corresponding fields.
Type the patient's Birthdate.
Select one of the following options:
Create New Family – Creates a new family.
Add to an Existing Family – Adds the new patient as a member of an existing family.
Select the new patient's Primary Provider from the provider list.
4. Provide the following information:
Select the patient's Gender.
Type the patient's Email address.
Type the patient's Mobile Phone Number.
Select the patient's Referral Source.
5. To complete the new patient's contact information, click Address & Contact Info.
The Address & Contact Info page appears.

6. Enter following patient information:
Street Address – The patient's street address.
City – The patient's city.
The City Information dialog box appears.

Province – The patient's province.
Postal Code – The patient's Postal Code.
Home Phone –
Other Phone –
Emergency Contact – Name of the patient's emergency contact.
Emergency Contact # – Emergency contact's phone number.
7. Click SAVE PATIENT.
A family account for the new patient is created in the Family File, and the Appointment Information dialog box appears.

8. Schedule the new patient's appointment, and then click OK.
The Appointment Information dialog box closes, the appointment information is saved, and the appointment is added to the Appointment Book.