

|

Setting up office staff
You can set up each employee who uses Dentrix as a member of your office staff if you have not already set him or her up as a provider. Staff IDs appear on the Audit Trail Report, the Appointment Book View report, and other reports that include staff information. You can also assign staff members to an appointment if they will assist with certain procedures.
Before setting up staff members, consider the following information:
· You must assign each staff member a unique, four-character, alphanumeric ID. You can use initials or other codes, such as MGR1, OFC1, and so on.
· You cannot change a staff member ID once you set it up.
· You cannot delete staff members once you create them; however, you can inactivate them.
To set up office staff
1. From the Maintenance menu in the Office Manager, point to Practice Setup, and then click Practice Resource Setup.
The Practice Resource Setup dialog box appears.

2. Do one of the following:
· To set up a new office staff employee, click Add New Staff Member button.
· To edit an office staff employee's information, select the employee from the list, and click the Edit Selected Staff button.
The Staff Information dialog box appears.
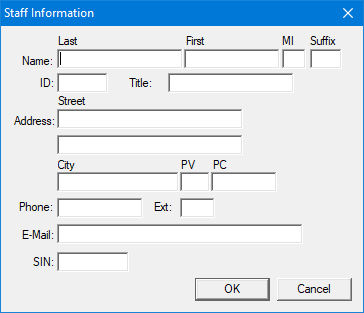
3. As appropriate, do the following:
· Name – Type the staff member's last and first names and middle initial.
· ID – Type a unique, four-character, alphanumeric ID, such as MGR1 or OFC1. Once you create a staff member, you cannot edit his or her ID.
· Title – Type the staff member's title, such as receptionist or office manager.
· Address – Type the staff member's home mailing address (Street, City, Province, Postal Code).
· Phone – Type the staff member's telephone number and extension.
· E-Mail – Type the staff member's email address.
· SIN – Type the staff member's Social Insurance Number.
4. Click OK.