
You can use the Dentrix Setup Wizard to save and copy the settings of your practice's workstations. The following workstation settings are saved in the Dentrix Setup Wizard:
Appointment Book
In the Practice Appointment Setup dialog box
Default Appt. Settings – Status (default <none>), Schedule (default FIXED), and/or Type (default <none>). Select new options from the lists.
Screen Color – Office Open and/or Office Closed color options. Changes color of the Appointment Book grid background.
Button Bar Orientation – Horizontal (default) or Vertical options.
Hover Detail Setup
Views
Flip tabs
Office Manager
In the Practice Defaults dialog box
Default Provider
Default Operatory
Default Billing Statement
In the Preferences dialog box
Startup Options
Dental Insurance
Medical Insurance
Additional Options
Print Options
Ledger
Ledger Colors Setup
Allocation Options Setup
Insurance Payment Setup – Saves every item except Calculate default write-off amount by difference between.
Fast checkout options setup
Direct processing options setup – Saves every item except Does not save Always Attach ERA to Secondary option.
To set up a workstation
1. In the Office Manager, click Maintenance, point to Practice Setup, and then click Workstation Setup.
The Dentrix Setup Wizard dialog box appears.
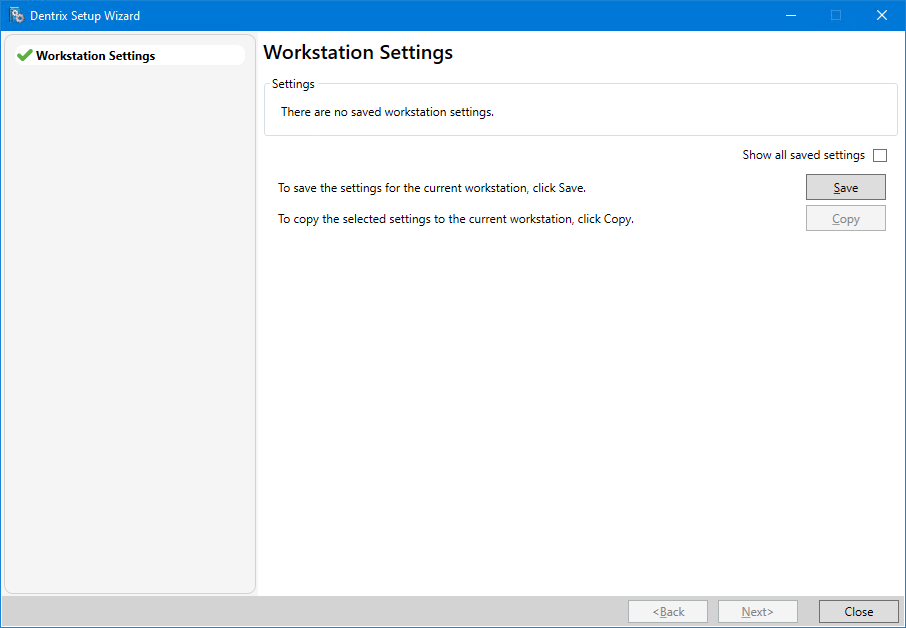
2. To save the settings for this workstation, click Save.
A workstation name and the date and time the name was saved appear automatically.
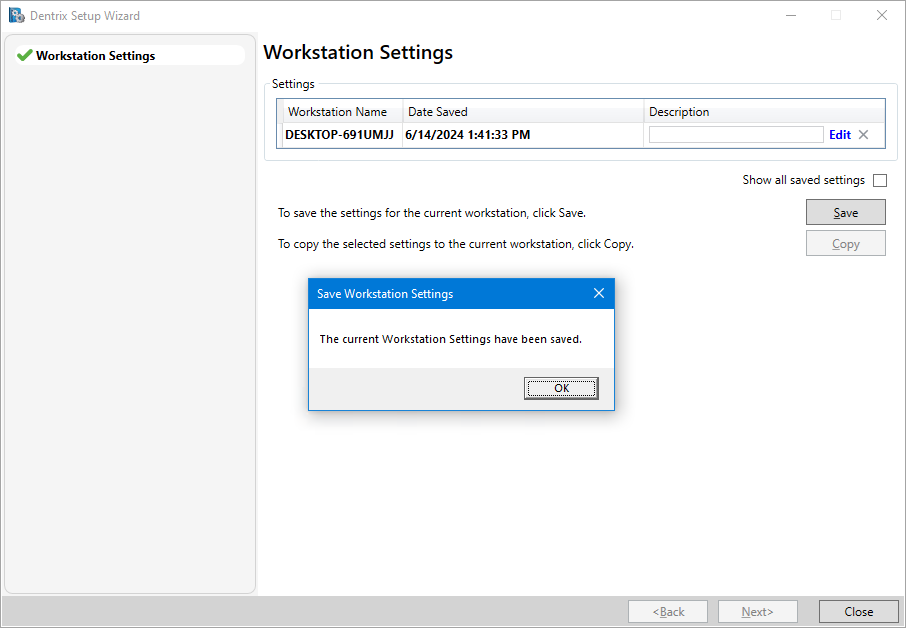
3. Under Description, click Edit, and then type a name for the workstation settings you just saved.
4. In the Save Workstation Settings message, click OK.
The workstation settings you saved are listed under Settings.