
Operatories are used primarily when scheduling appointments. Dentrix comes pre-set with the following default operatories: OP-1, OP-2, and OP-3. You can add, edit, and delete operatories. You can also set up and/or schedule a selected operatory.
Important: Deleting operatories is not recommended because the operatory may be attached to a provider or an appointment.
To add or edit an operatory
1. From the Maintenance menu in the Office Manager, point to Practice Setup, and then click Practice Resource Setup.
The Practice Resource Setup dialog box appears.
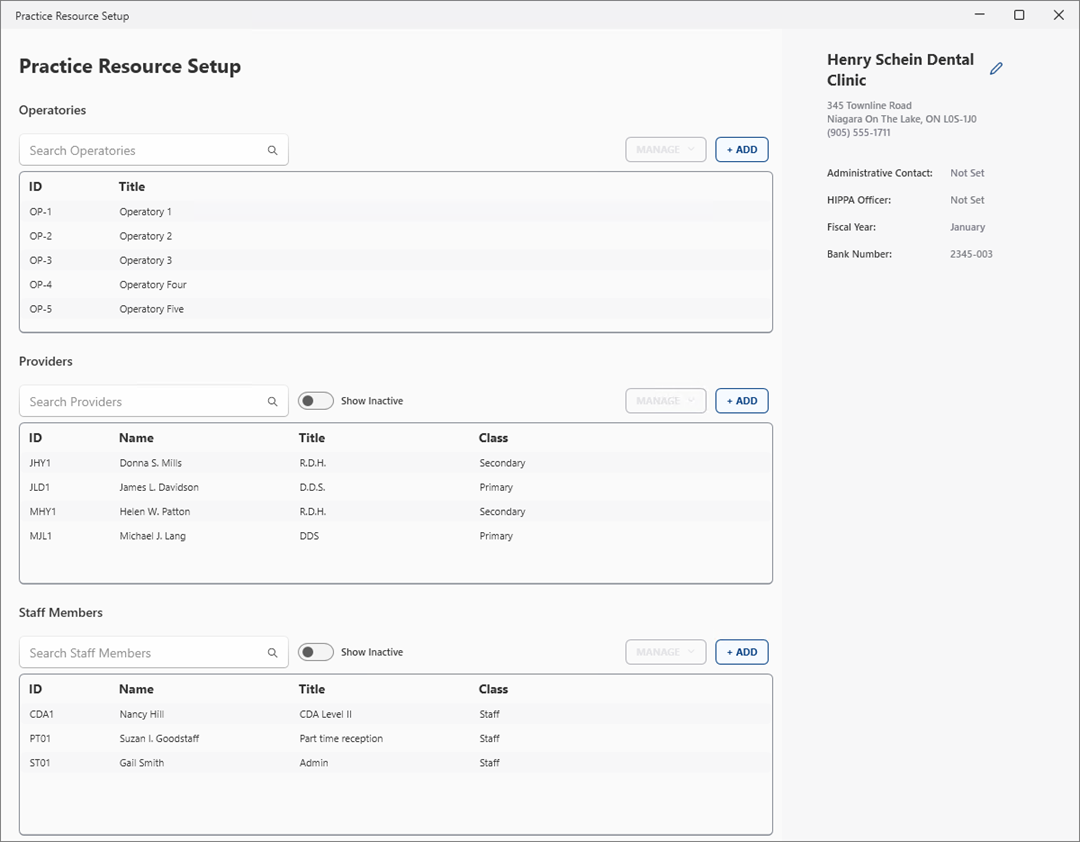
2. Under Operatories, do one of the following:
To create a new operatory, click Add.
To edit an operatory, select one from the list, click Manage, and then click Edit Operatory.
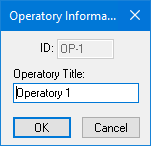
The Operatory Information dialog box appears.
Tip: When you create and name a new operatory ID, keep in mind that the Appointment Book displays operatories alphabetically by ID.
3. Type an ID for the operatory.
Note: IDs are limited to four alphanumeric characters and must be unique. Once you create an operatory, you cannot edit the ID in the ID field.
4. Type the Operatory Title.
The titles are printed on the Operatory Appointment List.
5. Click OK.