
Customizing Dentrix Letters requires a good knowledge of Microsoft Word. If you are unfamiliar with word processing, it is recommended that you spend some time learning how to use Microsoft Word before attempting to customize Dentrix letters. For more information, see the Microsoft Word Help on the Word Help menu.
To customize Dentrix letters
1. From the Office Manager menu bar, click Letters.
The Letters & Lists dialog box appears.

2. Click the category button for the letter type you want to customize.
A dialog box appears listing the letters for the category.
3. Select the letter you want to customize.
4. Click Edit.
The Letter or Custom List Setup dialog box appears.
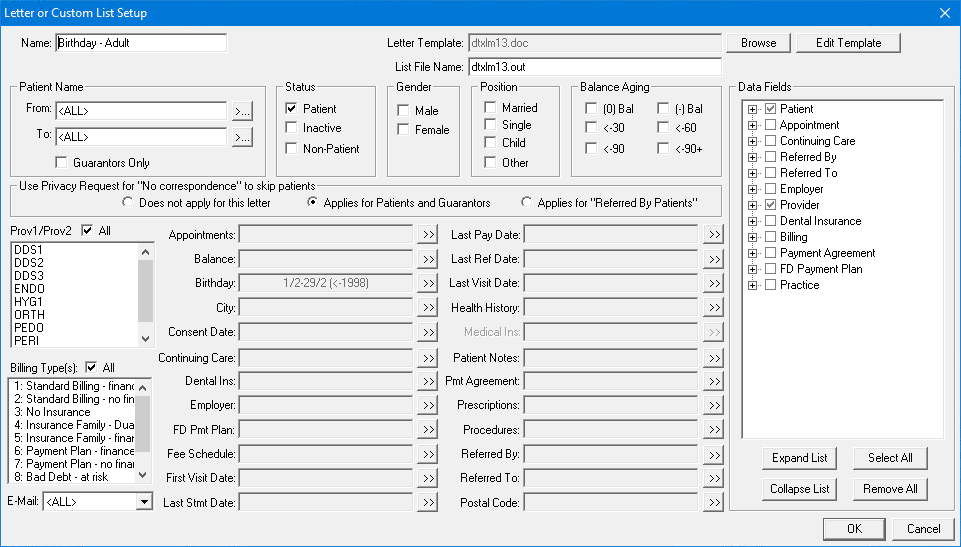
5. Click Edit Template.
The letter template opens in Microsoft Word.
6. Edit or change the text of the letter.
Warning: Do not delete or edit any of the field codes (all information in brackets). If you alter these codes, the letter merge from Dentrix cannot function properly.
7. When you are finished editing, save your customized letter template. Do not change the name of the letter unless you want to use the original as well as your current version of the letter.
Note: Be sure that you save the customized letter in the correct folder. You can save letters to the document folder specified in your Letter Template Path field. From the Maintenance menu in the Office Manager, point to Practice Setup > Preferences, and then click Paths.