
You can attach text, image, and OLE files to insurance claims.
Note: For organizational purposes and to ensure that these files are backed up regularly, create a folder called Attachments under the Dentrix DATA folder.
To import and attach a file
1. Double-click an insurance claim in the transaction log.
The Dental Insurance Claim window appears.
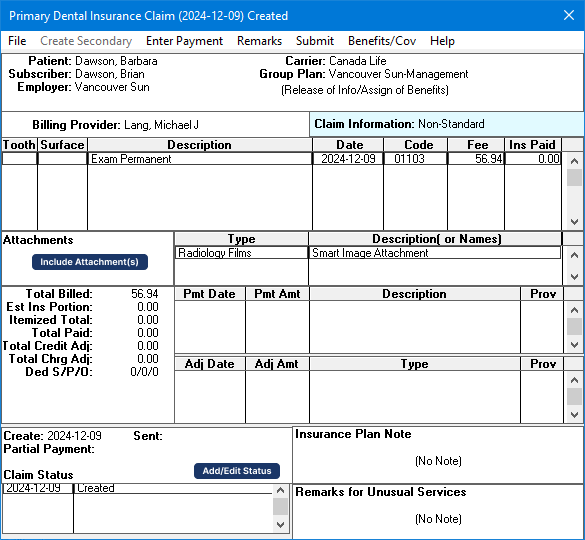
2. Under Attachments, click Include Attachments.
The Include Attachments dialog box appears.
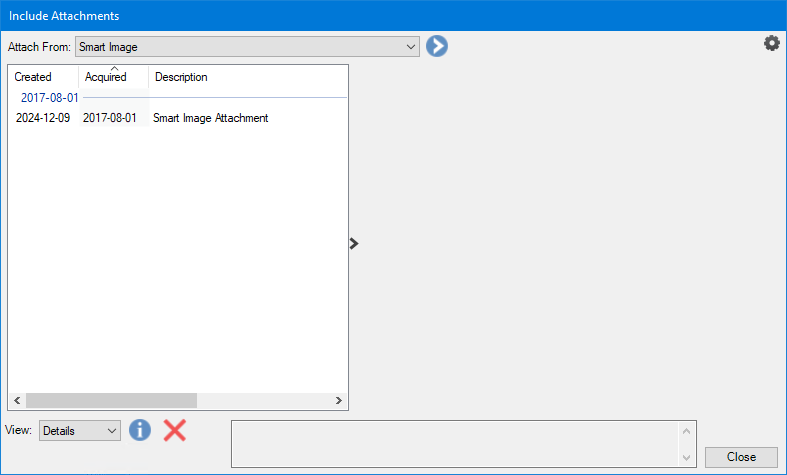
3. In the Attach From list, select File Acquire, and then click the Chevron icon.
The Import dialog box appears.
4. Locate and select the file that you want to attach to the claim, and click Open.
The file is added to the list in the Include Attachments dialog box.
5. To include a note or to change the attachment type, click the Attachment Information icon.
The Attachment Information dialog box appears.
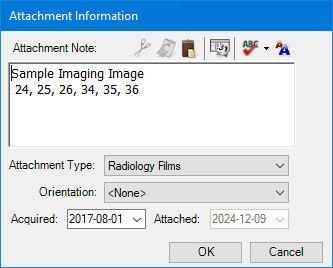
6. Type a note of up to 255 characters.
7. Select a type from the Attachment Type list, and click OK.