
Dentrix Imaging supports acquiring images using DEXIS/KaVo sensors on computers running the Windows operating system. This acquisition method only works if you previously used the device to acquire images using the DEXIS Imaging Software.
Notes:
· Before installing a DEXIS/KaVo sensor, you must configure the acquisition agent application on each computer that you use to acquire images.
· This guide was last updated: 6/12/2025
· Required acquisition agent: v119.1.9265.16117
If you have previously used DEXIS to acquire images, you can test your DEXIS/KaVo sensors by acquiring an image.
To acquire a test image
1. In the Imaging Procedures list, click Bitewing Single Image.

2. Select any teeth for the test.

3. From the Acquisition method for this imaging exam menu, select DEXIS/KaVo Sensors.
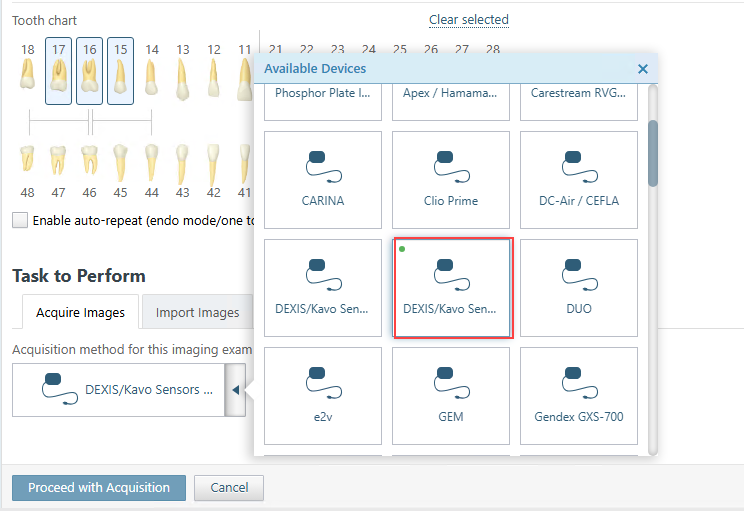
4. Click Proceed with Acquisition.
5. Click Finish Acquisition.
To make sure that the DEXIS or KaVo sensor is detected by your computer go to Device Manager to affirm that the device appears.
This integration requires that the sensor previously worked in DEXIS Imaging Software on the computer, so if you experience issues, you can test if the sensor still works inside DEXIS.
To find the hardware error codes shown below, navigate to: C:\ProgramData\DEXIS Imaging\Polaris\Log.
Error Code |
What to Do |
7 - DETECTOR_CURRENT_TOO_HIGH |
Bypass any extension cables, plug the sensor into multiple ports on the front and back of the computer if possible. If you still receive this error, refer to DEXIS for a hardware issue. |
9 - DARK_IMAGE_MEAN_TOO_HIGH |
Indicates an issue with the sensor. Refer to DEXIS for a hardware issue. |
10 - DARK_IMAGE_MEAN_TOO_LOW |
Indicates an issue with the sensor. Refer to DEXIS for a hardware issue. |
70 - NO_SENSOR_ATTACHED |
Bypass any extension cables, plug the sensor into multiple ports on the front and back of the computer if possible. If you still receive this error, refer to DEXIS for a hardware issue. |