
You can show or hide Dentrix Detect AI results for a selected AI finding or all AI findings in an image.
To show or hide Dentrix Detect AI results
1. Open the Patient Chart and select a patient.
2. In the Imaging panel, click the image that you want to submit for AI analysis.
Dentrix Imaging opens, and the image is submitted to VideaHealth for processing. Any caries Dentrix Detect AI found are outlined in red. RBL measurements appear in green, yellow, orange, or red.
3. To hide or show a single AI finding, click the AI indicator (red rectangle).
The following menu appears.
Note: By default, caries, RBL, and root tip indicators always appear when images are analyzed with Dentrix Detect AI. You can also hide the indicators by clearing one or more of the check-marked indicators.
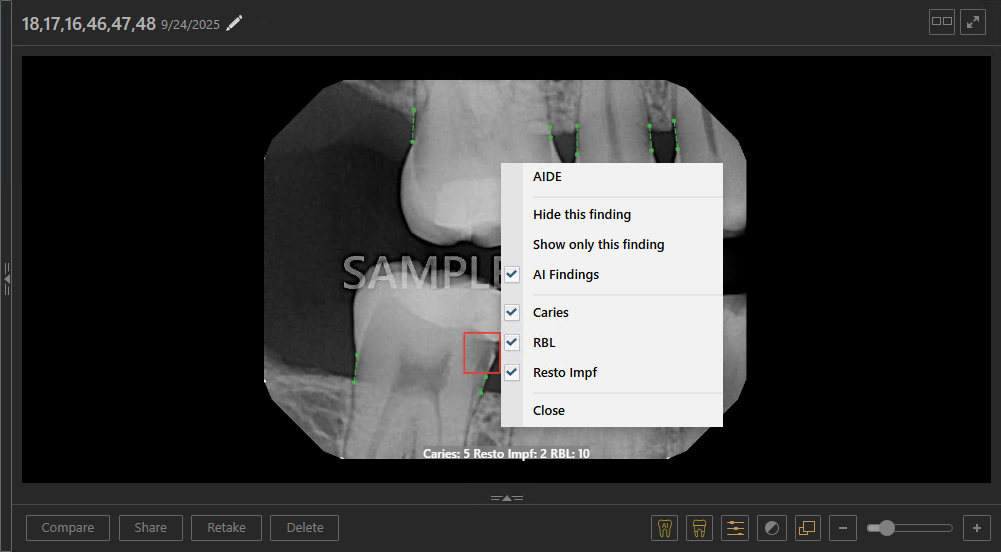
4. Do one of the following:
· Hide this finding – Click to hide the selected Dentrix Detect AI finding.
· Show only this finding – Click to show only the selected Dentrix Detect AI finding.
5. To hide all of the Dentrix Detect AI findings in an image, click anywhere an AI finding doesn’t appear.
The following menu appears.
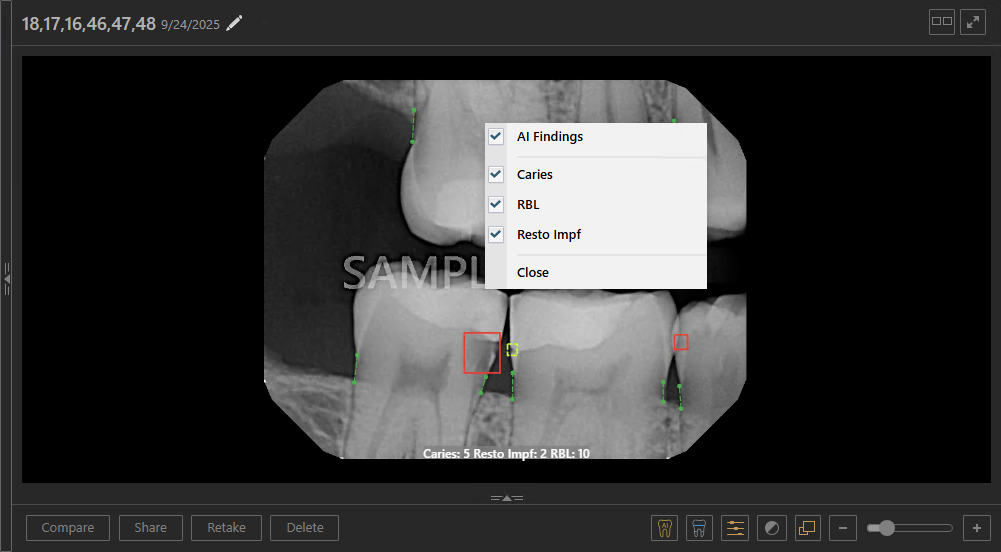
6. To hide all Dentrix Detect AI findings, clear the AI Findings checkbox.
7. To hide Dentrix Detect AI findings in Dentrix Imaging in the History tab, click the Show/hide AI findings button.

