

|

Changing Smart Image preferences
You can change the Smart Image default settings.
Note: If you can modify a Smart Image connector's configuration settings, a tab for the connector appears in the Smart Image Preferences dialog box.
To change Smart Image preferences
1. In the Smart Image panel, click the Show Smart Image Preferences icon.
The Smart Image Preferences dialog box appears.

2. To reset saved positions to their default settings, under Clear saved positions and reset to default for, click one of the following options from the list, and then click Clear & Reset:
· Diagnostic Viewers –
· Most Recent Acquisitions –
· Smart Image Peek –
· Attachment Picker –
3. Under Default preview filter category and connector, click one of the following options from the All Types and All Connectors lists:
· All Types – Default
· Intraoral X-rays –
· Extraoral X-rays –
· Intraoral Photographs –
· Extraoral Photographs –
· CAD/CAM –
· 3D –
· All Connectors – Default
· Sample Imaging –
4. Select one or more of the following options to enable them:
· Double Click for Diagnostic Viewer – Default is single click.
· Auto Pin Diagnostic Viewers – Pins the diagnostic viewer automatically.
· Enable the Sample Connector –
Note: To completely enable the sample connector, you must close and then reopen the Patient Chart.
5. To view the Smart Image log files, click Show Logs.
6. To turn off posted procedure detection, clear the Use Posted Procedure Detection option under Acquisition.
Note: With the Use Posted Procedure Detection option selected, Smart Image monitors the Patient Chart and prompts you for acquisition after you post a procedure manually.
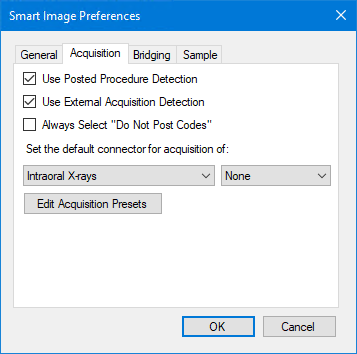
7. To never post codes, select the Always Select "Do Not Post Codes" option.
8. To set the default connector for the acquisition of a specific image type, select the type from the list (Intraoral X-rays, for example), and then select the connector from the list on the right.
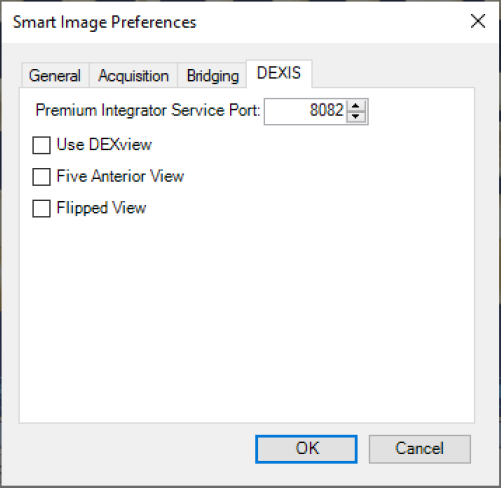
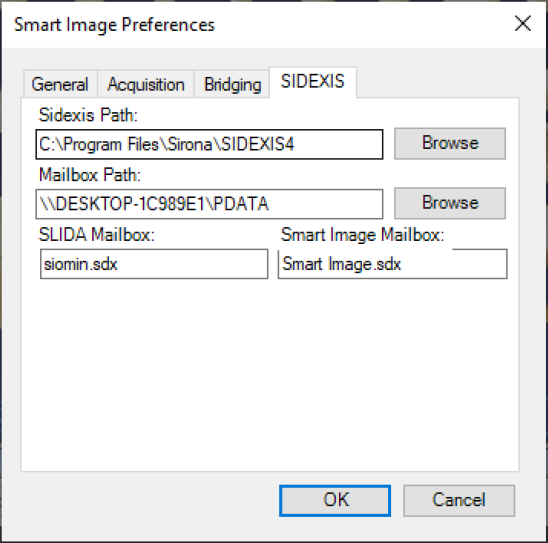
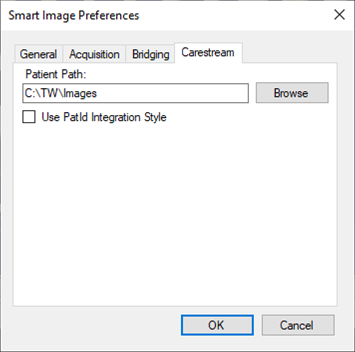
9. To modify a connector's configuration settings, click the connector tab.
10. Click OK.