
Dentrix lets you customize the colours you use to display various elements in the Patient Chart. Chart colours are workstation specific, meaning that different computers on the network can have their own colours. The changes you make remain in effect even after you close and reopen the Patient Chart.
To customize the Patient Chart's colours
1. In the Setup menu in the Patient Chart, click Chart Display Setup.
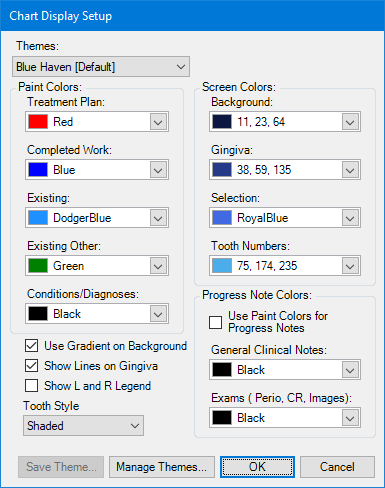
The Chart Display Setup dialog box appears.

2. Select one of the following themes for the Graphic Chart from the Themes list.
Blue Haven [Default] –
Blue Sky –
Classic Chart –
Parchment –
Seashore –
Silver Bells –
Snow Day –
Steel Monkey –
3. Under Paint Colors, select a colour for each treatment status from the appropriate list:
Treatment Plan – Default is red.
Completed Work – Default is blue.
Existing – Default is Dodger blue.
Existing Other – Default is green.
Conditions/Diagnoses – Default is black.
4. To change the colour of the text of your Progress Notes from black, select Use Paint Colors for Progress Notes.
Dentrix changes the colour of the text to correspond with the treatment status paint colours.
5. To save a custom theme, click Save Theme.
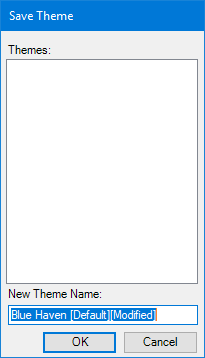
The Save Theme dialog box appears.

6. Under Theme Name, type the name of the custom theme, and then click OK twice.
The name appears in the Themes list in the Chart Display Setup dialog box.
7. To delete or rename a custom theme, select it from the Themes list, and then click Manage Themes.
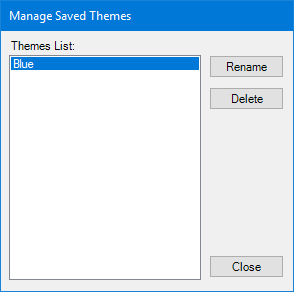
The Manage Saved Themes dialog box appears.

8. To delete or rename a theme, select a theme in the Themes List, and then do one of the following:
Click Delete, click Yes to confirm the deletion, and then click Close.
Click Rename, type a new name, and then click Close.