
Dentrix Ascend Forms delivers a modern, seamless intake experience for patients while giving practices an easy-to-use, intuitive solution that reduces manual work, offers deep customization, and streamlines the pre-appointment process.
With a user-friendly Form Builder, staff can easily create forms tailored to both practice workflows and patient needs. Forms can be customized to capture only the necessary information for each appointment, simplifying the patient experience and improving data quality.
Once submitted, patient information—such as demographics and medical history—automatically populates into the patient file, eliminating manual entry.
To get started, watch this video to be introduced to the new Dentrix Ascend Forms (Duration 1:07).
To learn how to use Dentrix Ascend Forms, click the topics below.
There are several user rights associated with Patient Forms. They all require the Review Patient Forms right.
Choose from pre-designed templates, like "Health History," which capture information such as demographics, insurance, HIPAA acknowledgments, and more! Or, build custom forms using a simple drag-and-drop interface, adding data fields, checkboxes, and legal disclaimers, while the patient-friendly design options like tabs and steps improve usability.
One of the options you will have is whether a form is sent only to patients whose status is New, or only to existing patients - or both!
Working from a template as a baseline, you can add, delete, and rearrange the elements to create a patient form that genuinely reflects the needs and interests of your practice.
Watch this video to get a better understanding of how to create and publish a custom form (Duration 4:17).
A provider's review can be useful for confirming the accuracy and completeness of a patient's self-reported information. By requiring a provider to review a form, the provider can catch information that may affect dental treatment. Designing such a form for your practice is optional.
Watch this video so see how to configure a form to require provider review, and how that review gets accomplished (Duration: 0:40).
"Conditional fields" are parts of the form that appear depending on the answer to a previous question. Conditional fields in a patient's form can streamline the work of filling out the form by only showing elements relevant to that patient's circumstances. Showing fields only as needed can improve the efficiency of the process and enhance the patient experience.
Watch this video to get a learn how to add conditional fields to patient forms (Duration 2:04).
Your dental practice needs to know about a patient's medical health history prior to treatment for several important reasons. The challenge in a health history form is to find the balance between asking too many questions, which can lead to form fatigue and abandonment, and asking too few questions, leaving you without crucial information. To strike the balance that is right for your practice, Dentrix Ascend allows you to customize the list of medical conditions and allergies that appear in a health history form.
Watch this video to learn how to customize the medical conditions and allergy list in a health history form. (Duration: 2:27)
Adding images to your forms—such as your practice's logo—enhances the look and feel of your forms. It build professionalism and trust with patients by reinforcing your brand identity. A branded form creates a consistent experience between your website and your intake process, helping patients feel more familiar with your practice.
Use the following video to learn how to add an image to your patient forms: (Duration 1:45)
Using native tools in Dentrix Ascend, you can automatically send messages at key points in a patient's journey, for example, reminding a patient of an upcoming appointment. Ascend automates these messages, and part of their payload can be a link to the patient's forms due.
Watch this video to learn how to automate form reminders in Dentrix Ascend. (Duration 0:51)
The link to fill out forms electronically can be texted or emailed to a patient. If a patient arrives for an appointment and his or her forms have not been filled out, you can send them their forms via email or text right then and there.
Watch this video to learn how to send online form links to individual patients. (Duration: 1:05)
You will want most of your forms to be sent out on an automated basis, relieving you from the need to manually intervene. New patient forms are a good example.
Some forms, however, you may wish to send not to all patients, on an as-needed basis. Examples of these could be treatment or consent forms for specific procedures; follow-up or record requests such as a specific form for a records release or gathering additional information for insurance processing; or perhaps for emergency visits an on-demand form would allow staff to quickly collect an abbreviated set of patient information.
Watch this video to learn how to send a patient form on an on-demand basis. (Duration: 1:01)
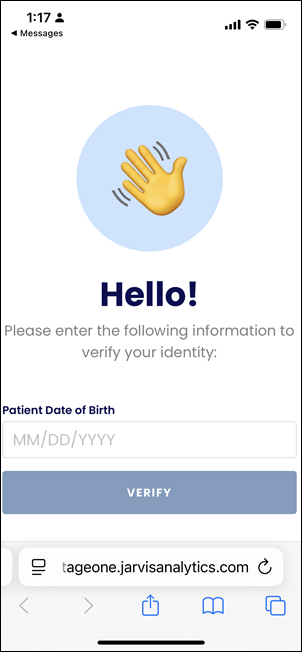
You can send forms to patients by email, SMS, link, or QR Code. For most methods, the patient must verify their identity by entering their birth date before they can access the form.
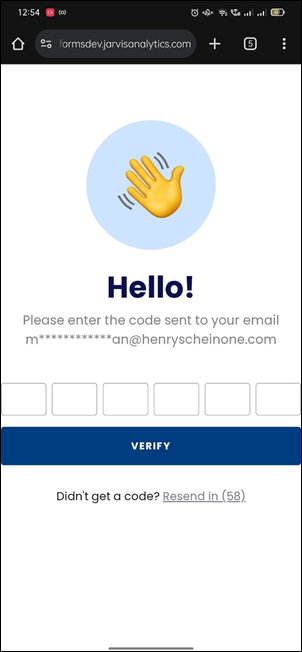
For forms sent by email, however, when the patient clicks the Forms button they will receive another email with a one-time passcode. The patient must enter the passcode to access the form.
All links, regardless of the sending method, expire after 7 days.
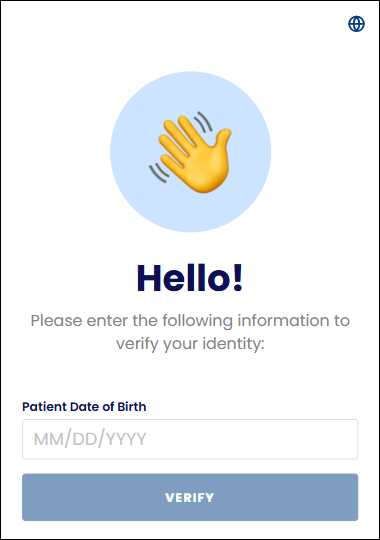
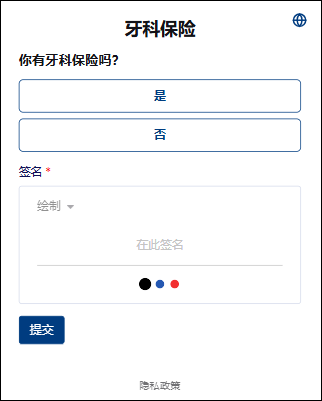
Patients can instantly convert their forms from English to Spanish or Chinese (Simplified 简体 or Traditional 繁體), to better serve those patient populations. When a patient opens a form link, they will initially see English.
All the patient does is tap the globe icon, and then select the appropriate language option.

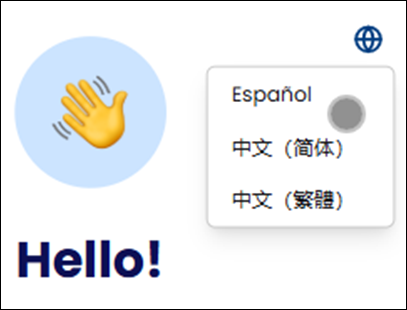
The form immediately switches to that language.
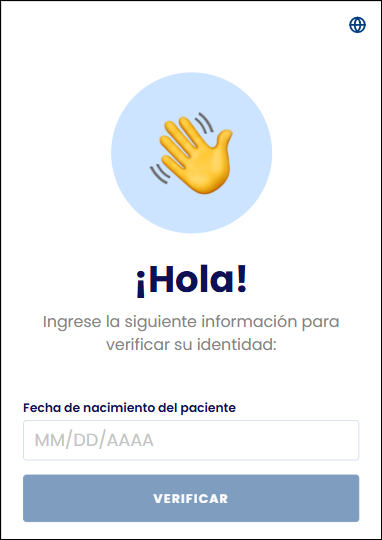
After entering their authentication information, the patient will see all the form fields presented in their selected language.
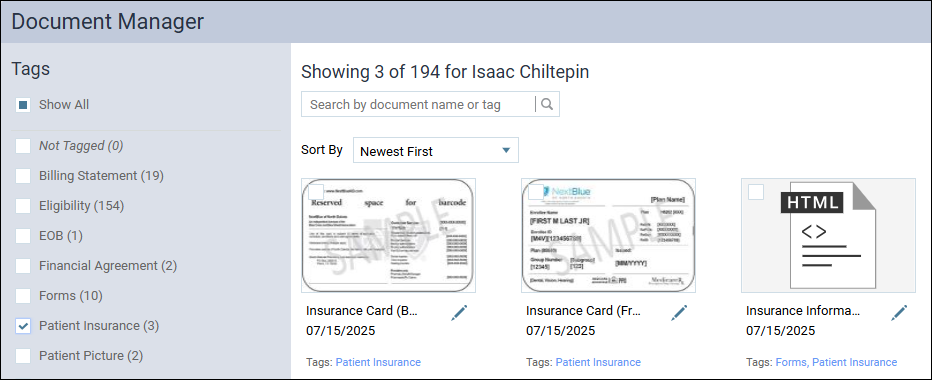
Once you have enabled your patient forms, patients can fill them out online. Submitted forms get stored in and can be viewed in the patient Document Manager. Dentrix Ascend provides a shortcut widget to help you preview these.
Watch this video to learn how to view completed patient forms (Duration: 1:28).
Note: When the patient includes pictures of an insurance card or driver's license as part of their form submission, those images are also added to the Document Manager. Those images are tagged either Patient Insurance or Patient Information by default.
Providers working in the Chart can quickly review any patient form for clinically relevant information prior to treatment without opening a .pdf file.
On the Chart tab of a patient's clinical record, click Forms, and then click the Received on [date] link of the form that you want to review.
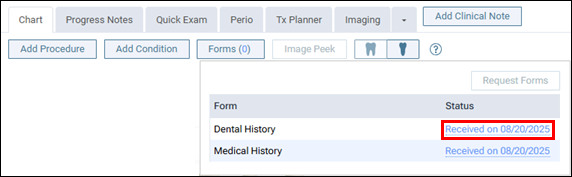
The Review Form dialog box appears and displays information from the form.
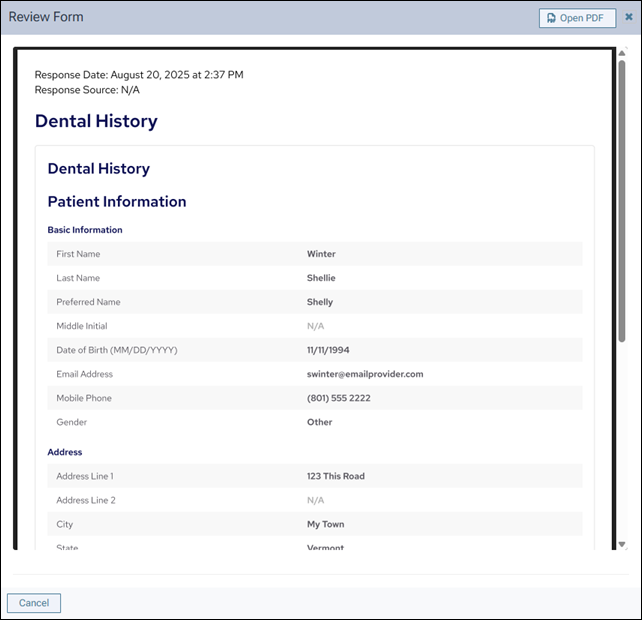
If you do want to open the .pdf version of the form, click Open PDF (in the upper-right corner). The .pdf file opens on a new browser tab.
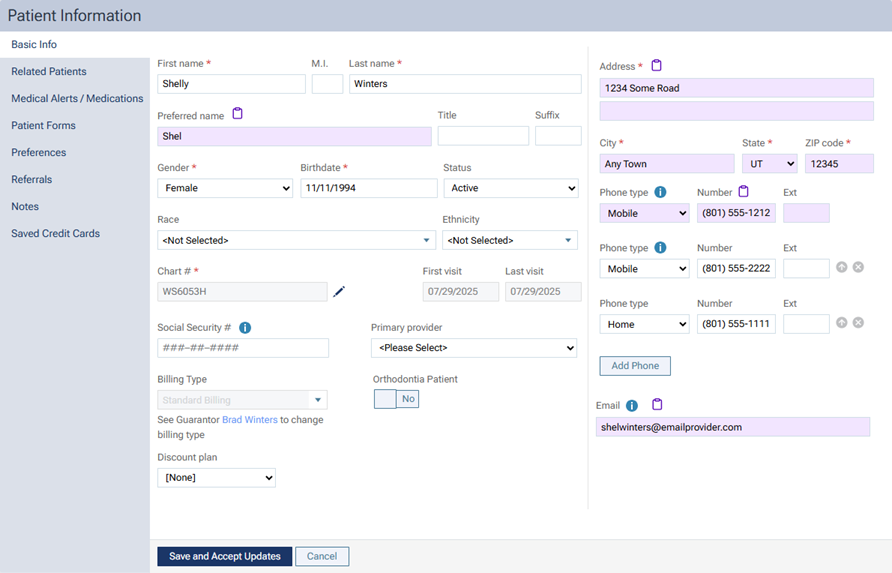
When a form is received with demographic data (name, address, phone number etc.) you will see a banner on the Patient Information page informing you that there are changes to the patient's record. You have the option to accept or reject these changes.
Note that if 270 days have elapsed since the updates were made, the updates can no longer be reviewed, and the purple highlights and icons no longer appear. If a second set of updates occurs before the first set of updates is reviewed and accepted, the first updates can no longer be reviewed.
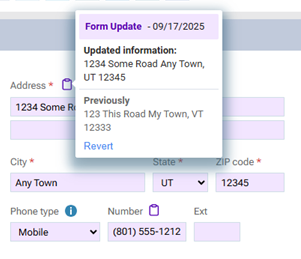
For each option with an update, click the Form Update icon ![]() to view a pop-up box with the new information and the previously entered information. To revert a value back to the
previous value, click the Revert link on the pop-up box (the reverting is not saved automatically).
to view a pop-up box with the new information and the previously entered information. To revert a value back to the
previous value, click the Revert link on the pop-up box (the reverting is not saved automatically).
When you have finished reviewing and reverting values as needed, click Save and Accept Updates. The patient’s record, as it is currently displayed, is saved. The updates can no longer be reviewed.
Note: Address and Phone Numbers work as one writeback object. Reverting one will revert all those values.
Have questions? Get all the details in the Dentrix Ascend Forms overview.