Attaching images to claims
You can attach images that you have acquired using Dentrix Ascend Imaging to a claim.
To attach images to a claim
-
Click (or tap) a claim on the Unsent Claims page, the Sent Claims page, a patient's Insurance Claims page, or a patient's ledger.
The Claim Detail dialog box appears.
-
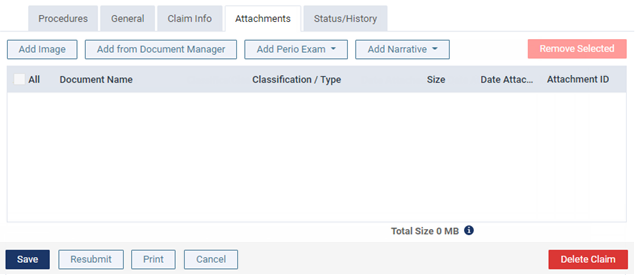
Select the Attachments tab.
-
Add images from the patient's images:
-
Click (or tap) Add Image.
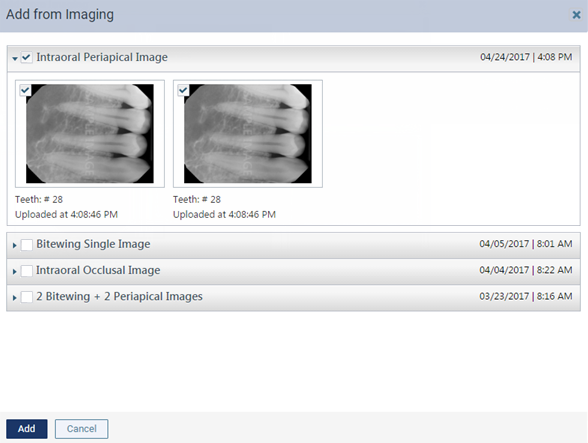
The Add from Imaging dialog box appears.
-
Click (or tap) a procedure with the correct date of service to view the corresponding images. Select the checkbox next to the procedure name to attach all the images in that section to the claim, or individually select the checkboxes of images that you want to attach to the claim. Repeat this process as needed.
Notes:
-
If all the images for a given procedure (such as a full mouth series) are selected, they are attached to the claim as a single image with a resolution of 1920 x 1080.
-
If all the images for a given procedure are selected, the images will be attached to the claim together (the entire series/set will be presented as one image). However, for any slot of the set/series with multiple images (images with the same assigned tooth numbers), only the top image of the stack will be attached to the claim.
-
If only some of the images for a given procedure are selected, each image will be attached to the claim separately.
-
The applicable tooth numbers and date of each selected image are included.
-
-
Click (or tap) Add.
-
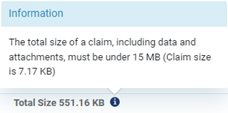
Note: The total claim size (claim data and attached files) must be smaller than 15 MB. You cannot submit the claim if the size is 15 MB or larger. For your reference, the Total Size appears below the list of attachments on the Attachments tab.
To view the size of the claim itself, click the "i" icon.