Apple iPad Camera Setup Guide
This guide describes the setup of the Apple iPad camera for use with Dentrix Ascend Imaging.
Last updated: 10/30/2025
Overview
Dentrix Ascend Imaging supports the acquisition of images from the Apple iPad camera.
Configuration
To configure the browser settings for using the iPad camera with Dentrix Ascend Imaging, do the following:
-
Open the Safari app.

-
Navigate to the Dentrix Ascend website (such as live.dentrixascend.com; the URL that you use to access Dentrix Ascend may be different).

-
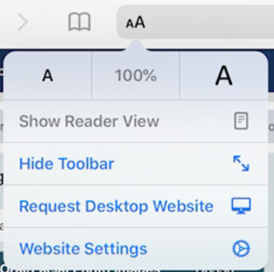
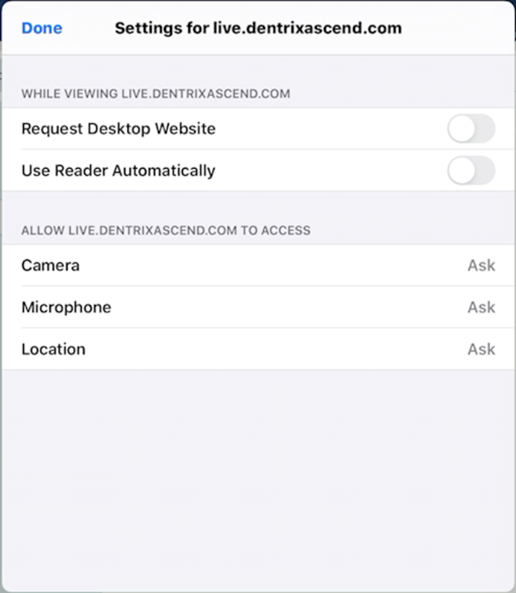
Tap the AA icon, and then select Website Settings.
-
Turn off Request Desktop Website.
-
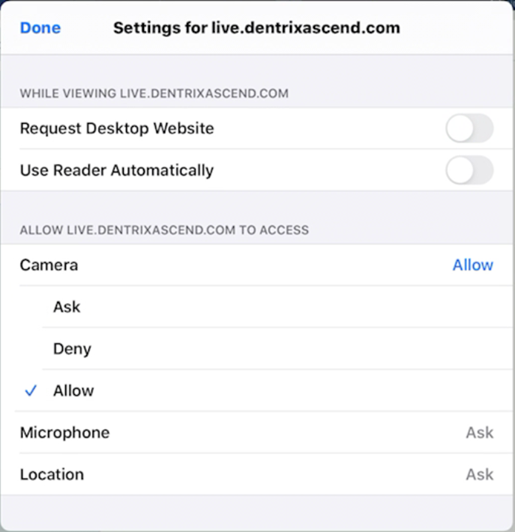
Tap Camera, and then select Allow.
-
Tap Done.
Testing
The iPad camera is now functional in Dentrix Ascend Imaging.
Note: For better functionality, hold the iPad horizontally (landscape orientation) while using Dentrix Ascend Imaging.
To acquire a test image, do the following:
-
Select the 2D Oral/Facial Photo Images imaging procedure.

-
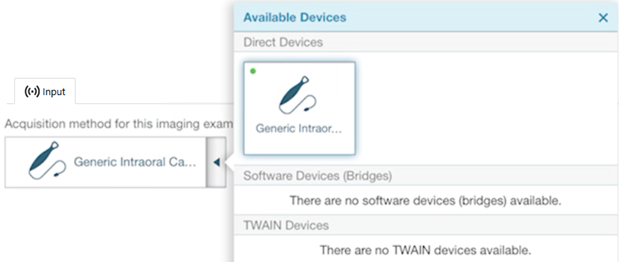
On the Available Devices menu, select Generic Intraoral Camera.
-
Tap Start.

-
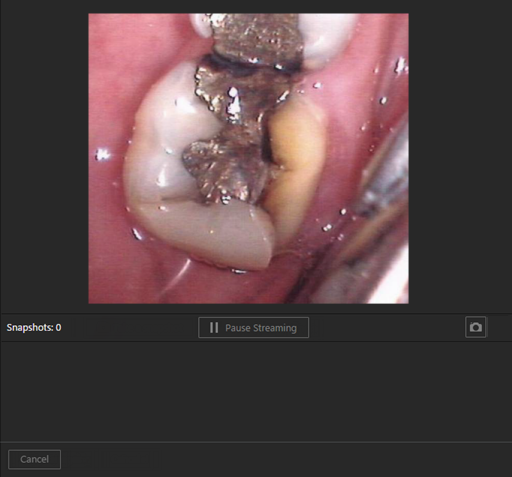
A live video stream from your camera appears.
-
With the camera properly positioned, tap the video preview area to pause or freeze the live video stream (or tap Pause Streaming).
-
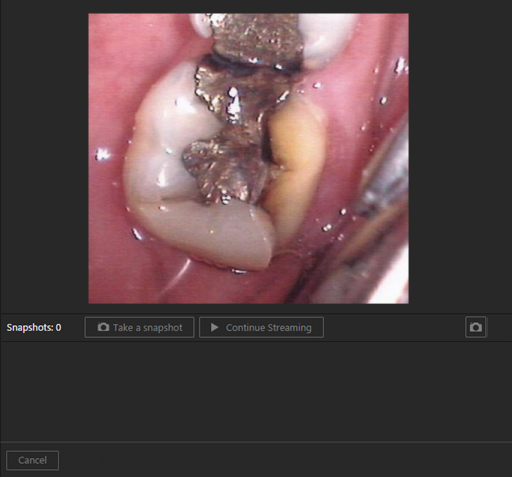
Tap the video preview area to capture the current video frame (or tap Take a snapshot). The resulting image is added to the snapshot panel, and the video stream automatically becomes live again.

-
Repeat steps 5-6 as needed to acquire additional snapshots.
-
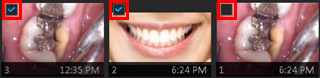
On the snapshot panel, clear the check box of the snapshots that you do not want to save.
-
Tap Assign Images.
-
Do any of the following:
-
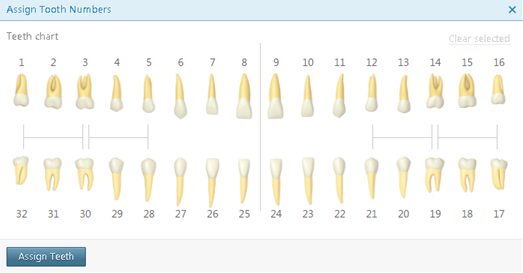
To save one or more snapshots as intraoral images and assign tooth numbers, select the snapshots that pertain to the same teeth (deselect snapshots that do not pertain to the same teeth), and then tap the Select Teeth, UR/UL/LR/LL, Upper Jaw, or Lower Jaw box.
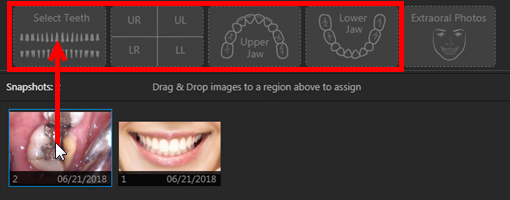
If you put snapshots in the Select Teeth box, select the applicable teeth, and then tap Assign Teeth.
-
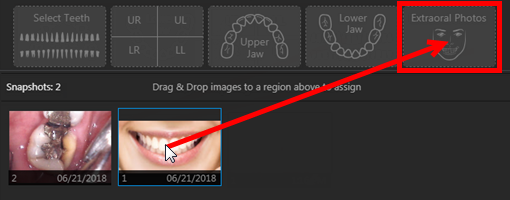
To save one or more snapshots as extraoral images, select the snapshots that are extraoral images (deselect snapshots that are not extraoral images), and then tap the Extraoral Photos box.
-
To save the snapshots on the snapshot panel as intraoral images, but not assign tooth numbers, leave those snapshots on the snapshot panel.
Assigned intraoral images appear on the left side of the preview area; extraoral on the right.
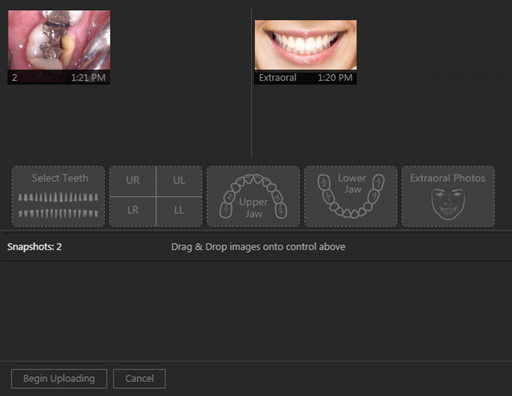
Note: If you have a mix of intraoral and extraoral images, they map to one procedure (D0350), which will appear in the progress notes with two icons. Also, you can delete or reassign the intraoral or extraoral exam as needed in the future.
-
-
Tap Begin Uploading.