If you don't see your Dexis Imaging integrator in the Patient Chart, click here to learn how to access imaging.
We've enabled your new integrated Dentrix Imaging workflow. Designed with clinicians in mind, it's your modern, intuitive way to capture and manage images.
Start taking x-rays today using familiar tools plus powerful new features.
Watch the video below to see how easy the new workflow is.
To learn how to use Imaging in Dentrix, click the topics below.
Image Acquisition Using Simple Mode in Dentrix Imaging


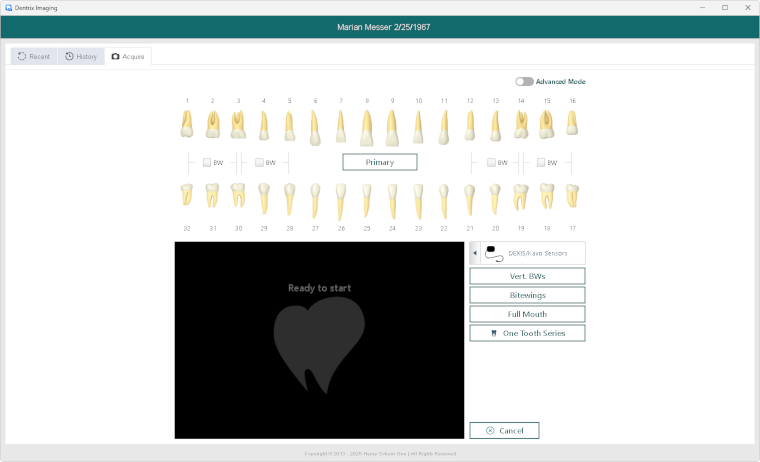
Image acquisition will begin immediately after selection.
The tooth chart will highlight the teeth for the next image.
After each image:
Need to retake an image?
Image Acquisition Using Advanced Mode in Dentrix Imaging
1. From the Dentrix Patient Chart, click the Acquire button.
Or, if you previously used Dexis Imaging, you can also use Dexis' Acquire button.
Dentrix Imaging will open with the Acquire tab selected
The slider at the upper-right will indicate whether you are using Simple or Advanced mode.
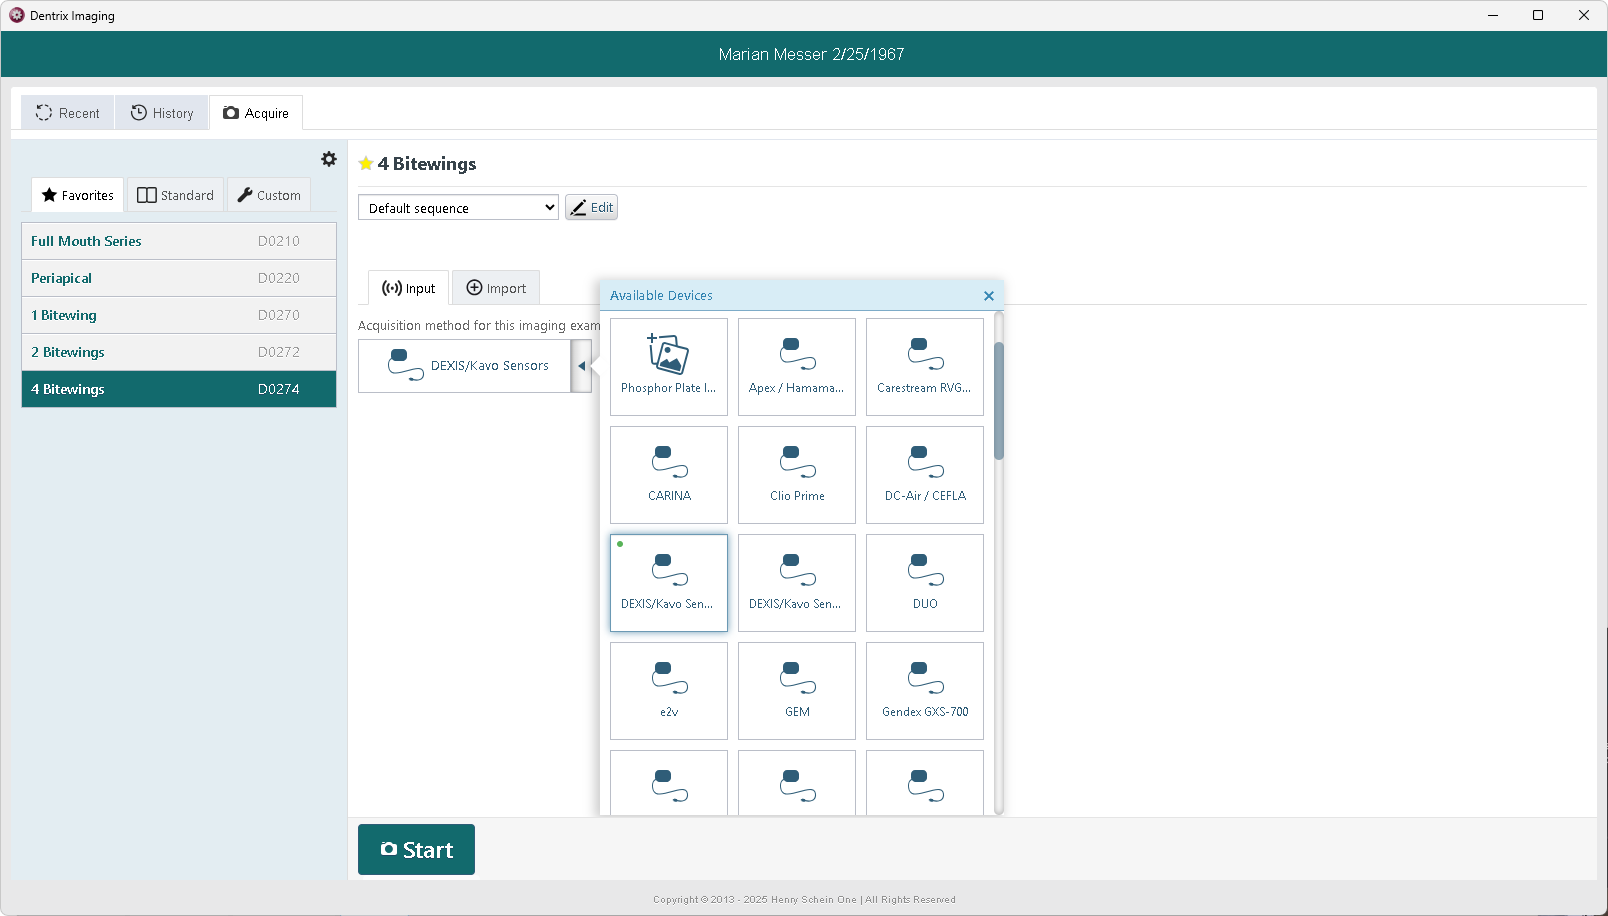
2. Select either the Favorites, Standard, or Custom category.
Then choose the procedure code that represents the type of image you are going to import.
3. After selecting the procedure, options specific to that image type will appear on the right.
Select the options, which may include:
* Sequencing templates are customizable. See the Customizing Imaging section of this guide for more information.
4. After making your selection, click Start
5. Dentrix Imaging will guide you through acquiring the image. During the acquisition,
Image files (.bmp, .png, .jpg, and .tiff) can be imported directly into Dentrix Imaging. The original date for the image can also be attached to the image. Many types of images can be imported including radiographs, intra-oral photos, extra-oral photos, and Panoramics.
To acquire images by importing them from files...
1. In Dentrix Imaging, select the Acquire tab.
Note: Importing images is only available in Advanced Mode. Use the toggle in the upper-right corner to switch between Simple and Advanced acquisition modes.
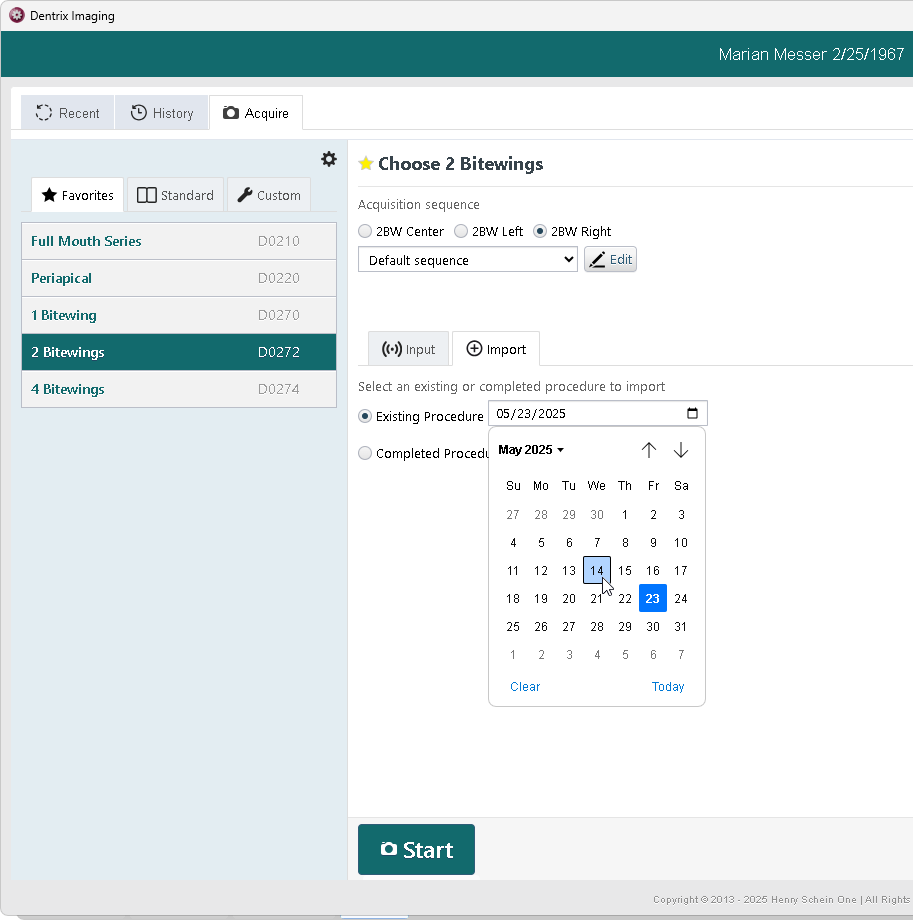
2. Select either the Favorites, Standard, or Custom category.
Then choose the procedure code that represents the type of image you are going to import.
3. Click the Import tab.
4. Click Start
5. Next, click Start Importing to open the file selection window. Locate and select the image files you want to import.
Or, if it's easier, simply drag and drop the images from a File Explorer window into the tray at the bottom of Dentrix Imaging.
6. From the tray, drag the images into the appropriate spots in their position in the template.
7. When you've assigned the image files to the template, click Begin Uploading to save the images to the database.
Remember... When you're using Dentrix Detect AI, the images will automatically be submitted for AI detection processing—no extra steps needed!
Image files (.bmp, .png, .jpg, and .tiff) can be imported directly into Imaging in Dentrix. The original date for the image can also be attached to the image. Many types of images can be imported, including radiographs, intra-oral photos, extra-oral photos, and panoramics.
Dentrix Imaging offers two ways to view image history: Modality View or Exam View.
In modality view the images appear in an anatomical layout.
A number at the bottom corner of an image indicates that there is a stack, or a history of images assigned to that tooth. Use the arrows to move backward or forward through the stack of images.
Double-click one of these images to open the viewer, and the other images in the stack will appear in the tray below for easy inspection.
In exam view, images are displayed in chronological order by their exam acquisition date.
In the left panel, click each exam to preview the associated images.

Exam view activated by turning off Modality View. Switching between these views is discussed in the Customizing Imaging section of this guide.
When you select a patient for the first time, Dentrix Imaging will automatically import three years of image history from your Dexis software. That means that it might take a few extra seconds to open each patient for the first time--but you don't need to wait for--or pay for--a full image database conversion to start using Dentrix Imaging! It happens automatically in the background as you select each patient.
If you need to review additional history, you will still be able to find those historical images within Dexis.
When acquiring images, you can choose the Acquisition Sequence, or order that the images are acquired within the template. These sequences are customizable!
Under the Acquire tab, click the Settings button to set up your acquisition preferences.

Auto-proceed with Acquisition will get you acquiring your images more quickly by skipping options you have already used in the past, such as selecting the sensor.
Show post codes will display or hide the option to post the procedure code complete to the Dentrix Patient Chart and Ledger.
Show provider will display or hide the option to choose which provider to credit the completed procedure code to when posting the procedure code complete to the Dentrix Patient Chart and Ledger.
Post codes to Dentrix will post the procedure code complete to the Dentrix Patient Chart and Ledger.
Default Full Mouth Series allows you to indicate whether you typically capture 18 or 21 images in an FMX. The corresponding template will be automatically selected when the FMX is selected for capture.
Under the History tab, click the Settings button to set up your viewing and AI preferences.
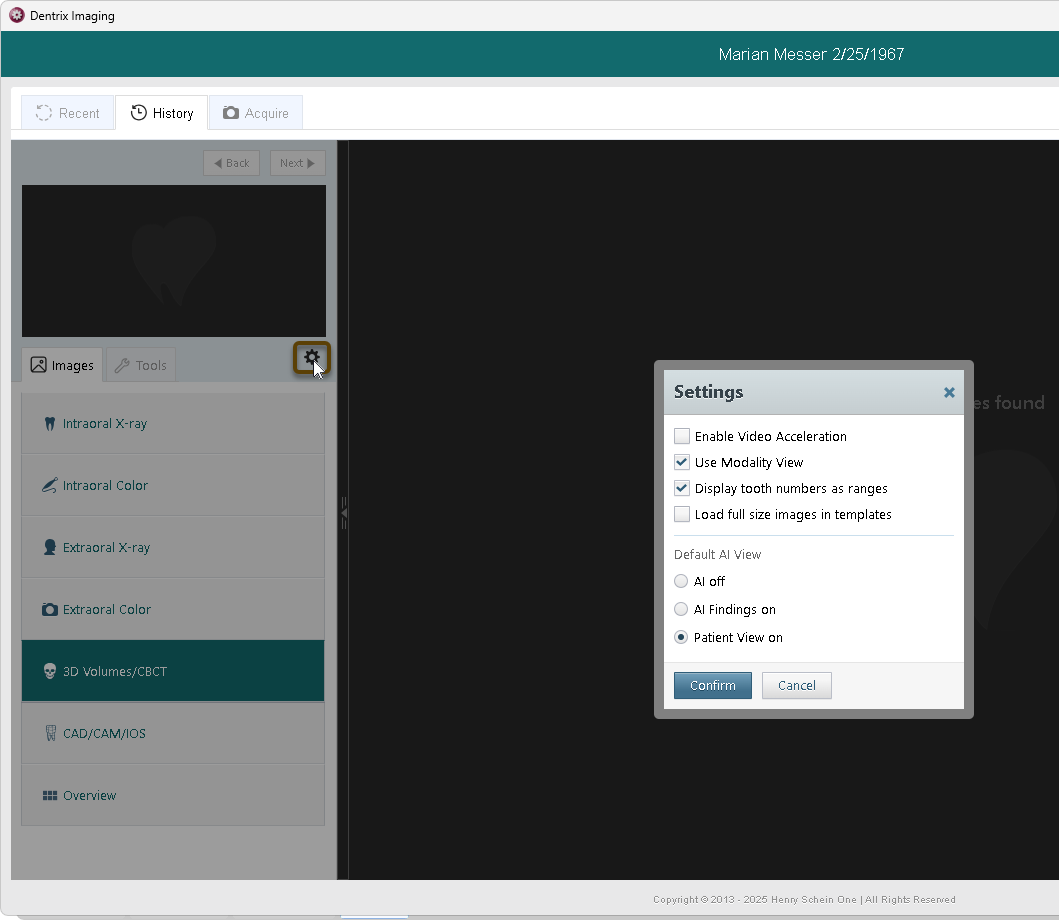
Video Acceleration uses your computer's graphics card to speed up how 2D images are displayed, making things smoother and faster. It's off by default to avoid issues on older devices, but if your hardware supports it, turning it on can improve performance. Important: If your computer hardware is incompatible, enabling this feature could result in a black screen.
Dentrix Imaging offers two ways to view image history: Modality View or Exam View. To use Exam View, remove the Use Modality View option.
Enabling this feature will provide better resolution of images, but may also slow down the loading time.
Determines how the Dentrix Detect AI's detections will be displayed. Choose from one of the following: AI off, AI Findings on, or Patient View on.
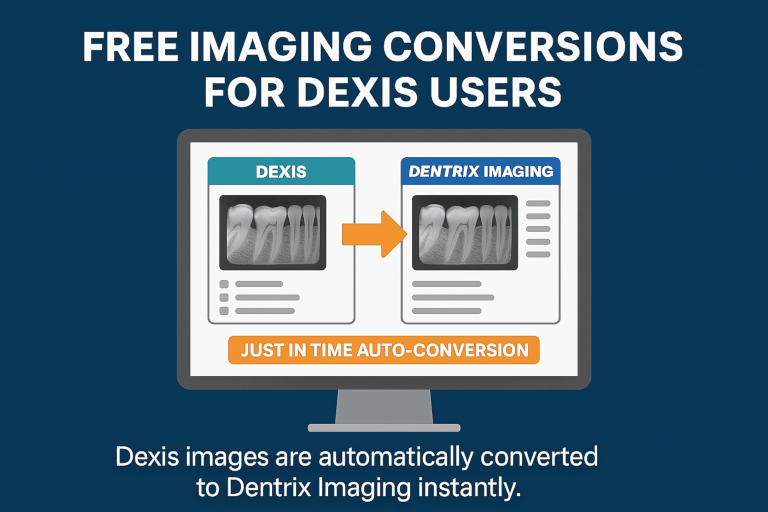
If you've used Dexis Imaging in the past, you'll benefit from our Just in Time auto-conversion feature.
When you open a patient chart for the first time in Dentrix Imaging, up to seven years of the patient's image history will automatically import from Dexis Imaging into Dentrix Imaging. This process works in the background and usually takes less than a minute to complete. You'll see these historical images seamlessly integrated and ready to view.
And yes—your existing Dexis and CARINA sensors will continue to work with Dentrix Imaging automatically, with no need to call support. We've built this process to eliminate image duplication and streamline your transition, so you can focus on patient care, not tech headaches.
This free conversion is available exclusively to Dexis imaging customers. If you're using other imaging software, a bulk conversion is still available for purchase.