

You can schedule an appointment for a new family member from the Appointment Book and add a new family member to a family at the same time.
To add a new family member and simultaneously schedule an appointment
1. In the Appointment Book, double-click an open schedule space.
The Select Patient dialog box appears.
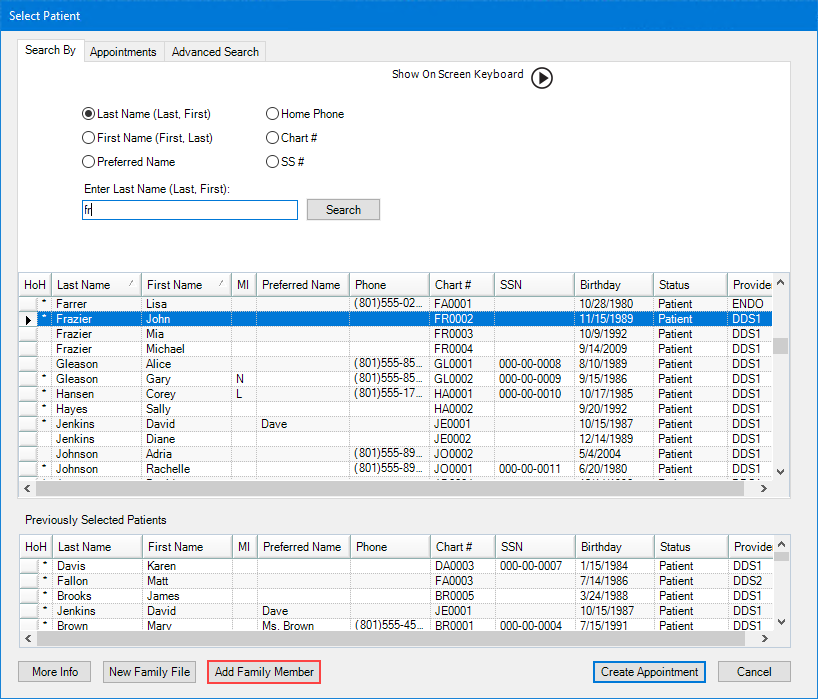
2. Click Add Family Member.
The Patient Information dialog box appears.
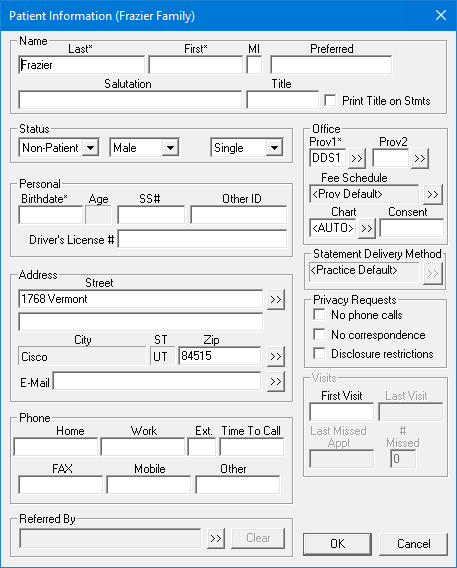
3. Provide the following mandatory information:
· Under Name, type the patient’s first name in the corresponding field.
Note: The default setting for the new family member’s last name is the head-of-household’s last name. If necessary, you can change the last name.
· Under Personal in the Birthdate field, type the patient’s date of birth.
Notes:
· The new family member’s status is set automatically to Non-Patient. When you set the appointment complete, the status updates automatically to Patient.
· The new family member’s First Visit date is left blank. When you set the appointment complete, the First Visit date updates automatically.
· The new family member is automatically added to the head-of-household’s family file.
· Under Status, the default settings are Male and Single. If necessary, you can change these settings.
· If you prefer not to require a new patient’s birthdate, you can disable this requirement by clearing the option in the Preferences dialog box in the Office Manager.
4. To close the Patient Information dialog box, click OK.
The Appointment Information dialog box appears.
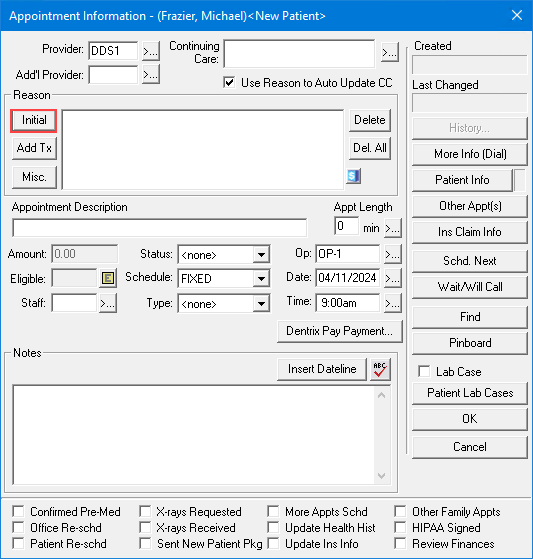
5. Under Reason, click Initial.
The Select Initial Reasons dialog box appears.
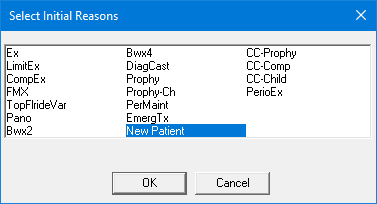
6. Select New Patient, and then click OK.
The following message appears.
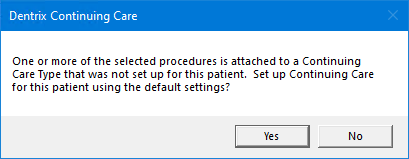
7. Click Yes to set up continuing care for the patient using the default settings.
The Continuing Care procedures appear in the Appointment Information dialog box.
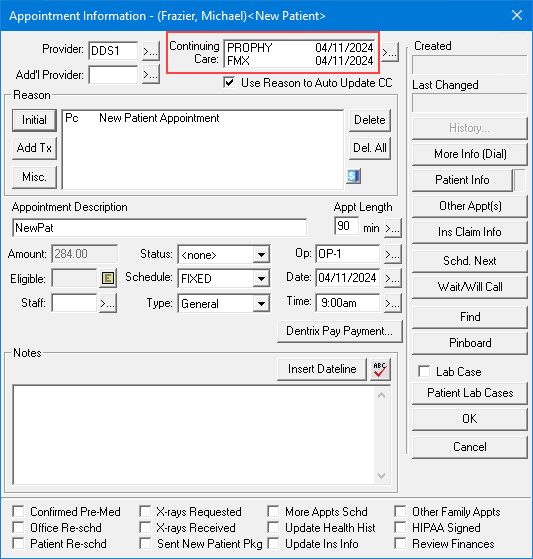
8. Click OK.
The appointment appears in the Appointment Book.