
You can add notations to any screen or image, and you can also add a snapshot of the images containing notations to a case presentation.
To save your notations, you must take a snapshot of the modified image.
When you select a still image or pause an animation, the Notation tools become active. You can use the Notation tools to draw on or annotate images in the Viewing pane. The Notation tools include a pen tool, color palette tool, eraser tool, text tool, and undo and redo buttons.


To use the Pen tool 
1. In the Notations toolbar, click the Pen Tool button to expand the Pen Tool Size menu.
2. Select the desired pen size or shape.
To use the Color Palette 
1. In the Notations toolbar, click the Color Palette button to expand the Color Palette menu.
Note: On the Color Palette menu, the colors on the right are slightly transparent; whereas, the colors on the left are opaque.
2. Select the desired pen color.
To use the Eraser tool 
1. In the Notations toolbar, click the Eraser Tool button.
2. To change the size of the eraser tool, click the button again to expand the Eraser Tool Size menu.
3. Double-click the Eraser Tool button to erase all drawings or annotations from the image in the Viewing pane.
4. Drag your mouse over the image to erase small areas that you have drawn on or annotated.
To use the Text tool 
1. In the Notations toolbar, click the Text Tool button.
The Add Text dialog box appears.
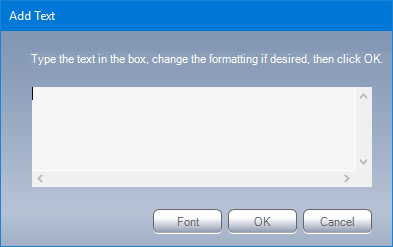
2. Type the desired text.
3. To change the font type, font style, or font size, click Font.
The Font dialog box appears.
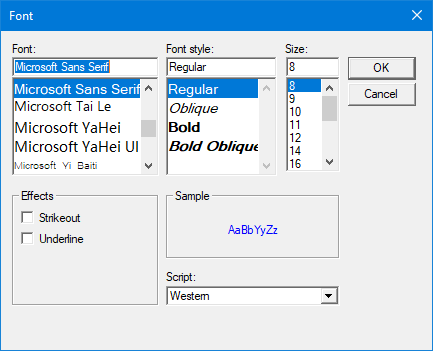
4. Select the desired font and attributes, and then click OK.
5. When you are done entering text, click OK.
The text you just created follows your cursor.
6. Click on a spot of the image in the Viewing pane to place the text on the image.
To undo or redo an action
Click the Undo or Redo button to quickly erase or restore the last changes you have made.