
Using Form Builder, you can create forms from pre-designed templates, such as Health History, which enable you to capture information like demographics, insurance, HIPAA acknowledgements, and so on. You can also create custom forms using a drag-and-drop interface to add data fields, check boxes, and legal disclaimers, while patient-friendly design options (tabs and steps) improve usability.
Note: Your existing forms do not transfer over, so you must recreate them in Form Builder.
To create a form using Form Builder
1. In a Dentrix module, such as the Appointment Book, click the Forms toolbar button.
The Patient Forms screen opens in your default web browser.
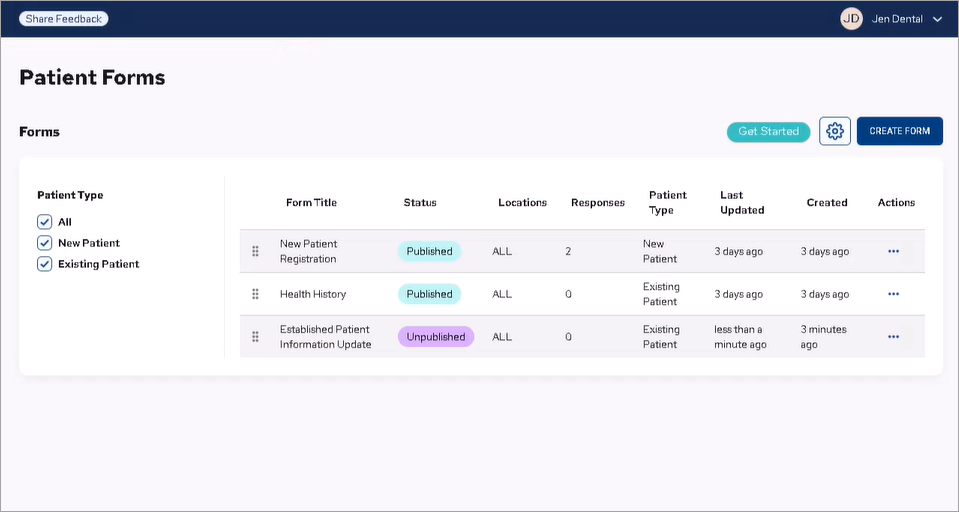
2. Click Create Form.
The All Templates screen appears.
Note: You can create a form from scratch (Blank Form) or from a template. We recommend that you start with a template unless you are familiar with creating forms.
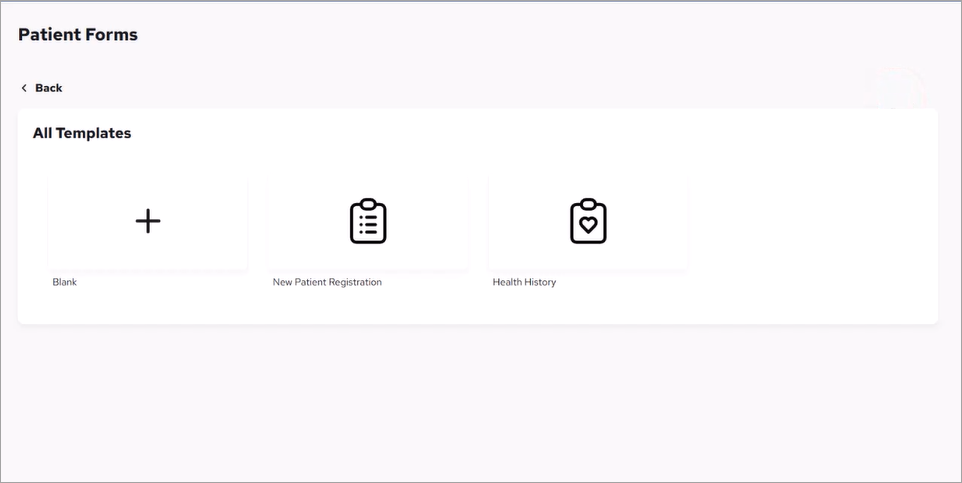
3. To create a form using a template, click the icon corresponding to the type of form you want to create.
The template you selected appears.

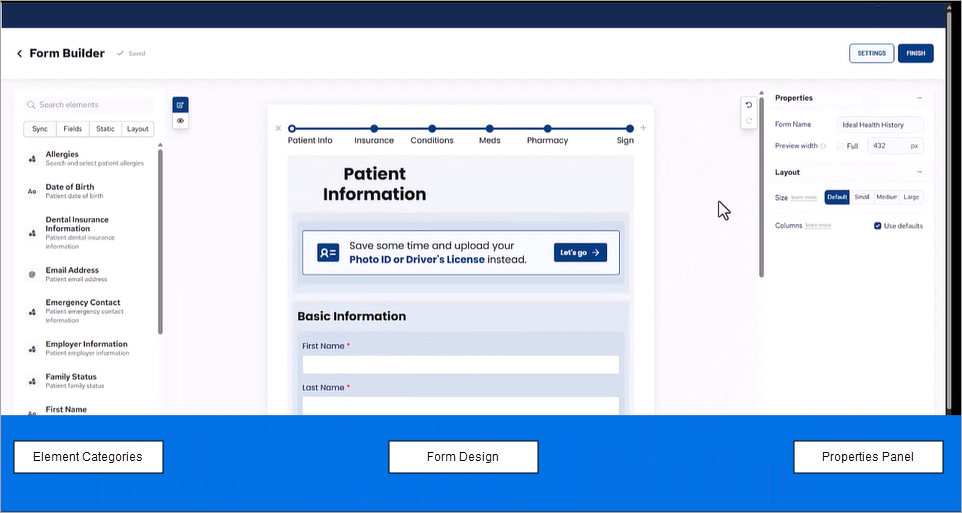
4. Navigate to the Properties panel to the right of the template, and then in the Form Name text box, type a name for your form that differs from the template name and that identifies its purpose.
You are now ready to design the form.

Note: The form editor has three main areas:
To the left, Element Categories, which consists of four categories:
Sync – Lists all of the data fields, which send the completed information automatically to Dentrix once the form is complete.
Fields – Lists elements you can select to include any information not contained in the template that you can use to customize your practice's form.
Static – Lists non-interactive elements, such as instructions or legal text, that you can add to your practice's form.
Layout – Lists elements (Container, Steps, Tabs) you can use to organize your practice's form. To use these elements, drag and drop them into the Form Design panel. We recommend using the Steps layout to guide patients through the form and making the form less overwhelming to complete.
In the center, Form Design, a workspace in which to design or customize your form. We recommend that you keep fields full width to improve usability on mobile devices. If you're using steps or tabs, a Finish button is added to the form automatically. (The Finish button allows patients to submit the form. If you are not using steps or tabs, make sure you add a Submit button from the Static column.)
On the right, Properties Panel, a space in which to edit form elements.
5. Once you have completed creating your form, click Finish in the upper-right corner of Form Builder.
6. To set the rules for how and when the form will be used, from the main Form Builder screen, click the Ellipsis icon under Actions, and then click Settings.
The Form Settings screen appears.
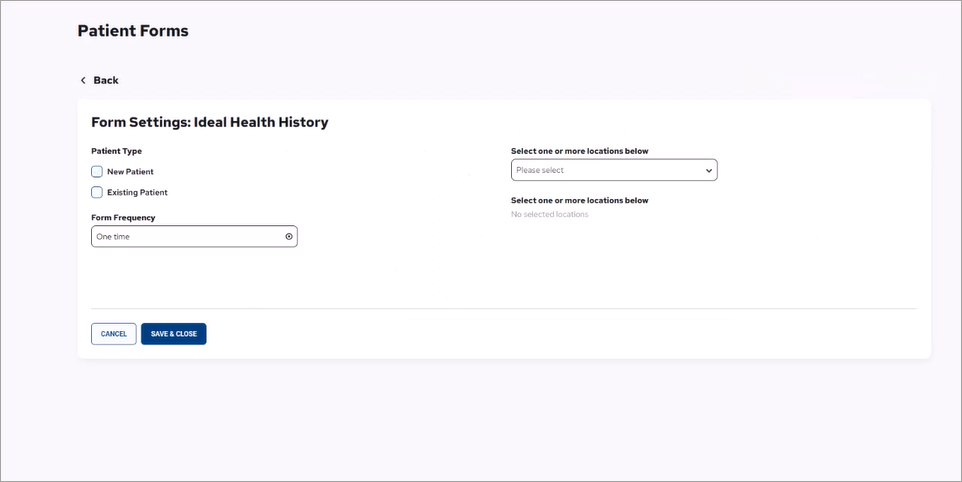
7. Complete the following:
Select the Patient Type – Specifies whether the form is for new or existing patients or both.
Select the Form Frequency – Specifies how often the form should be completed. For example, patients may need to complete the Health History Form once a year, but a HIPAA may only need to be completed once.
Select one or more locations – If you have multiple locations, use this option to assign the form to one or more locations. Select each location from the list, and then click Select to save your selections.
8. Click Save & Close.
9. To preview the form, click the Ellipsis icon under Actions, and then click View.
10. To publish the form, click the Ellipsis icon under Actions, and then click Publish.
Published forms are sent to patients automatically by email or text message based on your Auto Send selections.