The Patient Forms feature integrates with Dentrix to simplify patient registration, update data automatically, and reduce administrative tasks. You can create your own custom patient forms.
Tip: Since your previous forms do not transfer to Dentrix Forms, we recommend that you first copy the text from your previous forms to a text editor or word processor to recreate your current forms or to create new forms.
To create a custom patient form
1. In a Dentrix module, such as the Appointment Book, click the Forms toolbar button, and then from the Patient Forms screen, click Create Form.
The All Templates screen appears.
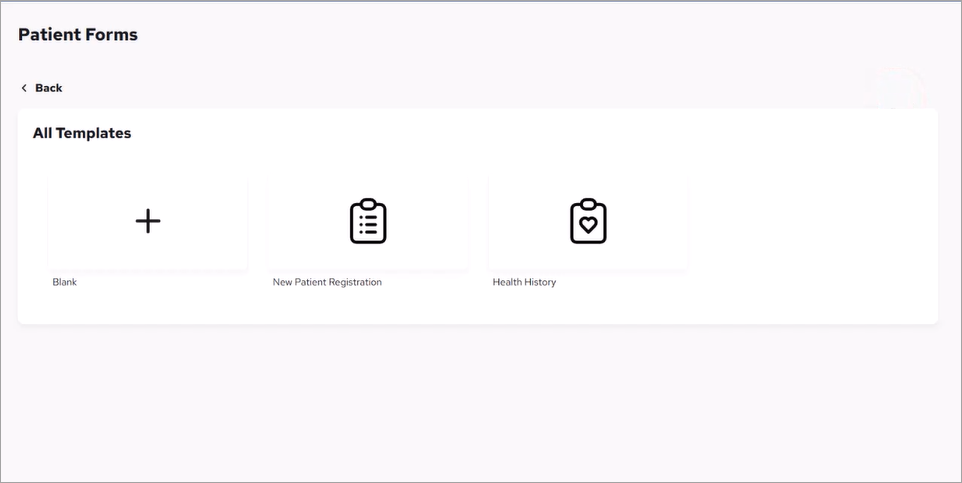
2. Click Blank.
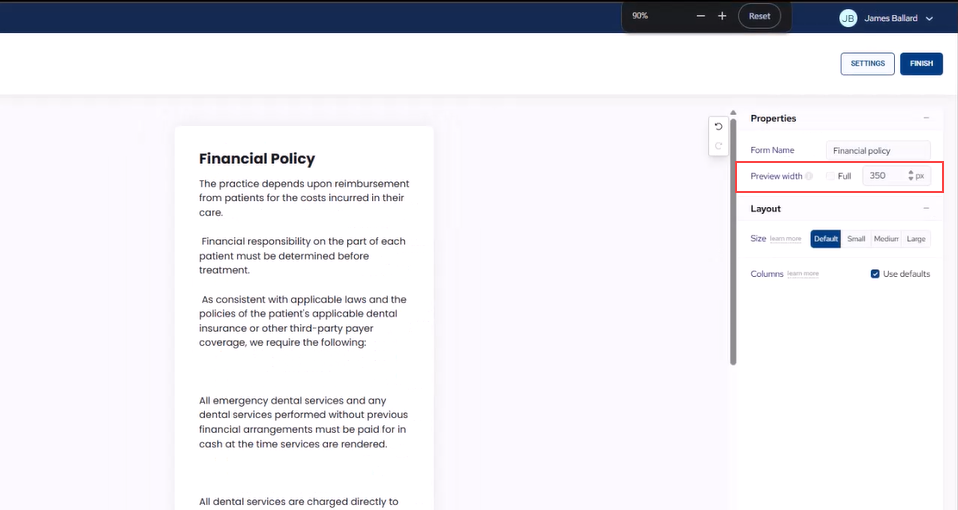
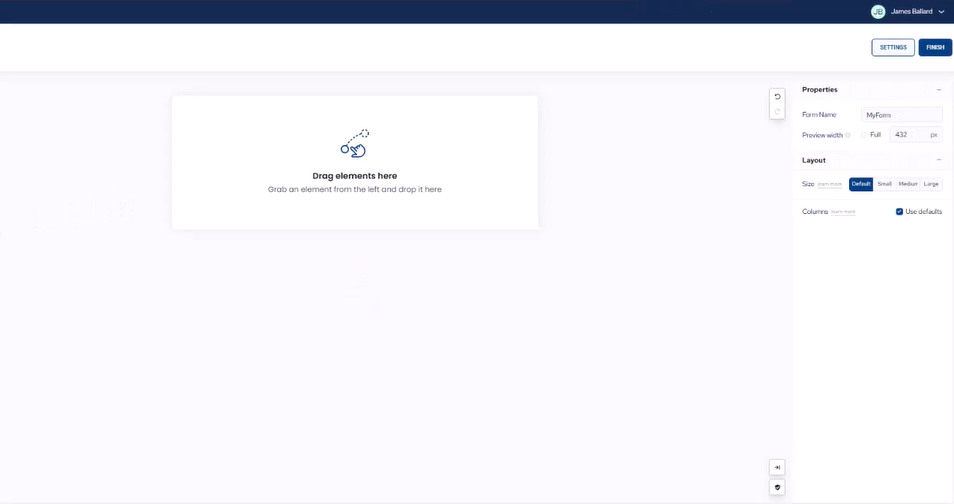
3. Under Properties, type a patient-friendly name to describe the form.
Note: This name will appear for your staff and patients.
4. On the left side of the Form Builder, click the Static tab.
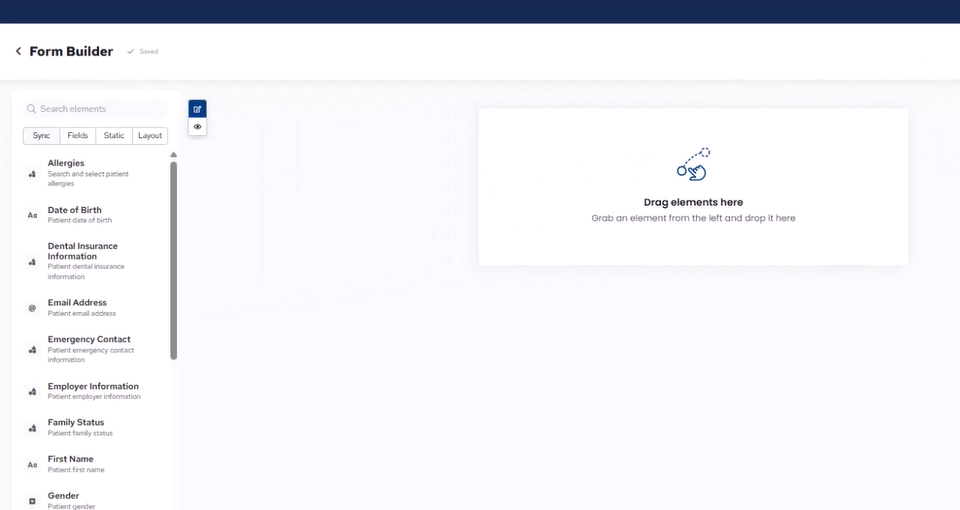
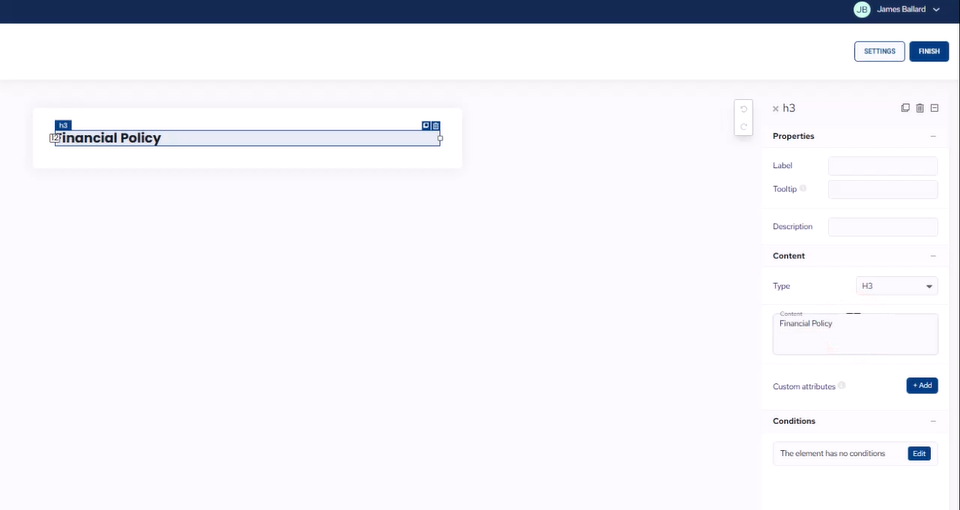
5. Click Section Title, and then drag it to the workspace.
a. In the workspace, click the title.
The title appears under Properties in the Content text box.
b. Type the title of the form.
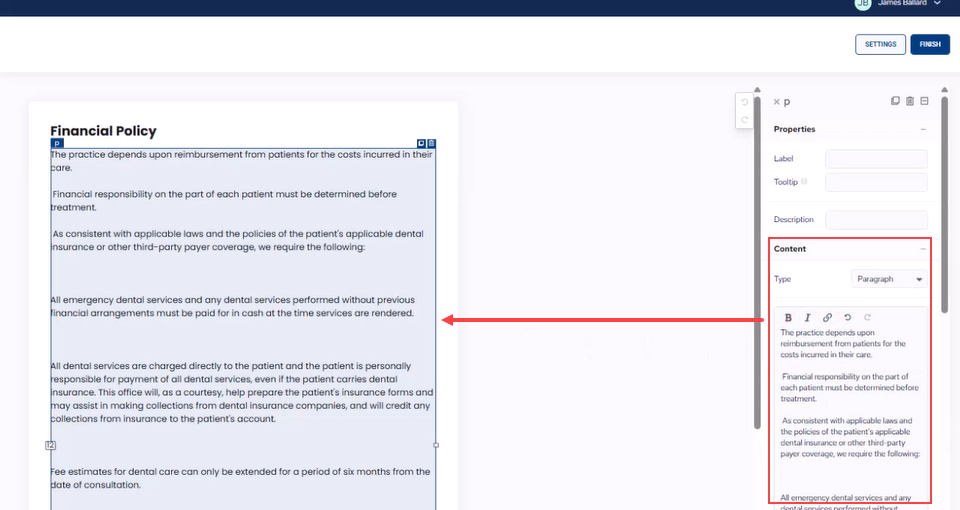
6. To add a paragraph, click the Fields tab, and then drag the Paragraph element to the workspace below the title.
7. Copy the text of document.
a. Under Content, select Paragraph from the Type list.
b. Paste the text into the text box.
The text appears in the workspace.
8. To divide the text from the next section of the document, click the Static tab, click Divider, and then drag that element to the workspace below the text.
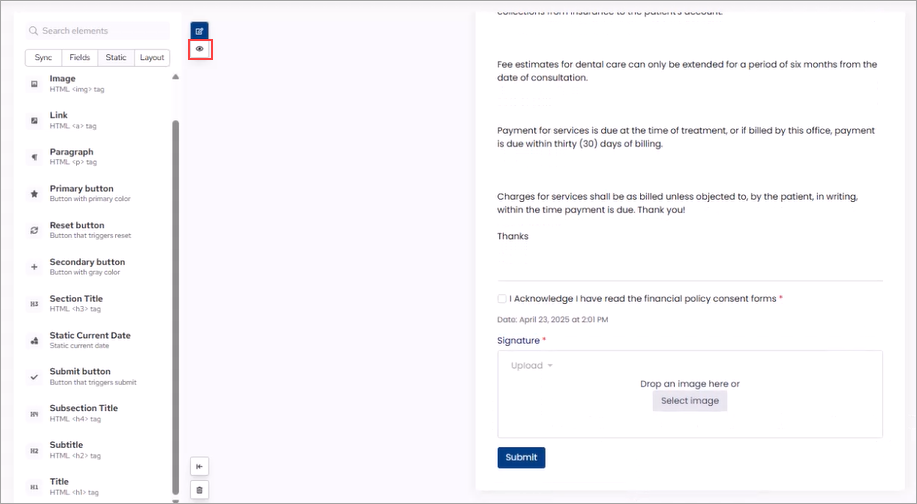
9. To add an acknowledgment element to the form, click the Fields tab, click Checkbox, and then drag that element to the workspace below the divider.
a. Under Checkbox options, type your acknowledgement statement in the Text box.
b. To require patients to check off the acknowledgement statement before submitting the form, under Validation, click the Required toggle switch.
In the form, a red asterisk appears at the end of the acknowledgement statement indicating that the patient must respond.
c. To add a signature to the form, click the Fields tab, click Signature, and then drag that element to the workspace below the last section of the document.
d. To add a timestamp to the form, click the Static tab, click Static Current Date, and then drag that element to the workspace above the Signature box.
The date automatically displays the correct date each time the form is filled out.
e. To add a Submit button to the form, click the Static tab, click Submit button, and than drag that element to the workspace below the Signature box.
10. To preview the form, click the Preview button in the upper-left of the Form Builder.
Note: The default view of the form is 650 pixels wide. The average width for mobile phones is 350 pixels. Adjust the Preview width accordingly. Or to view the form as might look on a laptop, select Full.