
For services that are not covered by an insurance plan, you can use Dentrix to create an exceptions table to document and track the exceptions to in-network and out-of-network insurance plans.
Note: Updating or changing any benefit and coverage information will affect all patients who subscribe to the selected group plan.
To edit an exception in the exceptions table
1. In the Office Manager, click Maintenance, point to Reference, and then click Insurance Maintenance.
The Insurance Maintenance dialog box appears.

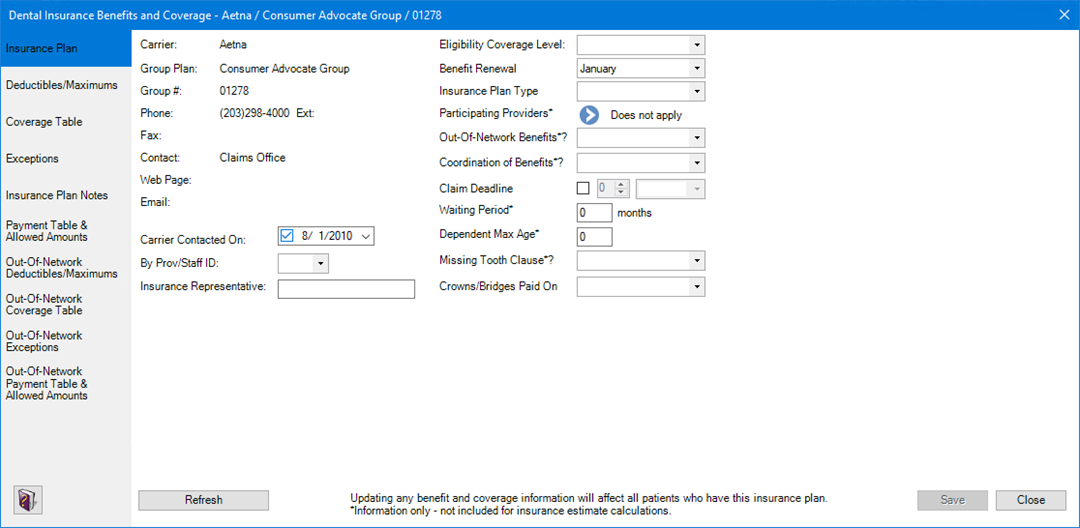
2. Select the carrier and group plan whose exceptions table you want to edit, and then click Benefits/Coverage.
The Dental Insurance Benefits and Coverage dialog box appears.
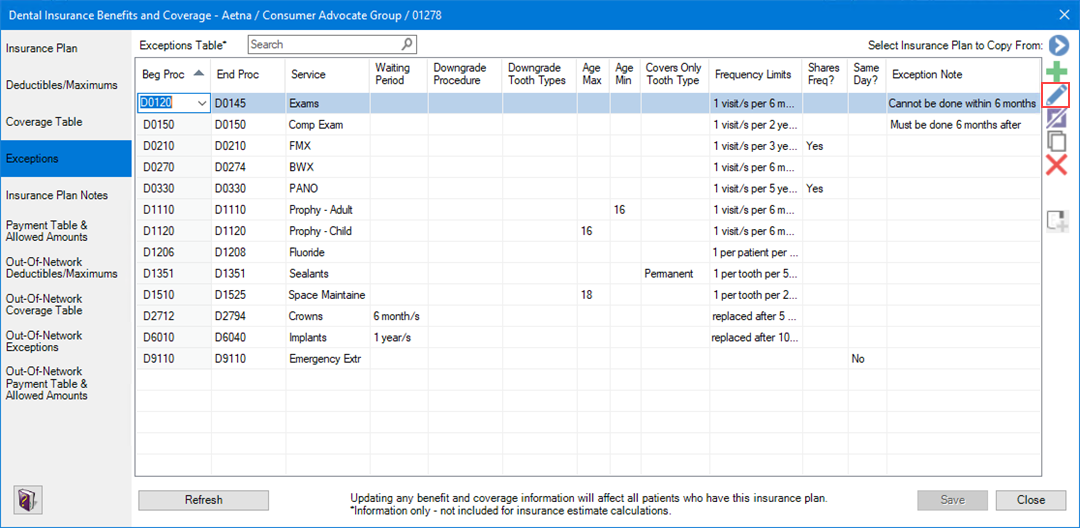
3. Click the Exceptions tab.
The Exceptions Table appears.
4. To
edit an exception, select it, click Edit Selected Exception ![]() ,
and then do one or more of the following:
,
and then do one or more of the following:
· Beg Proc - Double-click the cell, and then type the beginning code of the procedure code range, or click the Down arrow and select the code from the list.
Note: You are not required to use an actual procedure code.
· End Proc - Double-click the cell, and then type the end code of the procedure code range, or click the Down arrow and select the code from the list.
Note: You are not required to use an actual procedure code.
· Service – Double-click the cell, and then type a description of up to 15 characters of the type of service.
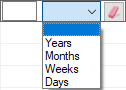
· Waiting Period – Double-click the cell, type the appropriate number, and then select Years, Months, Weeks, or Days in the list. To clear your entries, click the Clear button.
· Downgrade Procedure – Double-click the cell, click the Down arrow, and then select the appropriate procedure from the list.
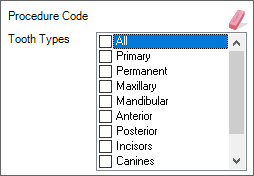
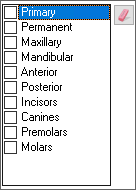
· Downgrade Tooth Types – Double-click the cell, and then select the applicable tooth types from the list. To clear your selections, click the Clear button.
· Age Max – Double-click the cell, and then type the maximum age (1-99). You can leave this cell blank.
· Age Min – Double-click the cell, and then type the minimum age (1-99). You can leave this cell blank.
· Covers Only Tooth Type – Double-click the cell, and then select the applicable tooth types from the list. To clear your selections, click the Clear button.
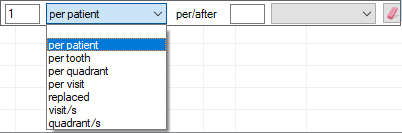
· Frequency Limits – Double-click the cell, type the applicable number (1-99) in each text box, and then select the applicable option in each list. To clear your entries, click the Clear button.
· Shares Freq? – Double-click the cell, click the Down arrow, and then select No or Yes in the list. You can leave this cell blank.
· Same Day? – Double-click the cell, click the Down arrow, and then select No or Yes in the list. You can leave this cell blank.
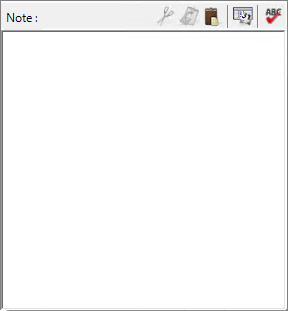
· Exception Note – Double-click the cell, and then type a note in the Note text box.
5. Do one of the following:
· To undo your changes, click Undo.
· To save your changes, click Save.