
You can print sheets of labels from the Office Manager. However, before you print any labels from the Office Manager, you must first select and set up the printer that you will print labels to.
Important: If the printer that you want to print labels to does not appear in the Printer Setup dialog box, the printer may not be configured for Microsoft Windows. Contact your hardware support representative for assistance in installing and configuring the printers in your office.
For information on setting up a Quick Labels printer, click Setting up Quick Label printers.
To set up the label printer
1. In the Office Manager, click File, and then click Printer Setup.
The Printer Setup dialog box appears listing every printer configured for Microsoft Windows.
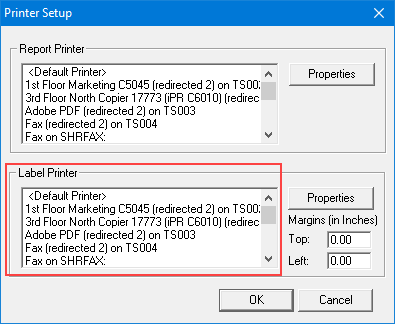
2. Under Label Printer, select the printer that you want to print labels to.
3. To change the printer's settings, click Properties.
A dialog box specific to the printer you selected appears. What settings you can change depends on the features of the printer you selected.
4. To change margin size, type the size in inches in the Top and Left text boxes as appropriate.
5. Click OK.