In the Edit menu in the List Manager window, you can change the status or fee schedule of several selected patients at the same time. This feature helps you manage the Dentrix database more easily. For example, you can now archive multiple inactive patient accounts simultaneously instead of one at a time.
To open the List Manager Edit menu
1. In the Office Manager, click Letters & Custom Lists.
The Letters & Lists dialog box appears.
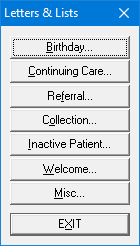
2. Click a button, such as Birthday or Inactive Patients.
The dialog box corresponding to the button you clicked appears.
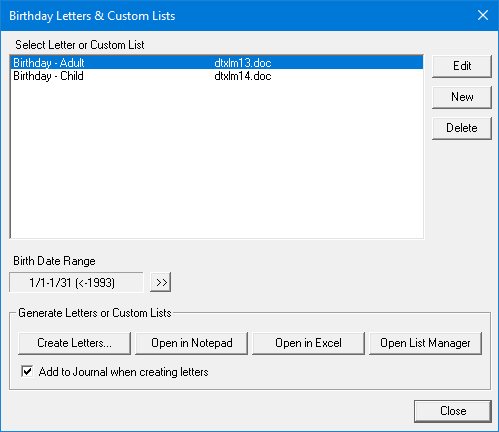
3. Click Open List Manager.
The List Manager window appears.
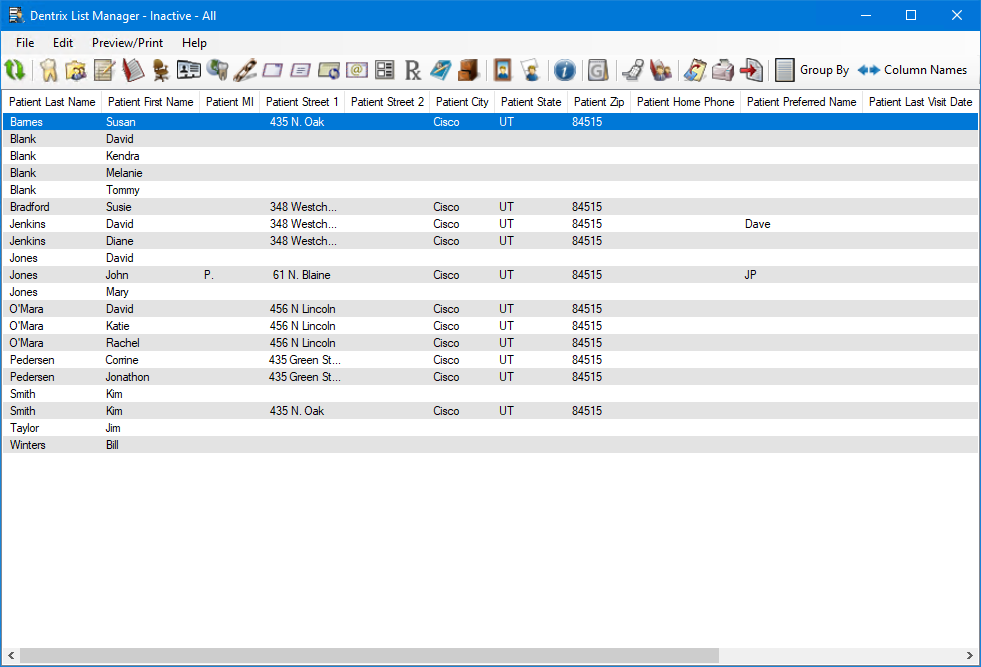
4. Select a patient or patients, click Edit, and then click one of the following options:
Change Patient Status – To change the selected patients’ status to Patient, Inactive, Non-Patient, or Archive.
Change Fee Schedule – To change the fee schedules for several patients simultaneously.
The Select Fee Schedule dialog box appears.
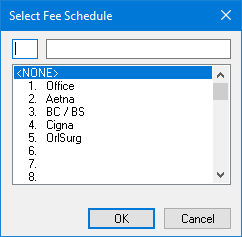
a. Select the appropriate fee schedule, and then click OK.
Note: In the List Manager window, a red X appears for any changes that failed. Successful changes are signified by a green check mark.
5. Close the List Manager window.