Using the Office Manager Letters feature, you can create mailing labels and merge them with your Dentrix data into Microsoft Word from which you can print them to use with mailings.
To create a label to use with a letter
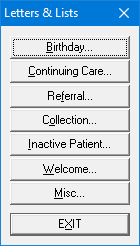
1. In the Office Manager, click Letters & Custom Lists.
The Letters & Lists dialog box appears
2. Click the letter category that you want to use, such as Birthday.
The Birthday Letters & Custom Lists (or other letters type) dialog box appears.
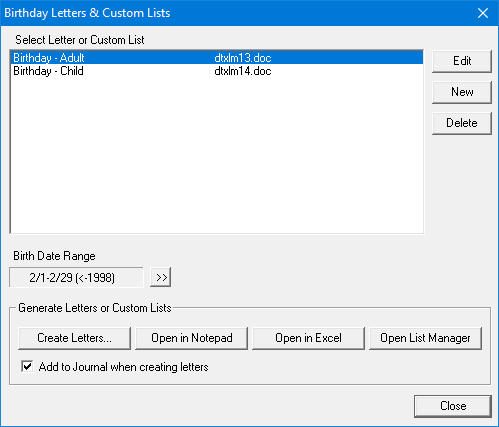
3. Click New.
The Letter or Custom List Setup dialog box appears.
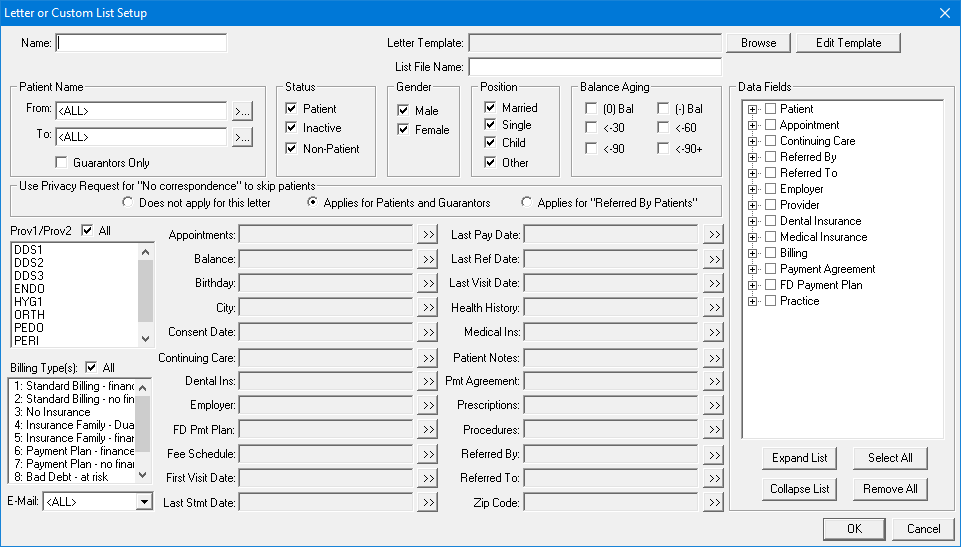
4. Do the following:
Name - Type a name, such as "Custom Label," for the label you are about to create.
Letter Template - Click Browse, and then select dtxlabl.doc (Avery 5160 labels - 10 rows x 3 columns) or dtxlbl2.doc (Avery 5351 labels - 11 rows x 3 columns).
List File Name - Type "dtxlabl.out" or "dtxlabl2.out." Make sure you use the extension ".out."
5. Set any filters that you want to use when creating your labels. For example, you may want to create labels for patients whose appointments fall within a certain date range:
a. Click the Birthday search button.
The Select Birthdate Range dialog box appears.
![]()
b. In the Beginning and Ending fields, type the birthdate range, and then click OK twice.
6. Select the data filters for a label: Last Name, First Name, MI, Street Address, City, State, Zip, and Title.
7. Click Open List Manager and review the list to ensure that the entries are complete.
8. To create the labels, in the File menu, click Create Letters.
A message box appears.
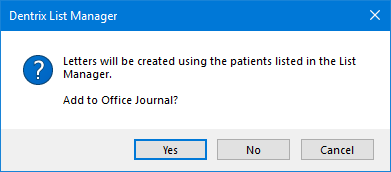
9. Click Yes or No to create the labels.
Note: Clicking Yes also adds entries to the Office Journal.