
The Office Manager helps you create continuing care reminder cards to send to patients with appointments and also to patients without appointments.
To send continuing care cards for patients with appointments
1. Open Microsoft Word and minimize it.
2. In the Office Manager, click Letters & Custom Lists.
The Letters & Lists dialog box appears.
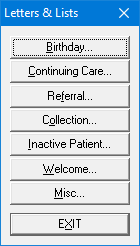
3. Click Continuing Care.
The Continuing Care Letters & Custom Lists dialog box appears.
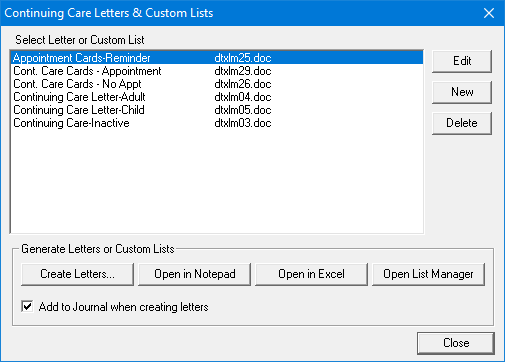
4. Select Cont. Care Cards - Appointment from the list, and then click Edit.
The Letter or Custom List Setup dialog box appears.

5. Click Browse, and then select one of the following templates based on the type of card you are using:
· dtxlm29.doc - Two-wide laser cards
· dtxlm24.doc - Single-wide dot matrix cards
· dtxlm27.doc - Two-wide dot matrix cards
Note: This is the default for the letter template name when Dentrix is installed. You can modify this to correspond with the cards you have purchased.
6. Click the Continuing Care search button.
The Select Continuing Care Ranges dialog box appears.
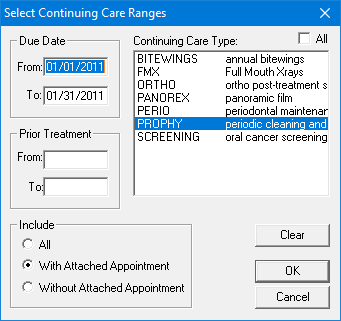
7. Do the following, and then click OK:
· Due Date - Leave the From and To fields blank.
· Prior Treatment - Leave the From and To fields blank.
· Include - Select Without Attached Appointment.
· Continuing Care Type - Select the appropriate type from the list.
8. Click the Appointments search button.
The Select Appointment Range dialog box appears.
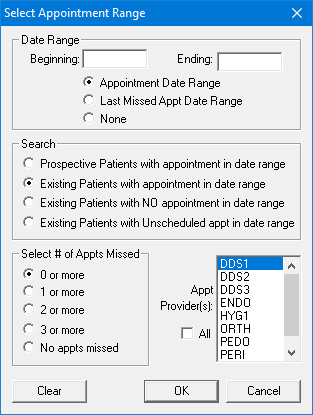
9. Select Appointment Date Range, and then type the beginning and ending dates for the range of appointments that you are printing cards for, and click OK.
10. Click OK again.
The Letter or Custom List Setup dialog box closes.
11. Click Create Letters.
The cards merge in Microsoft Word.
Note: After you print the cards, do not save changes to the file when you exit Word.